My second-largest project to date
I've done many small home improvement projects since we bought our New Hampshire house in 2020. But the biggest project to date was ripping out carpet from the entire second floor and installing 3/4-inch hardwood throughout, including on the stairs leading down to the first floor.
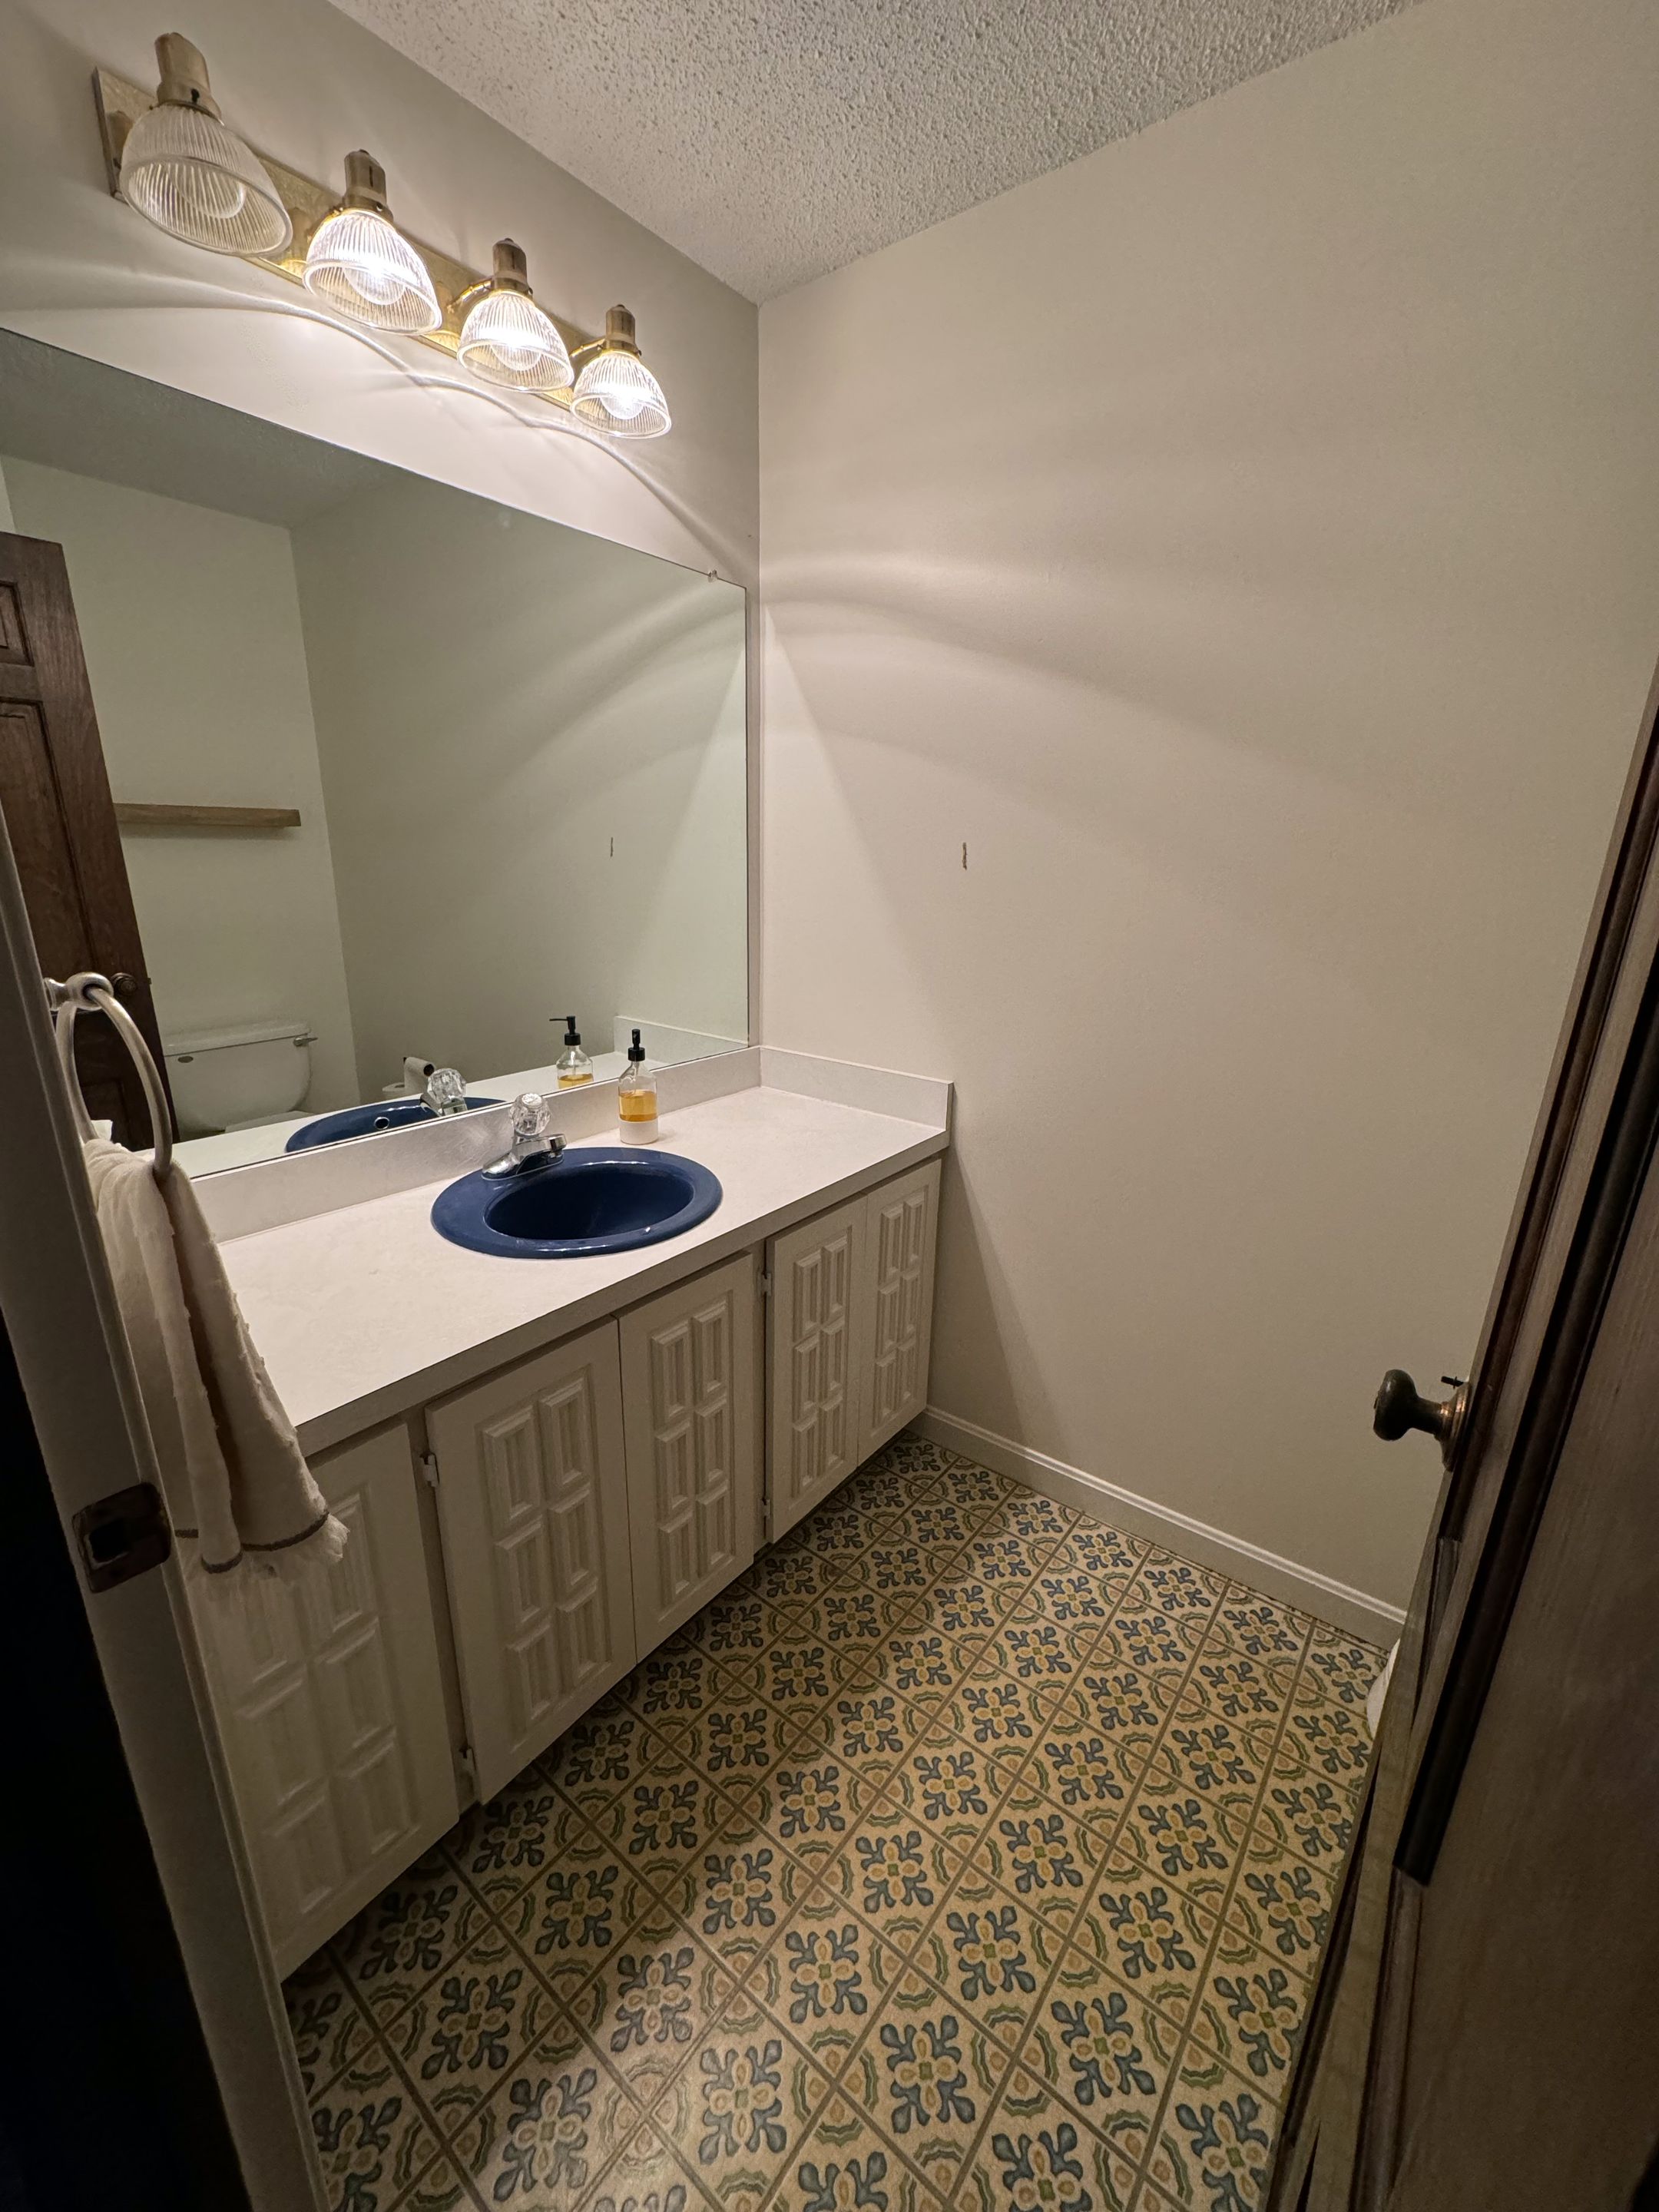
This bathroom renovation will be my second-largest project so far.
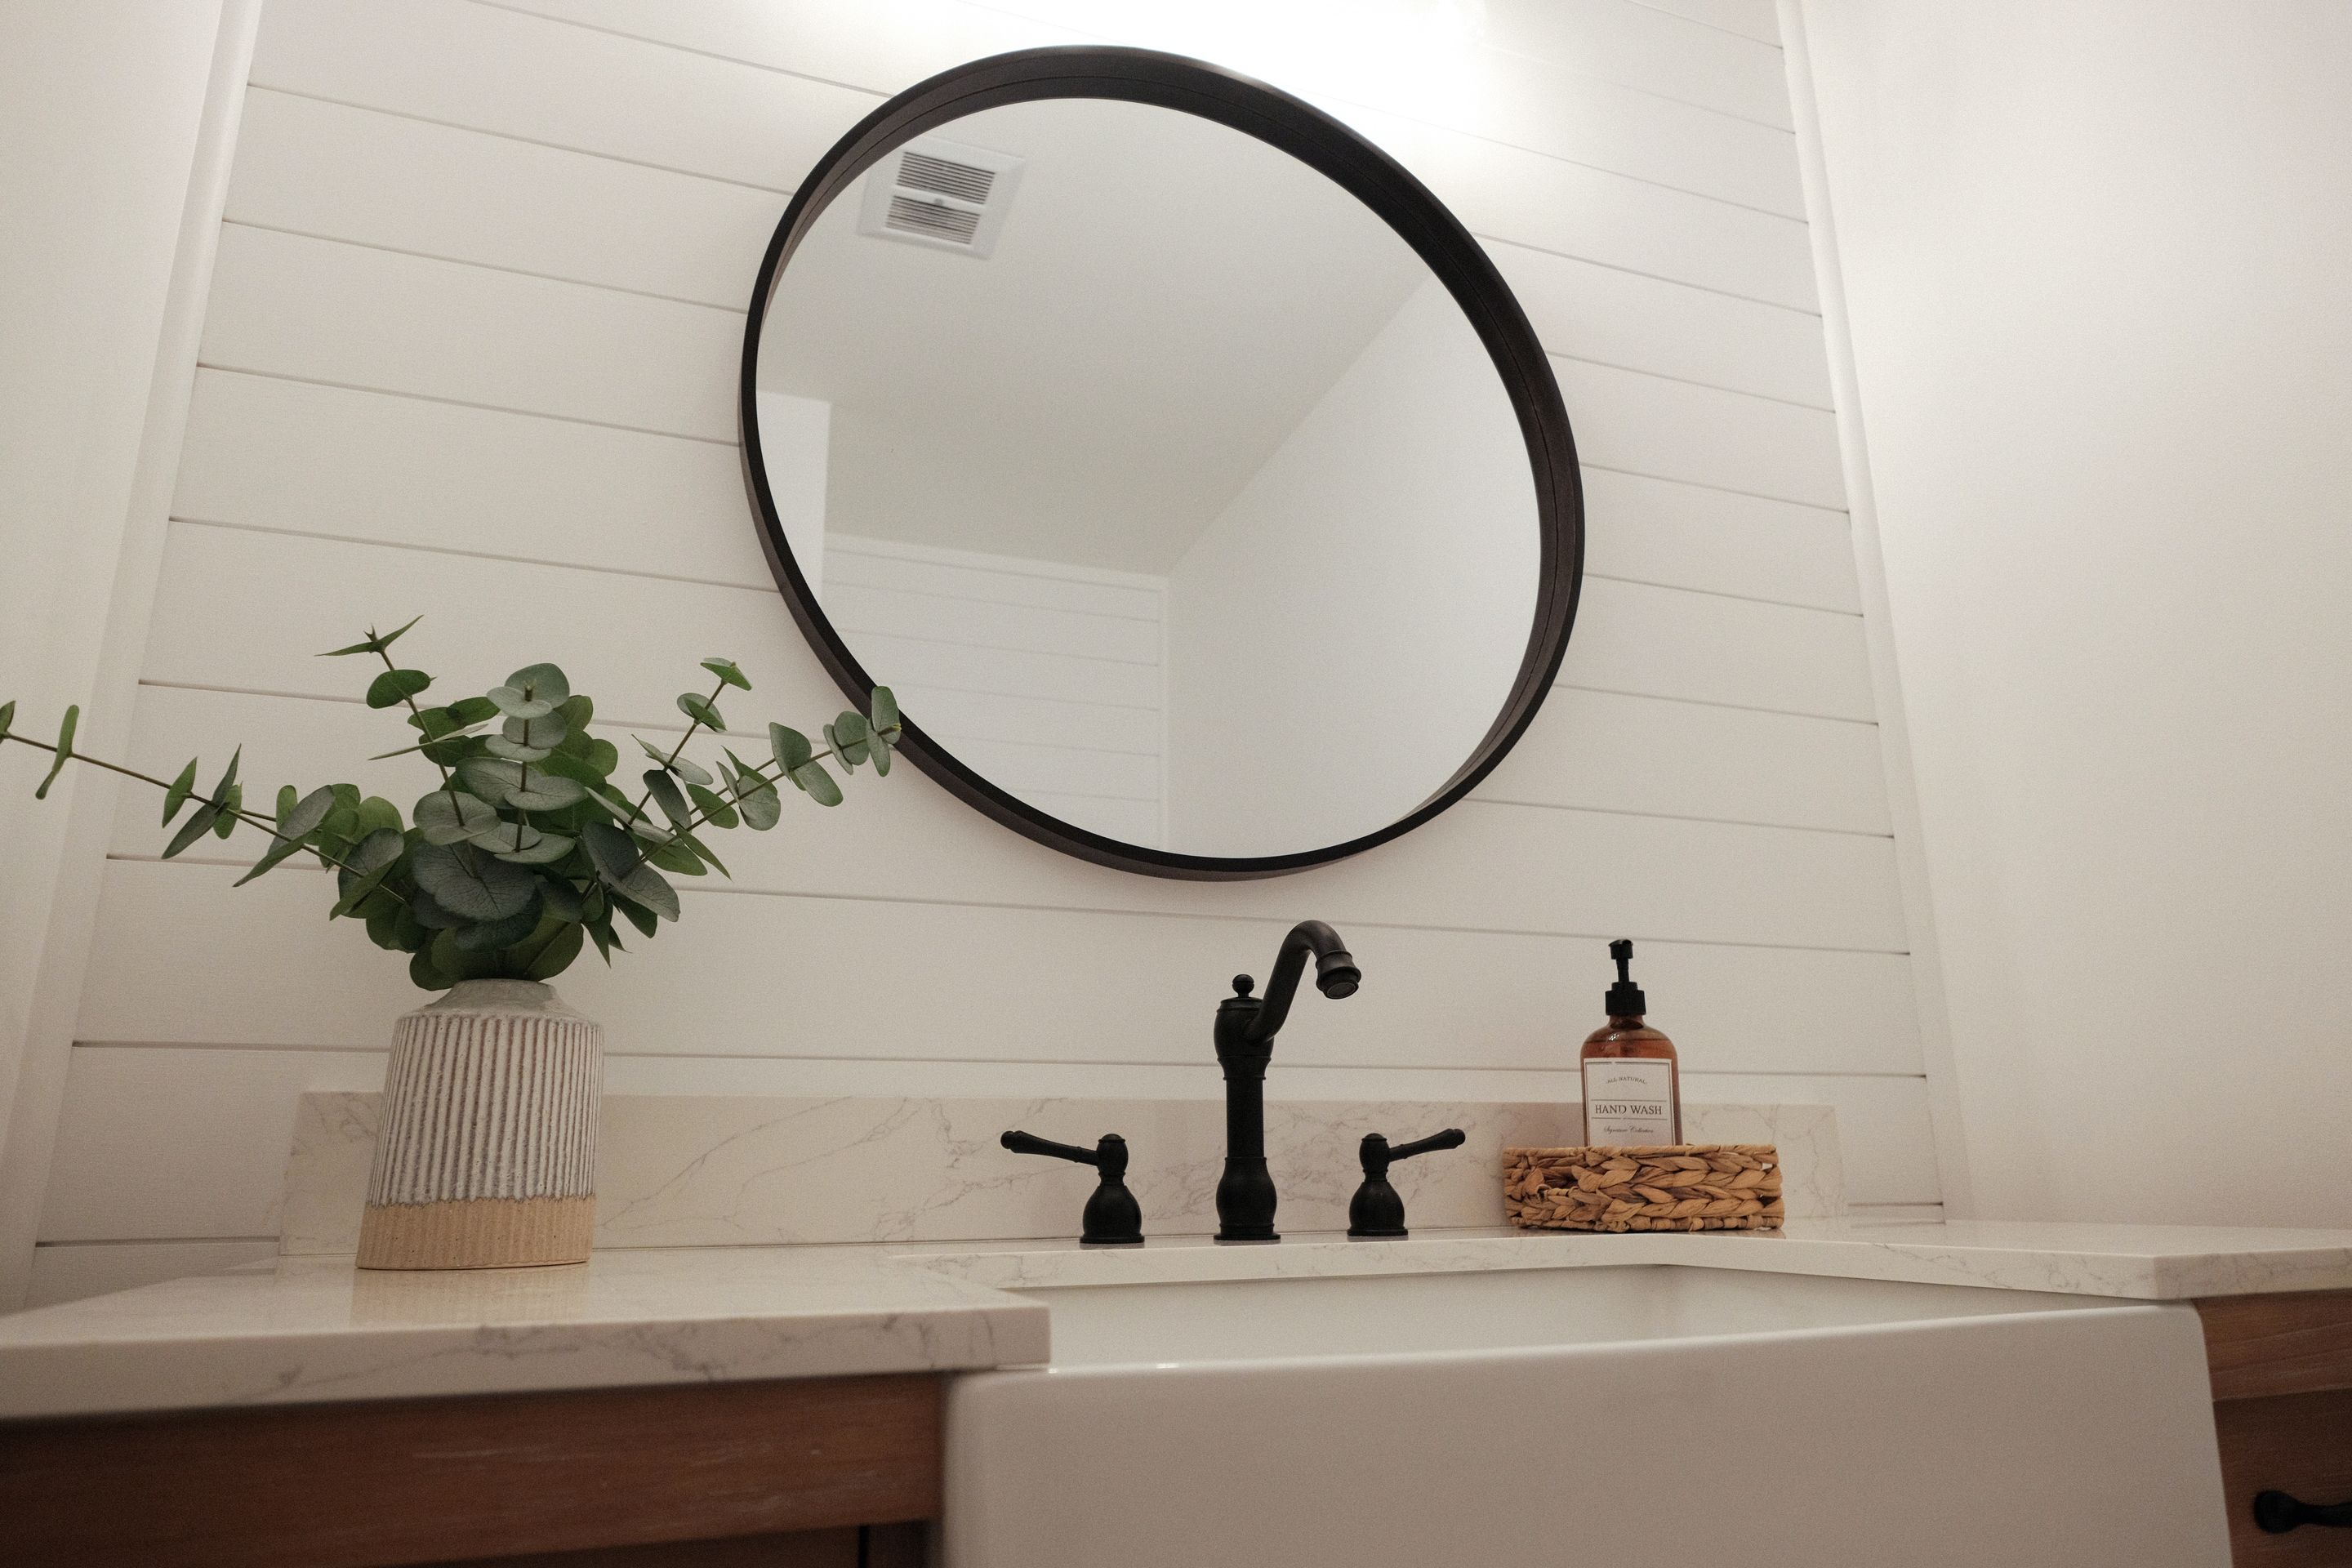
Ripping out the vanity and mirror
I removed the very dated vanity and ancient sink whose faucet has been unfixably dripping since we moved into the house.
This was a satisfying first step. It took me about 4 hours including cleanup.
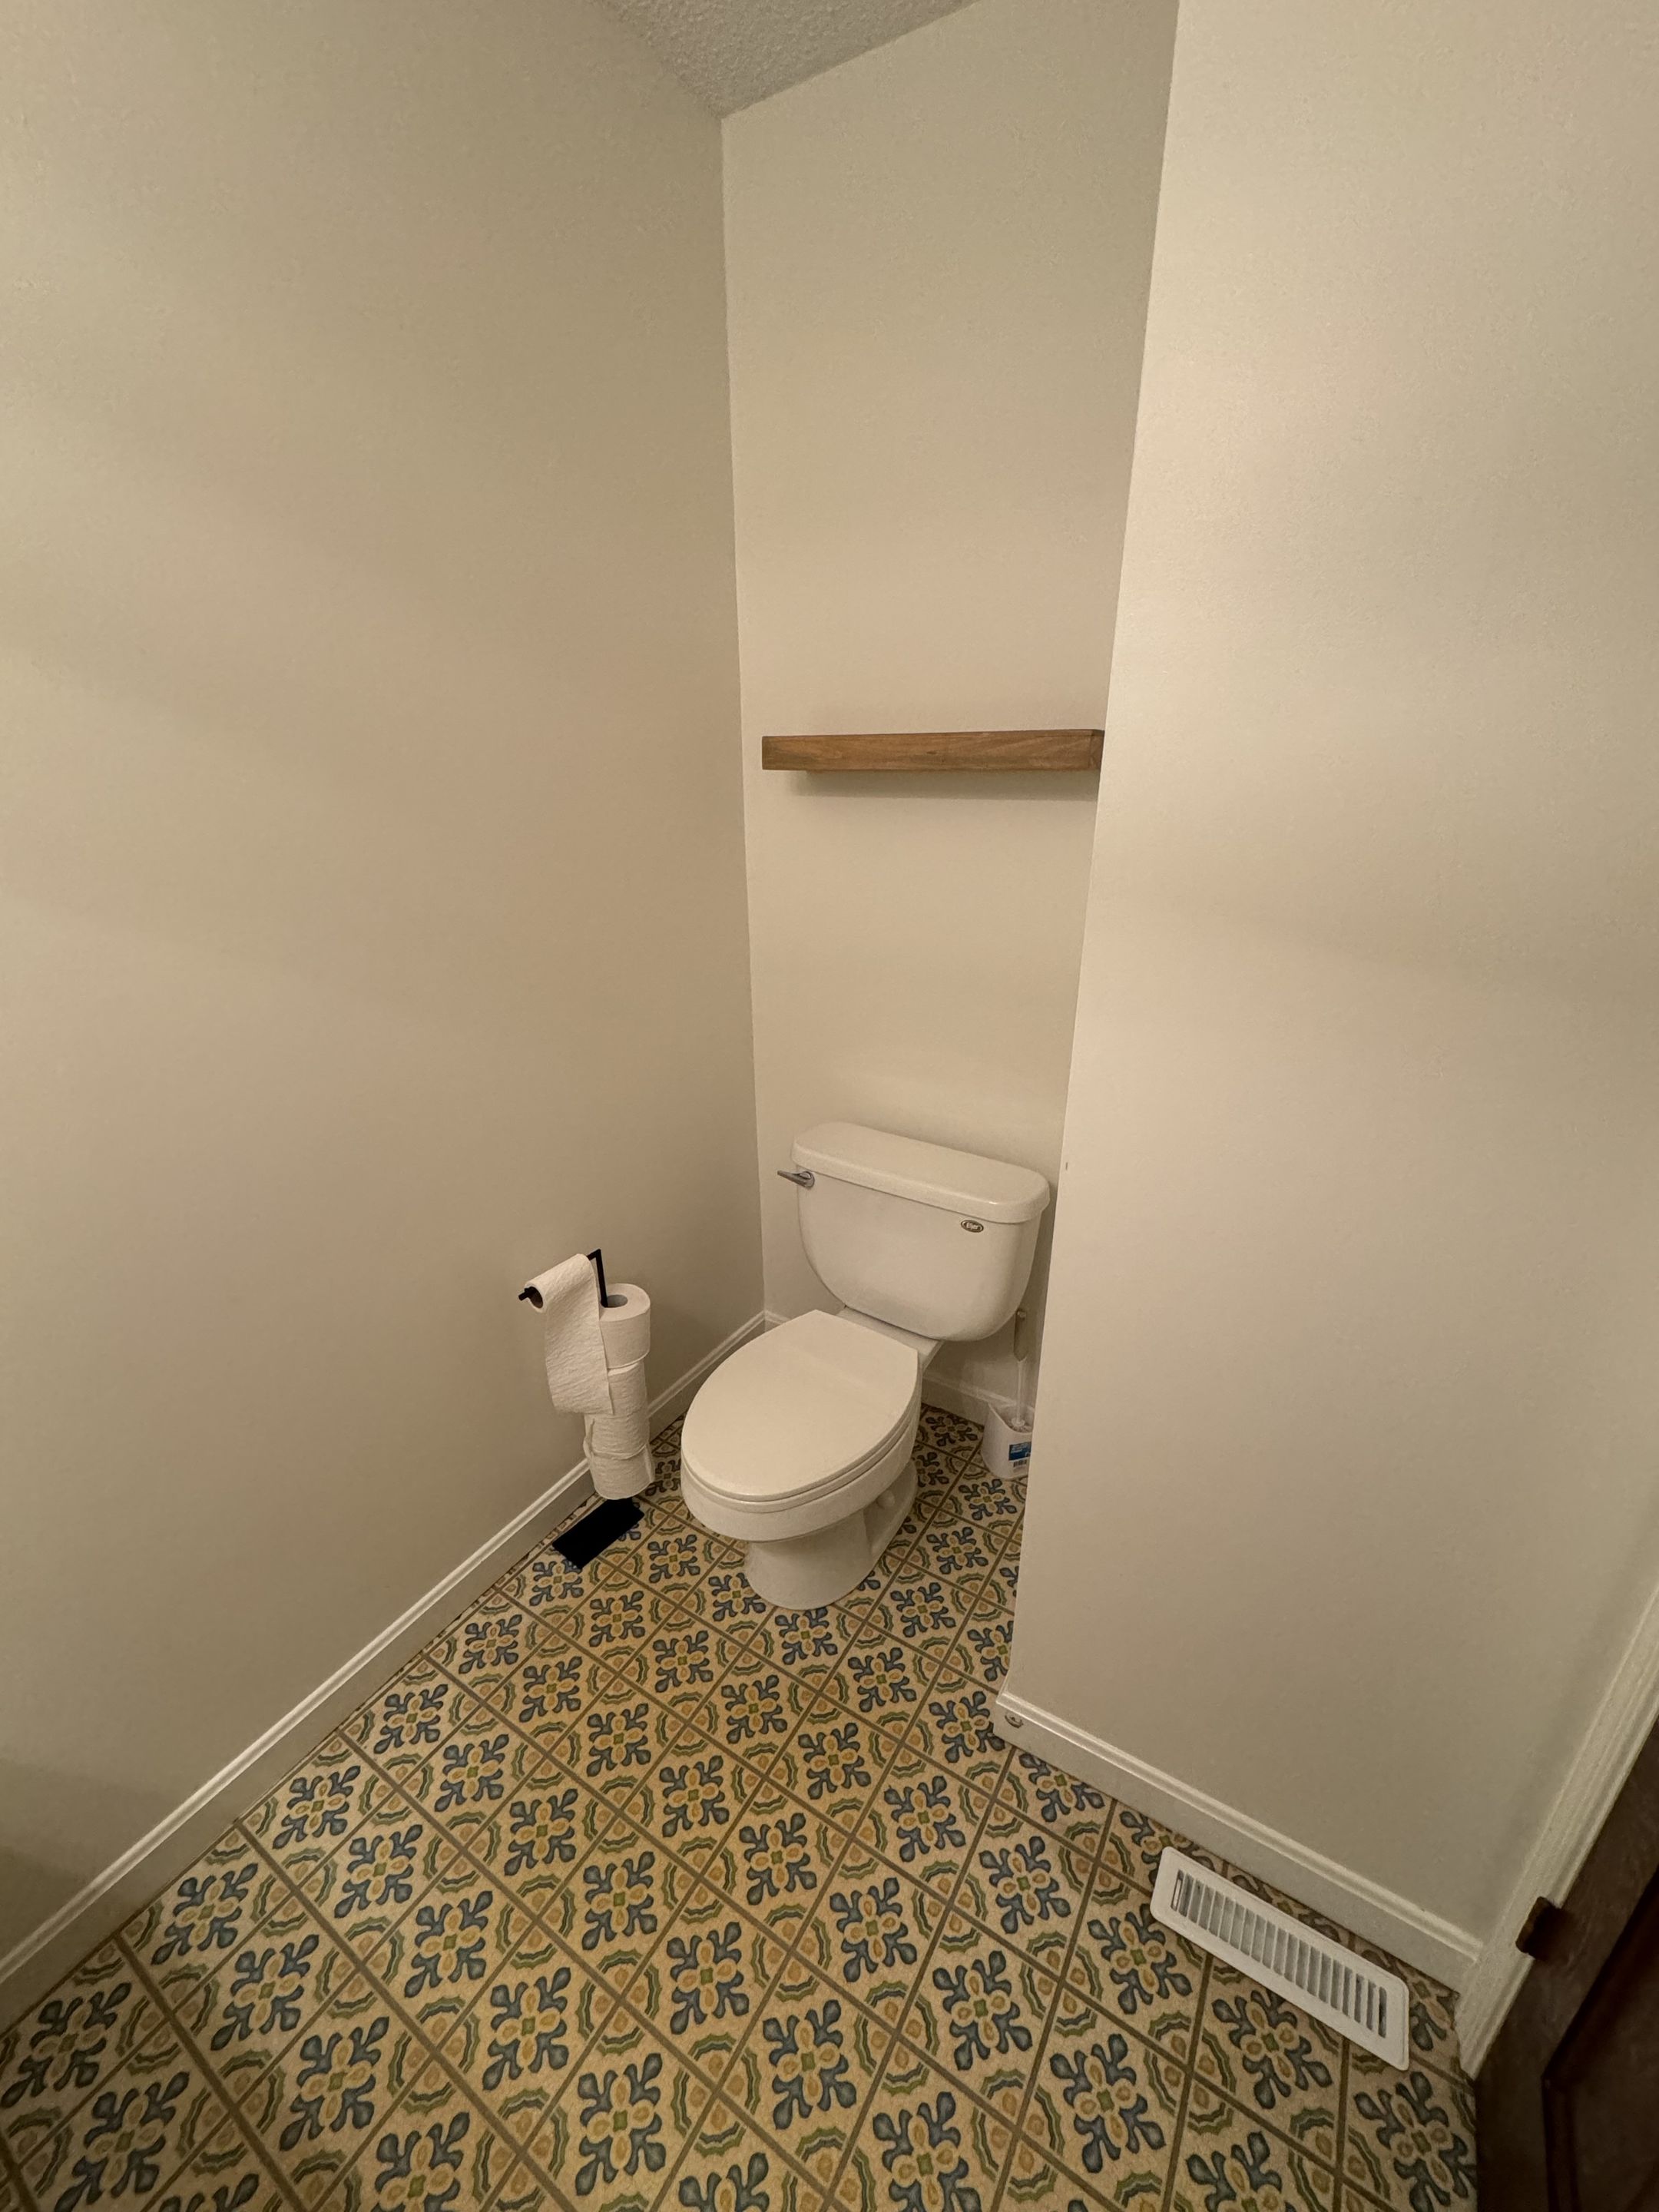
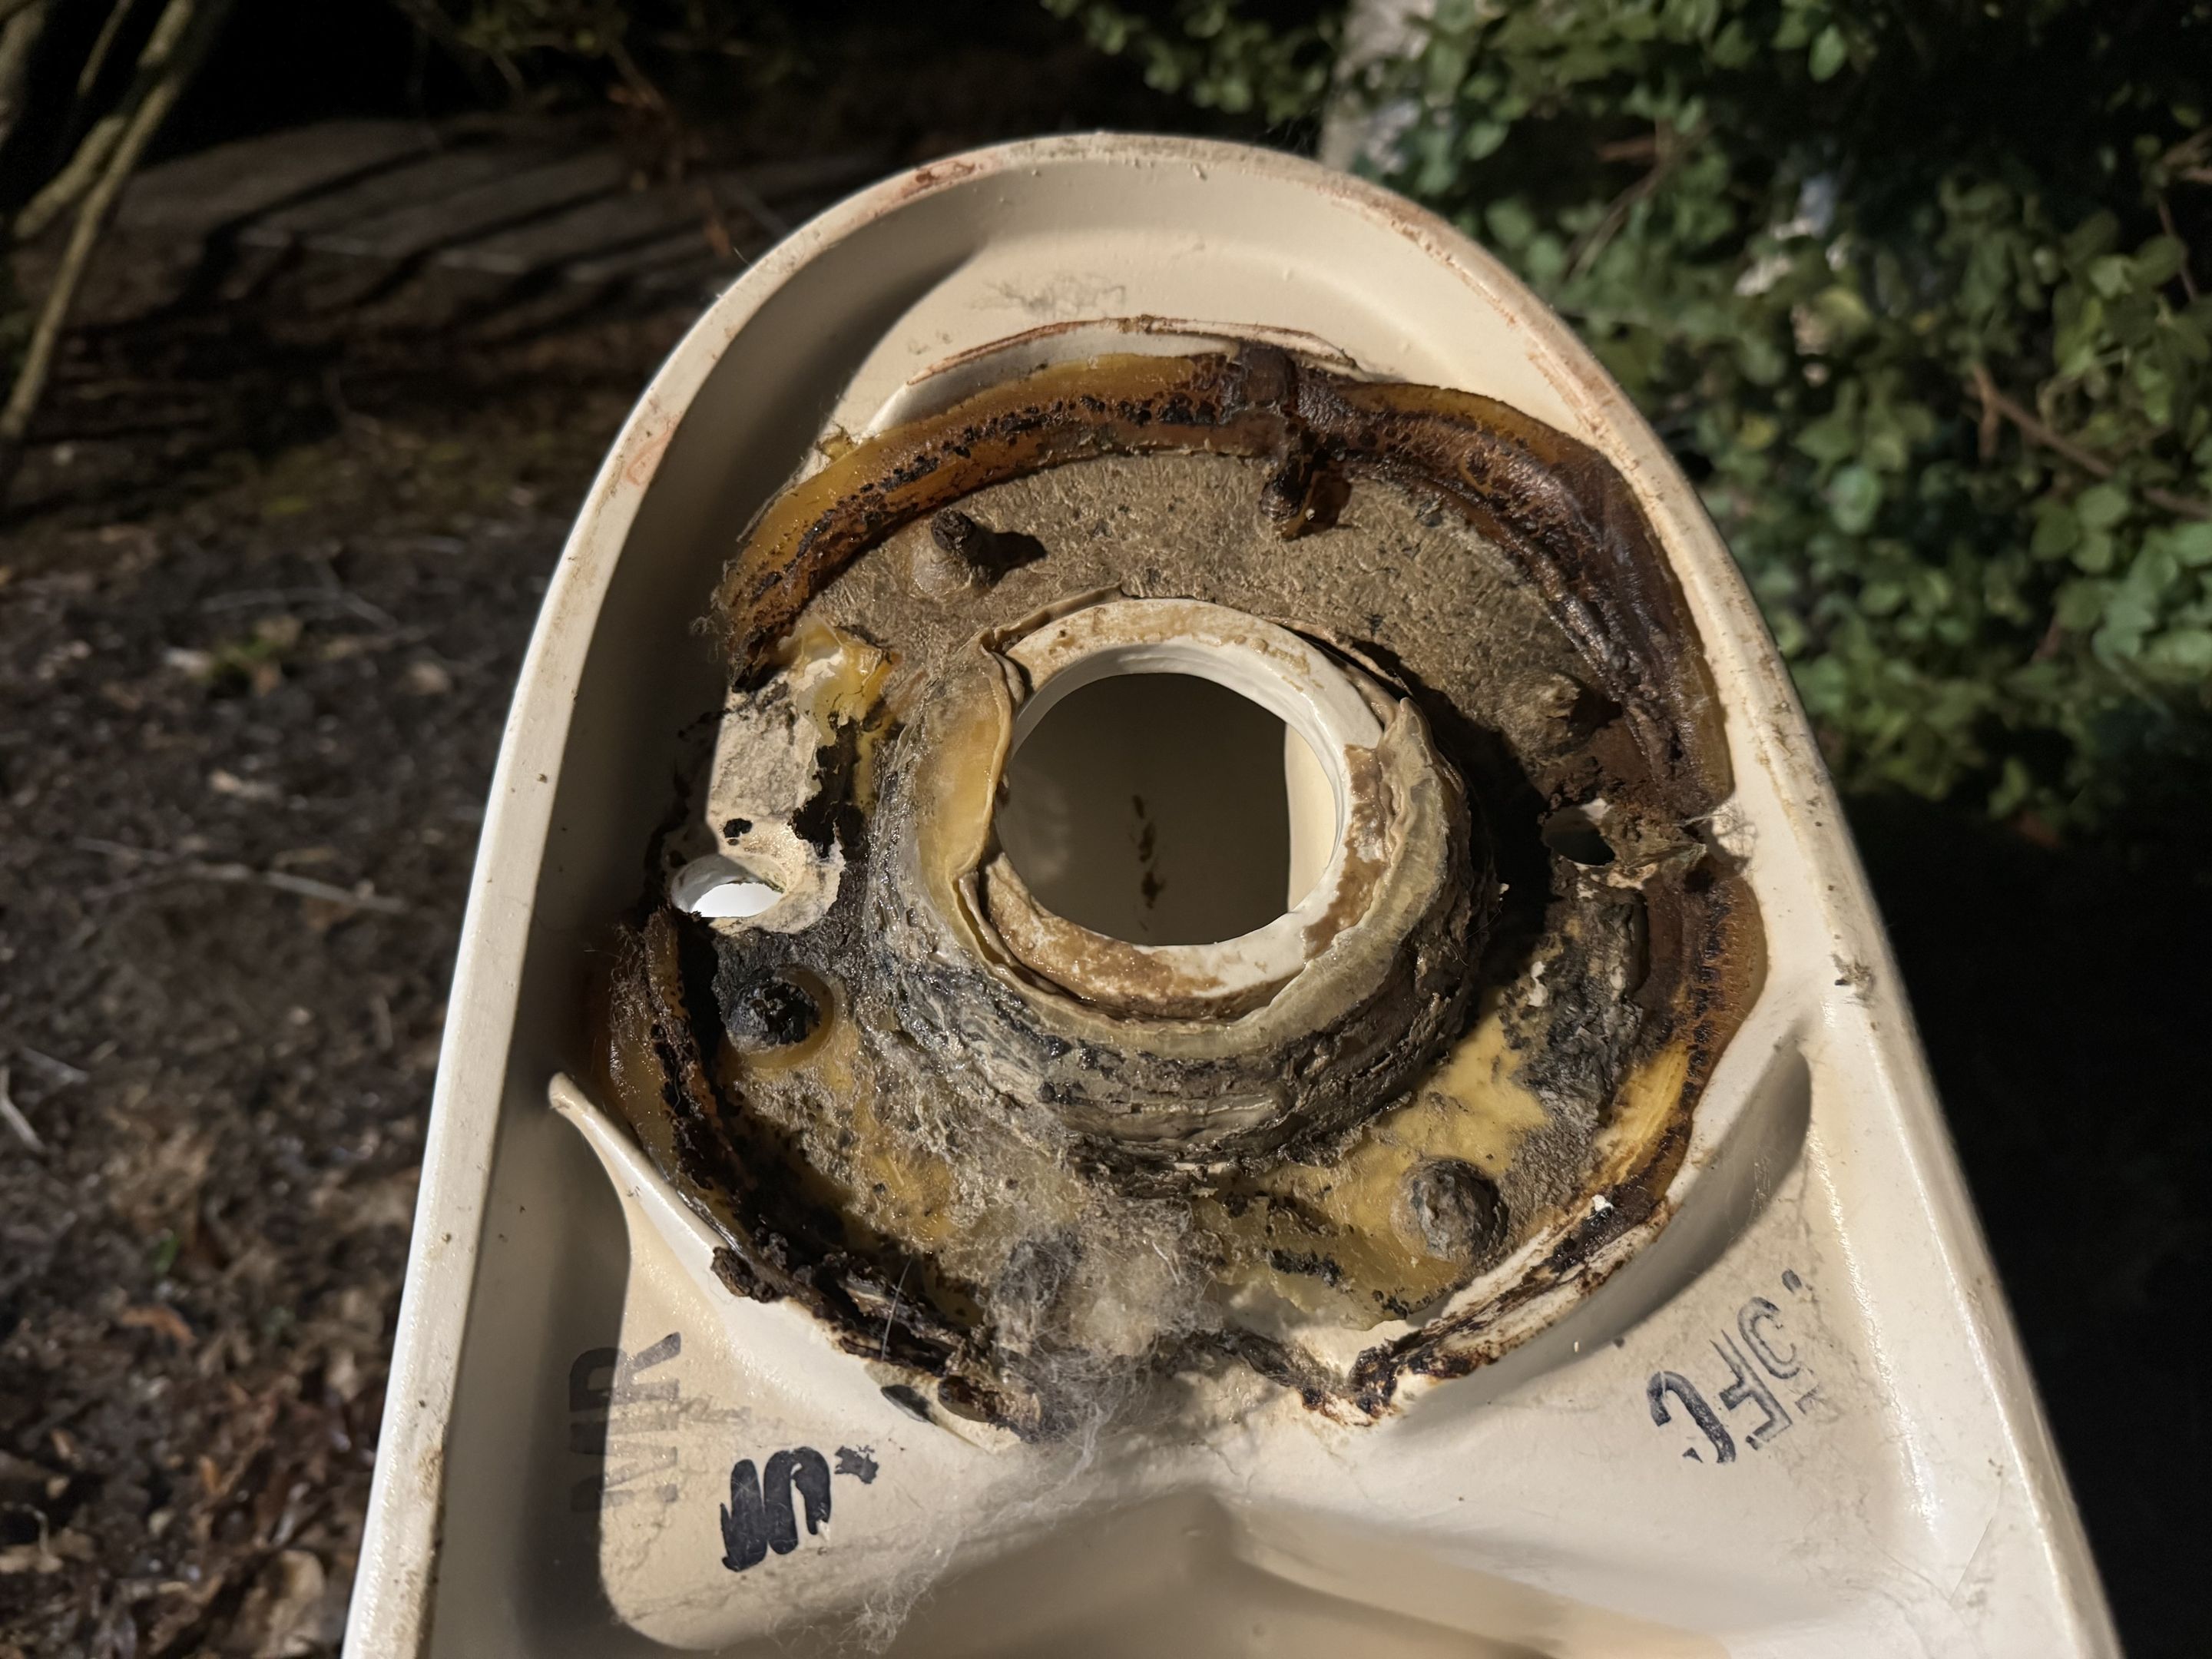
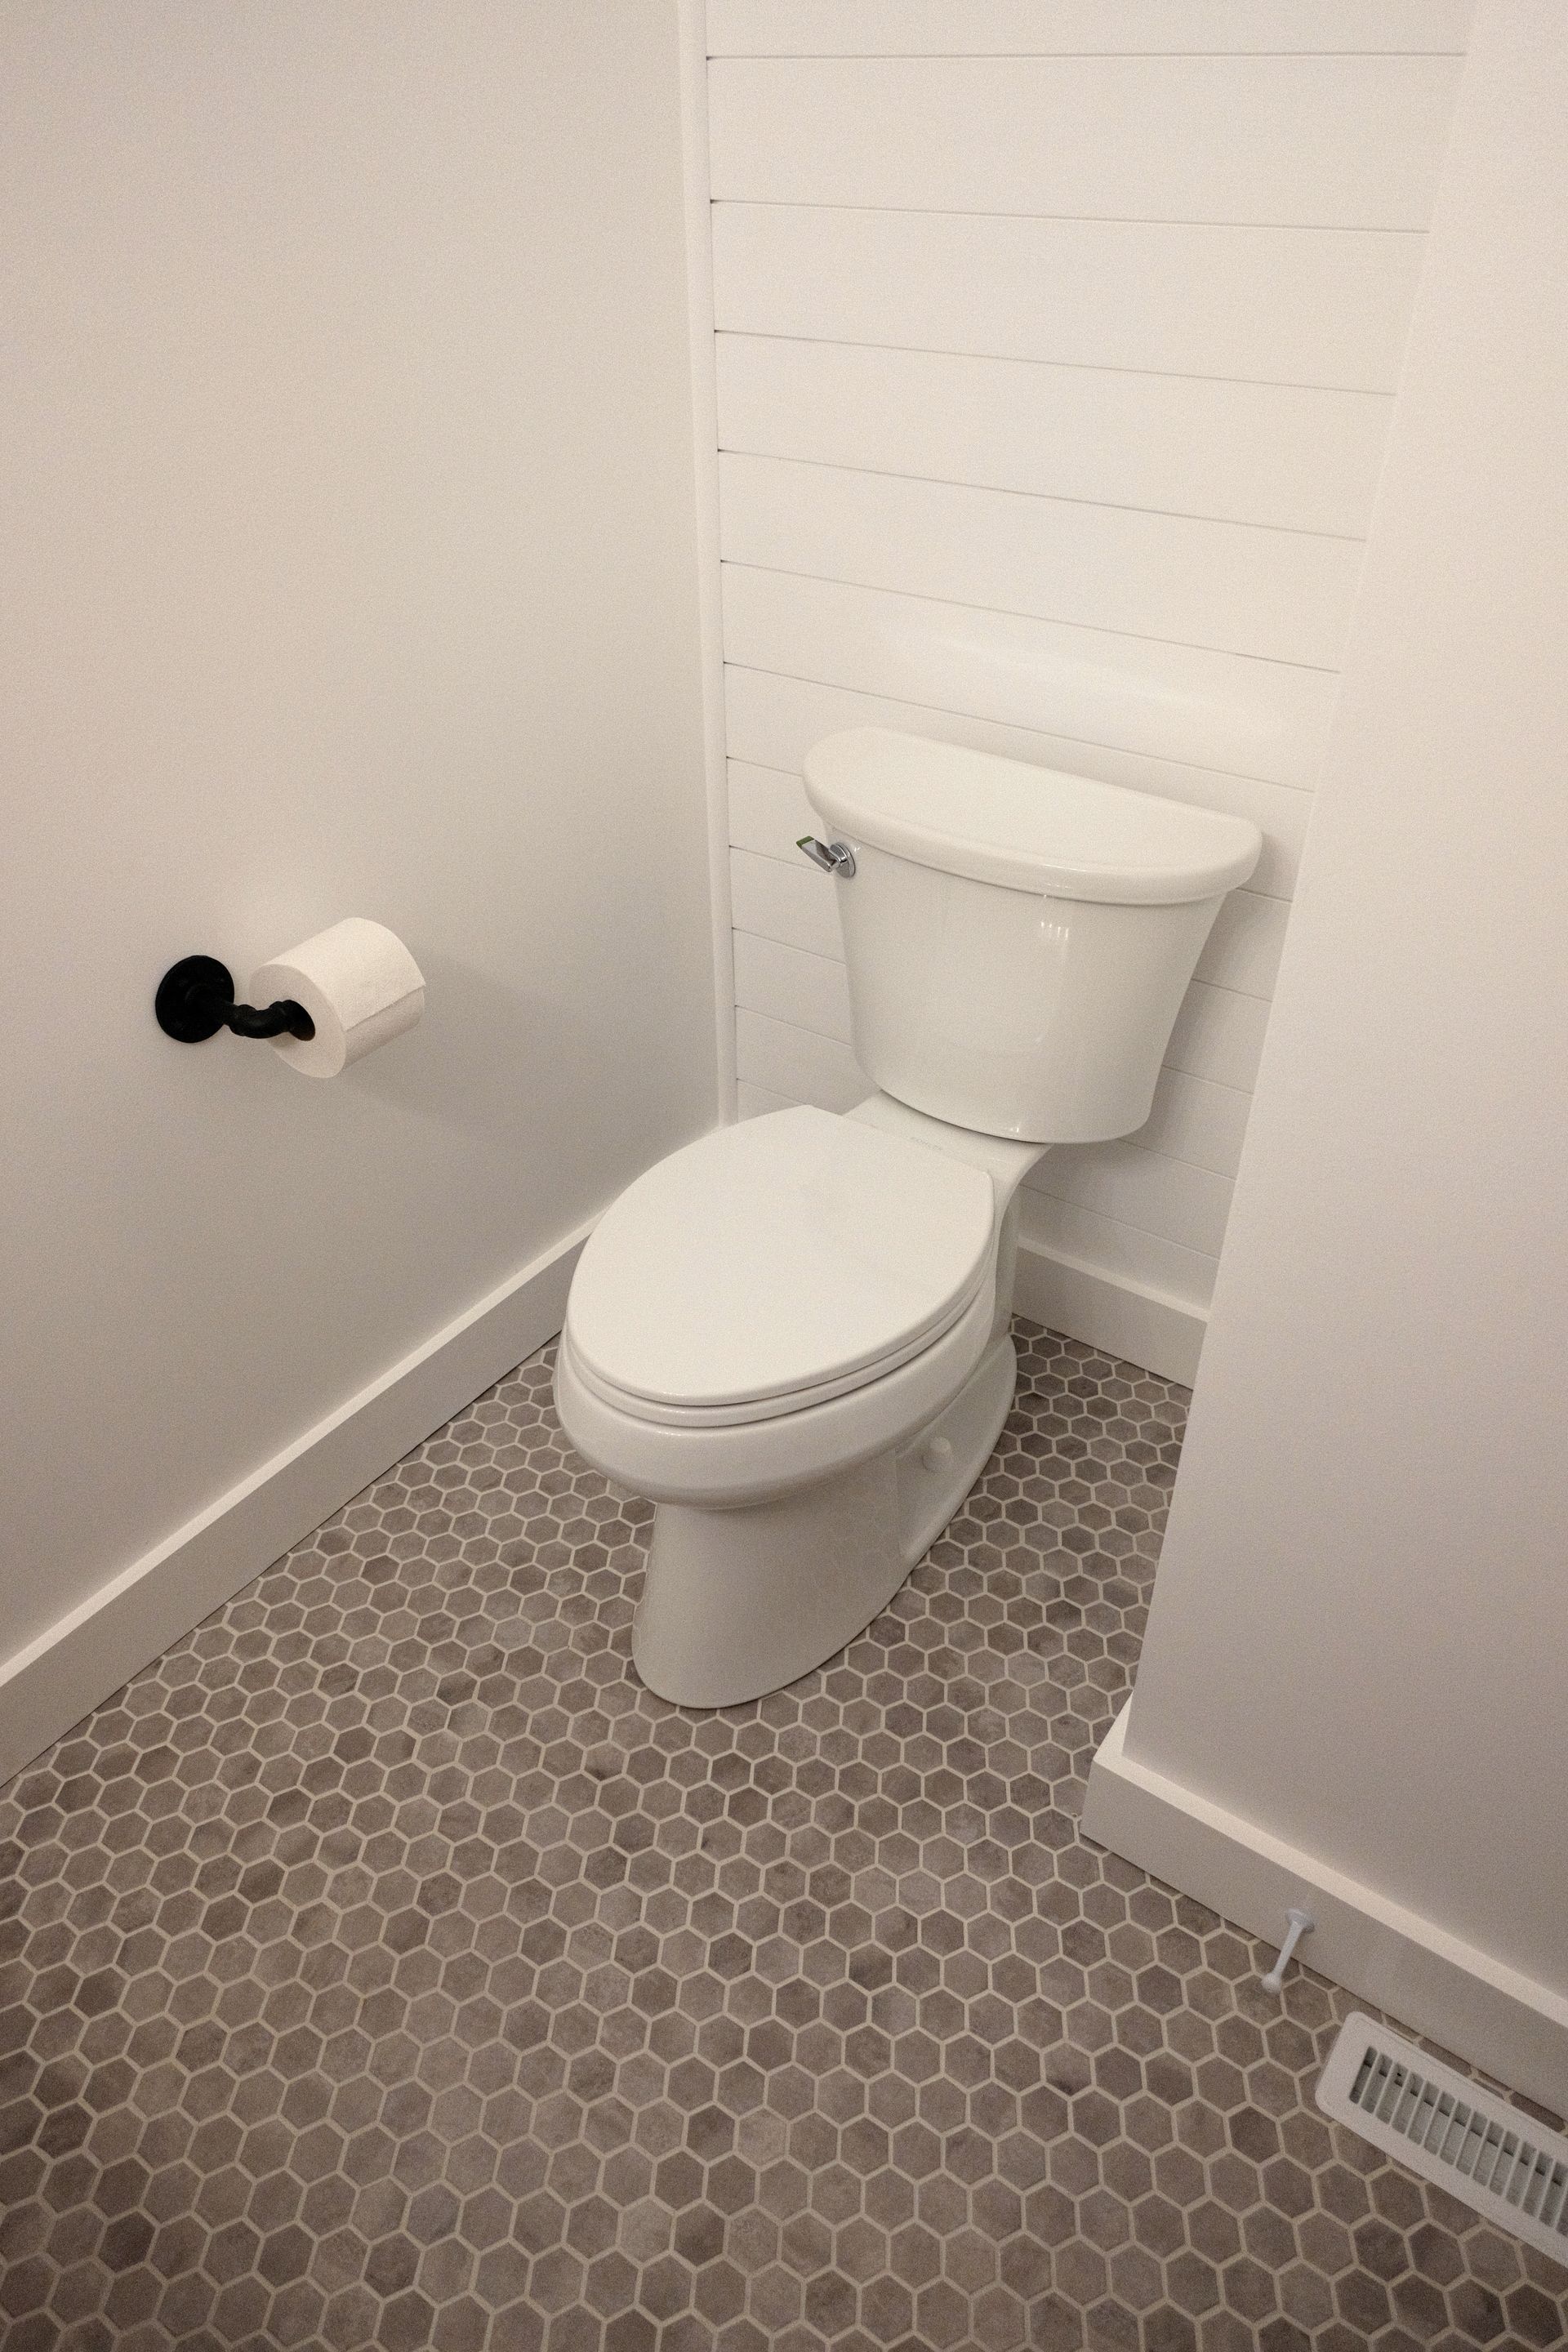
Out with this crappy old toilet
Poop puns - gotta love it.
I removed the outdated and probably-inefficient toilet. It looks like the wax seal might not have been doing a perfect job...
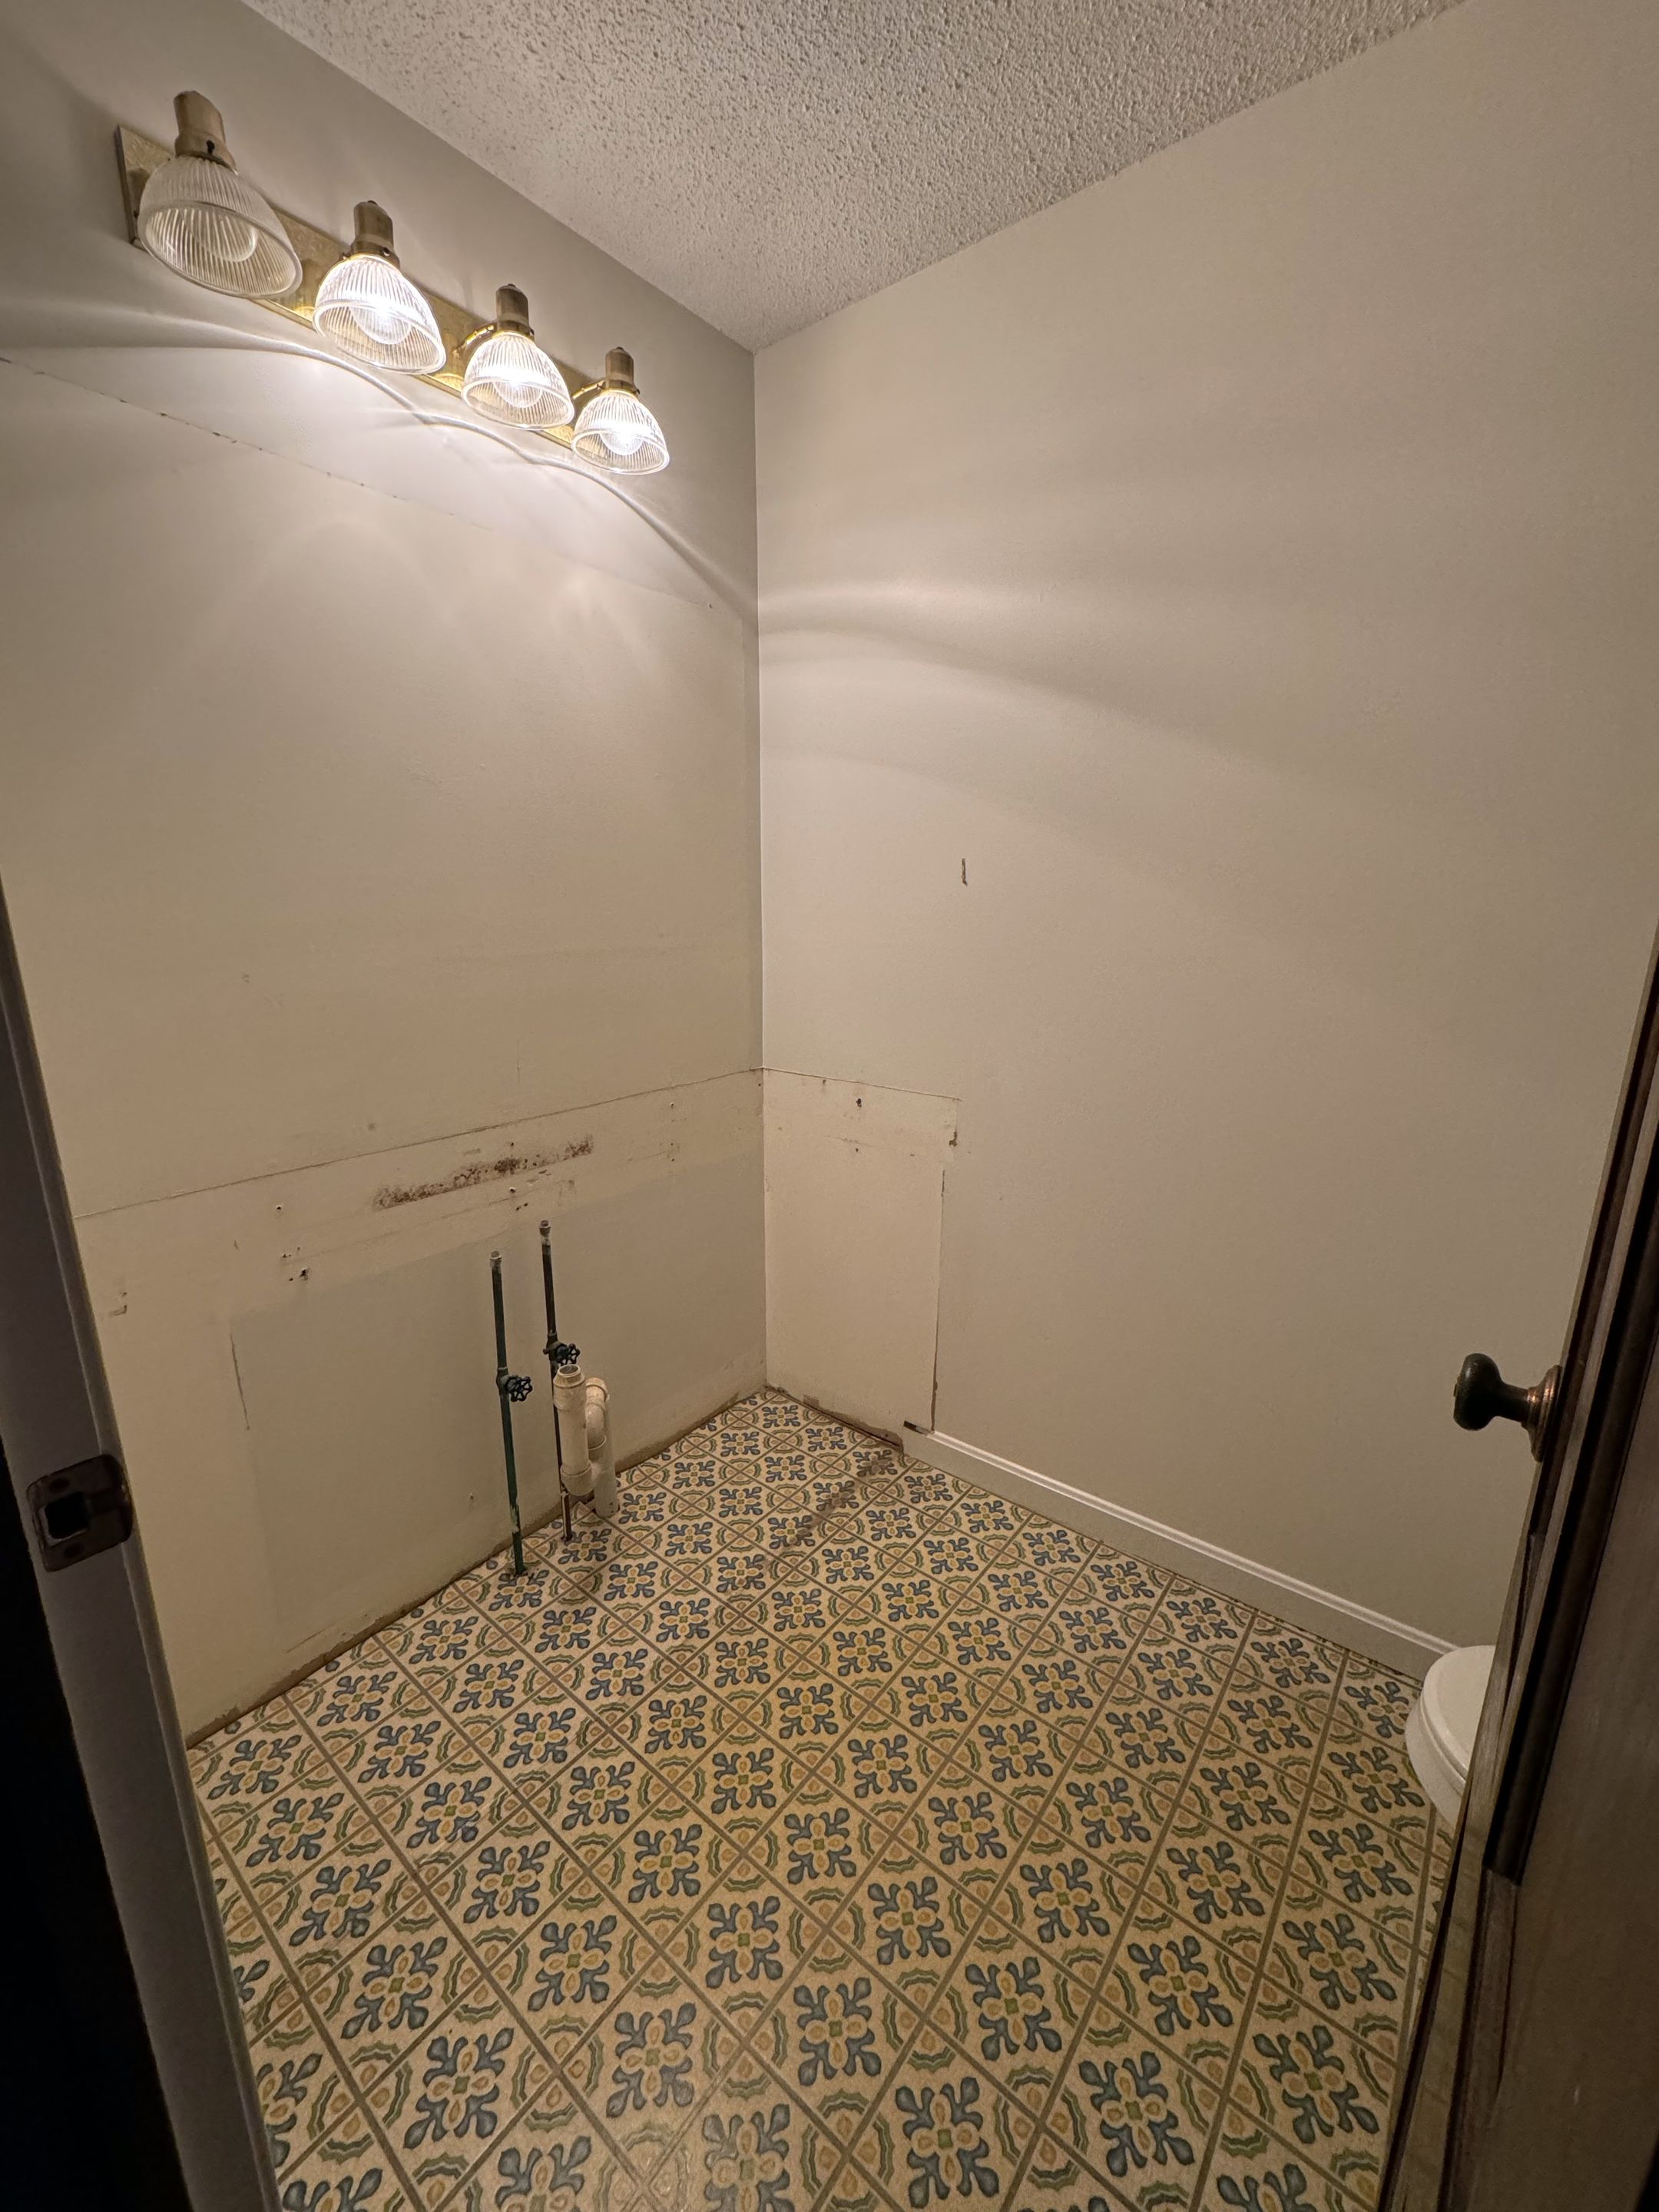
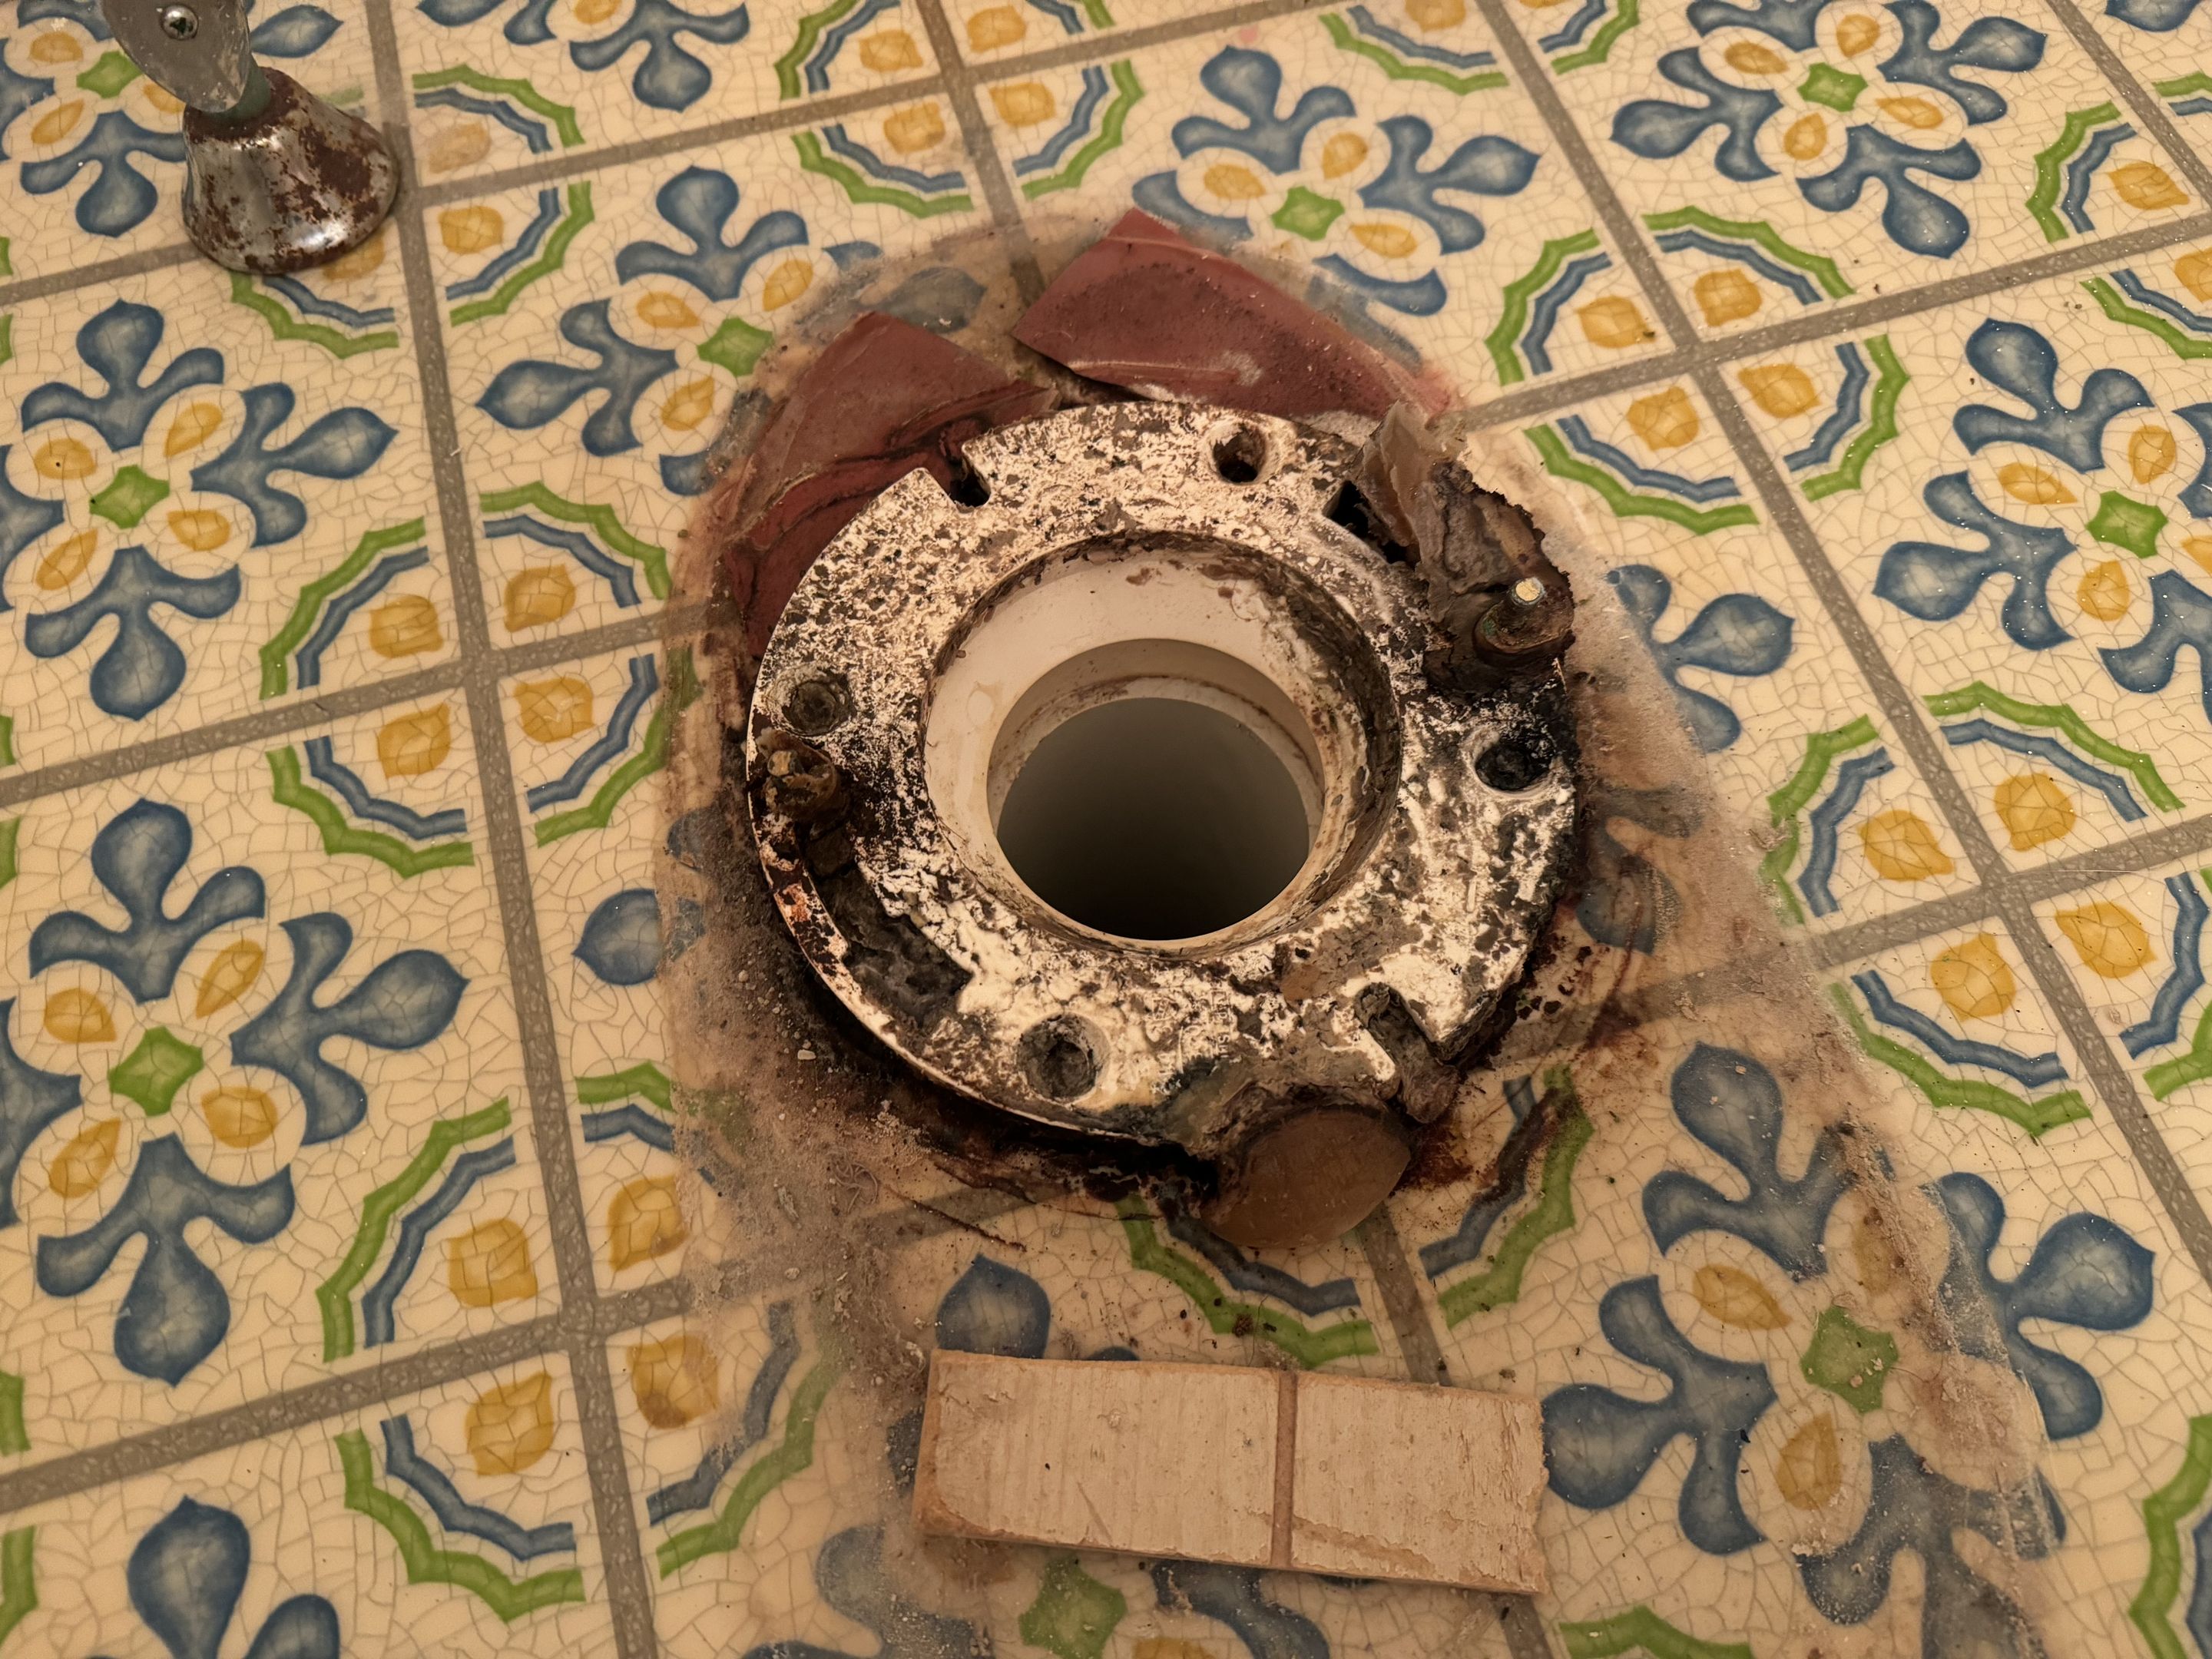
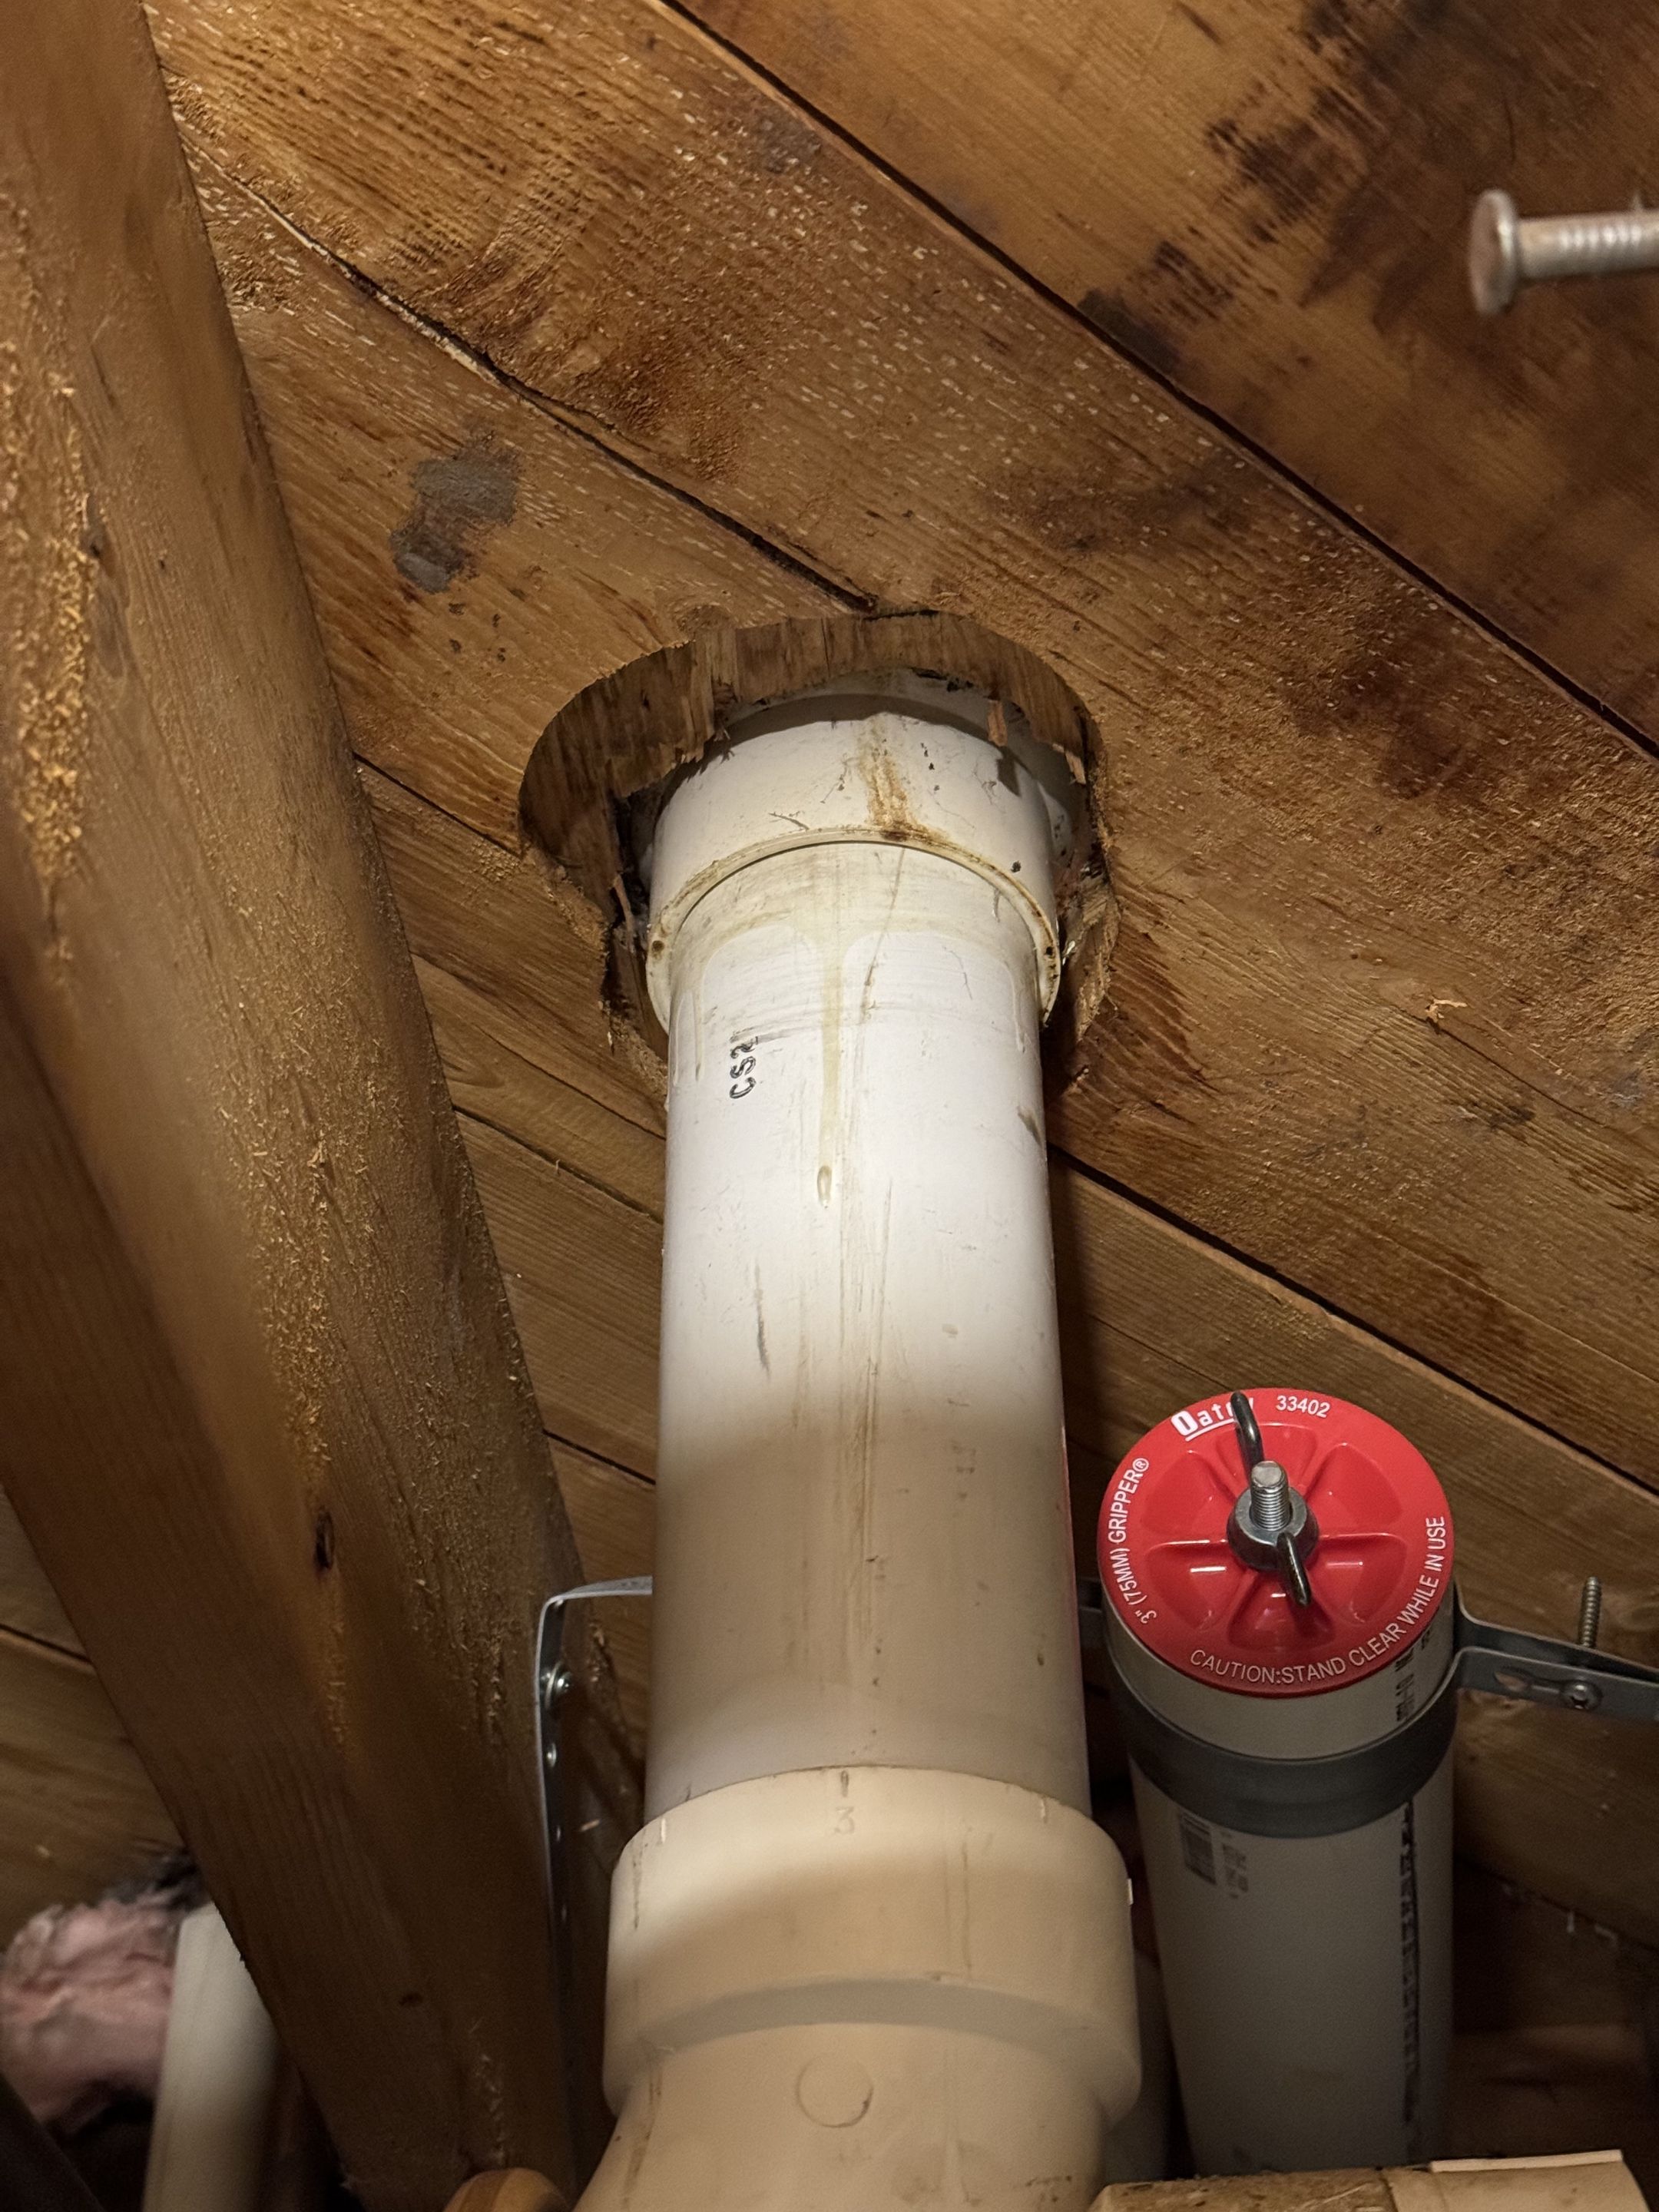
I ended up removing the toilet flange from the pipe (not pictured) because it wasn't even sitting flush with the floor and the floor. The floor is also going to be further raised up after I level the surface and install tile, so it makes sense to add an new flange once those steps are complete.
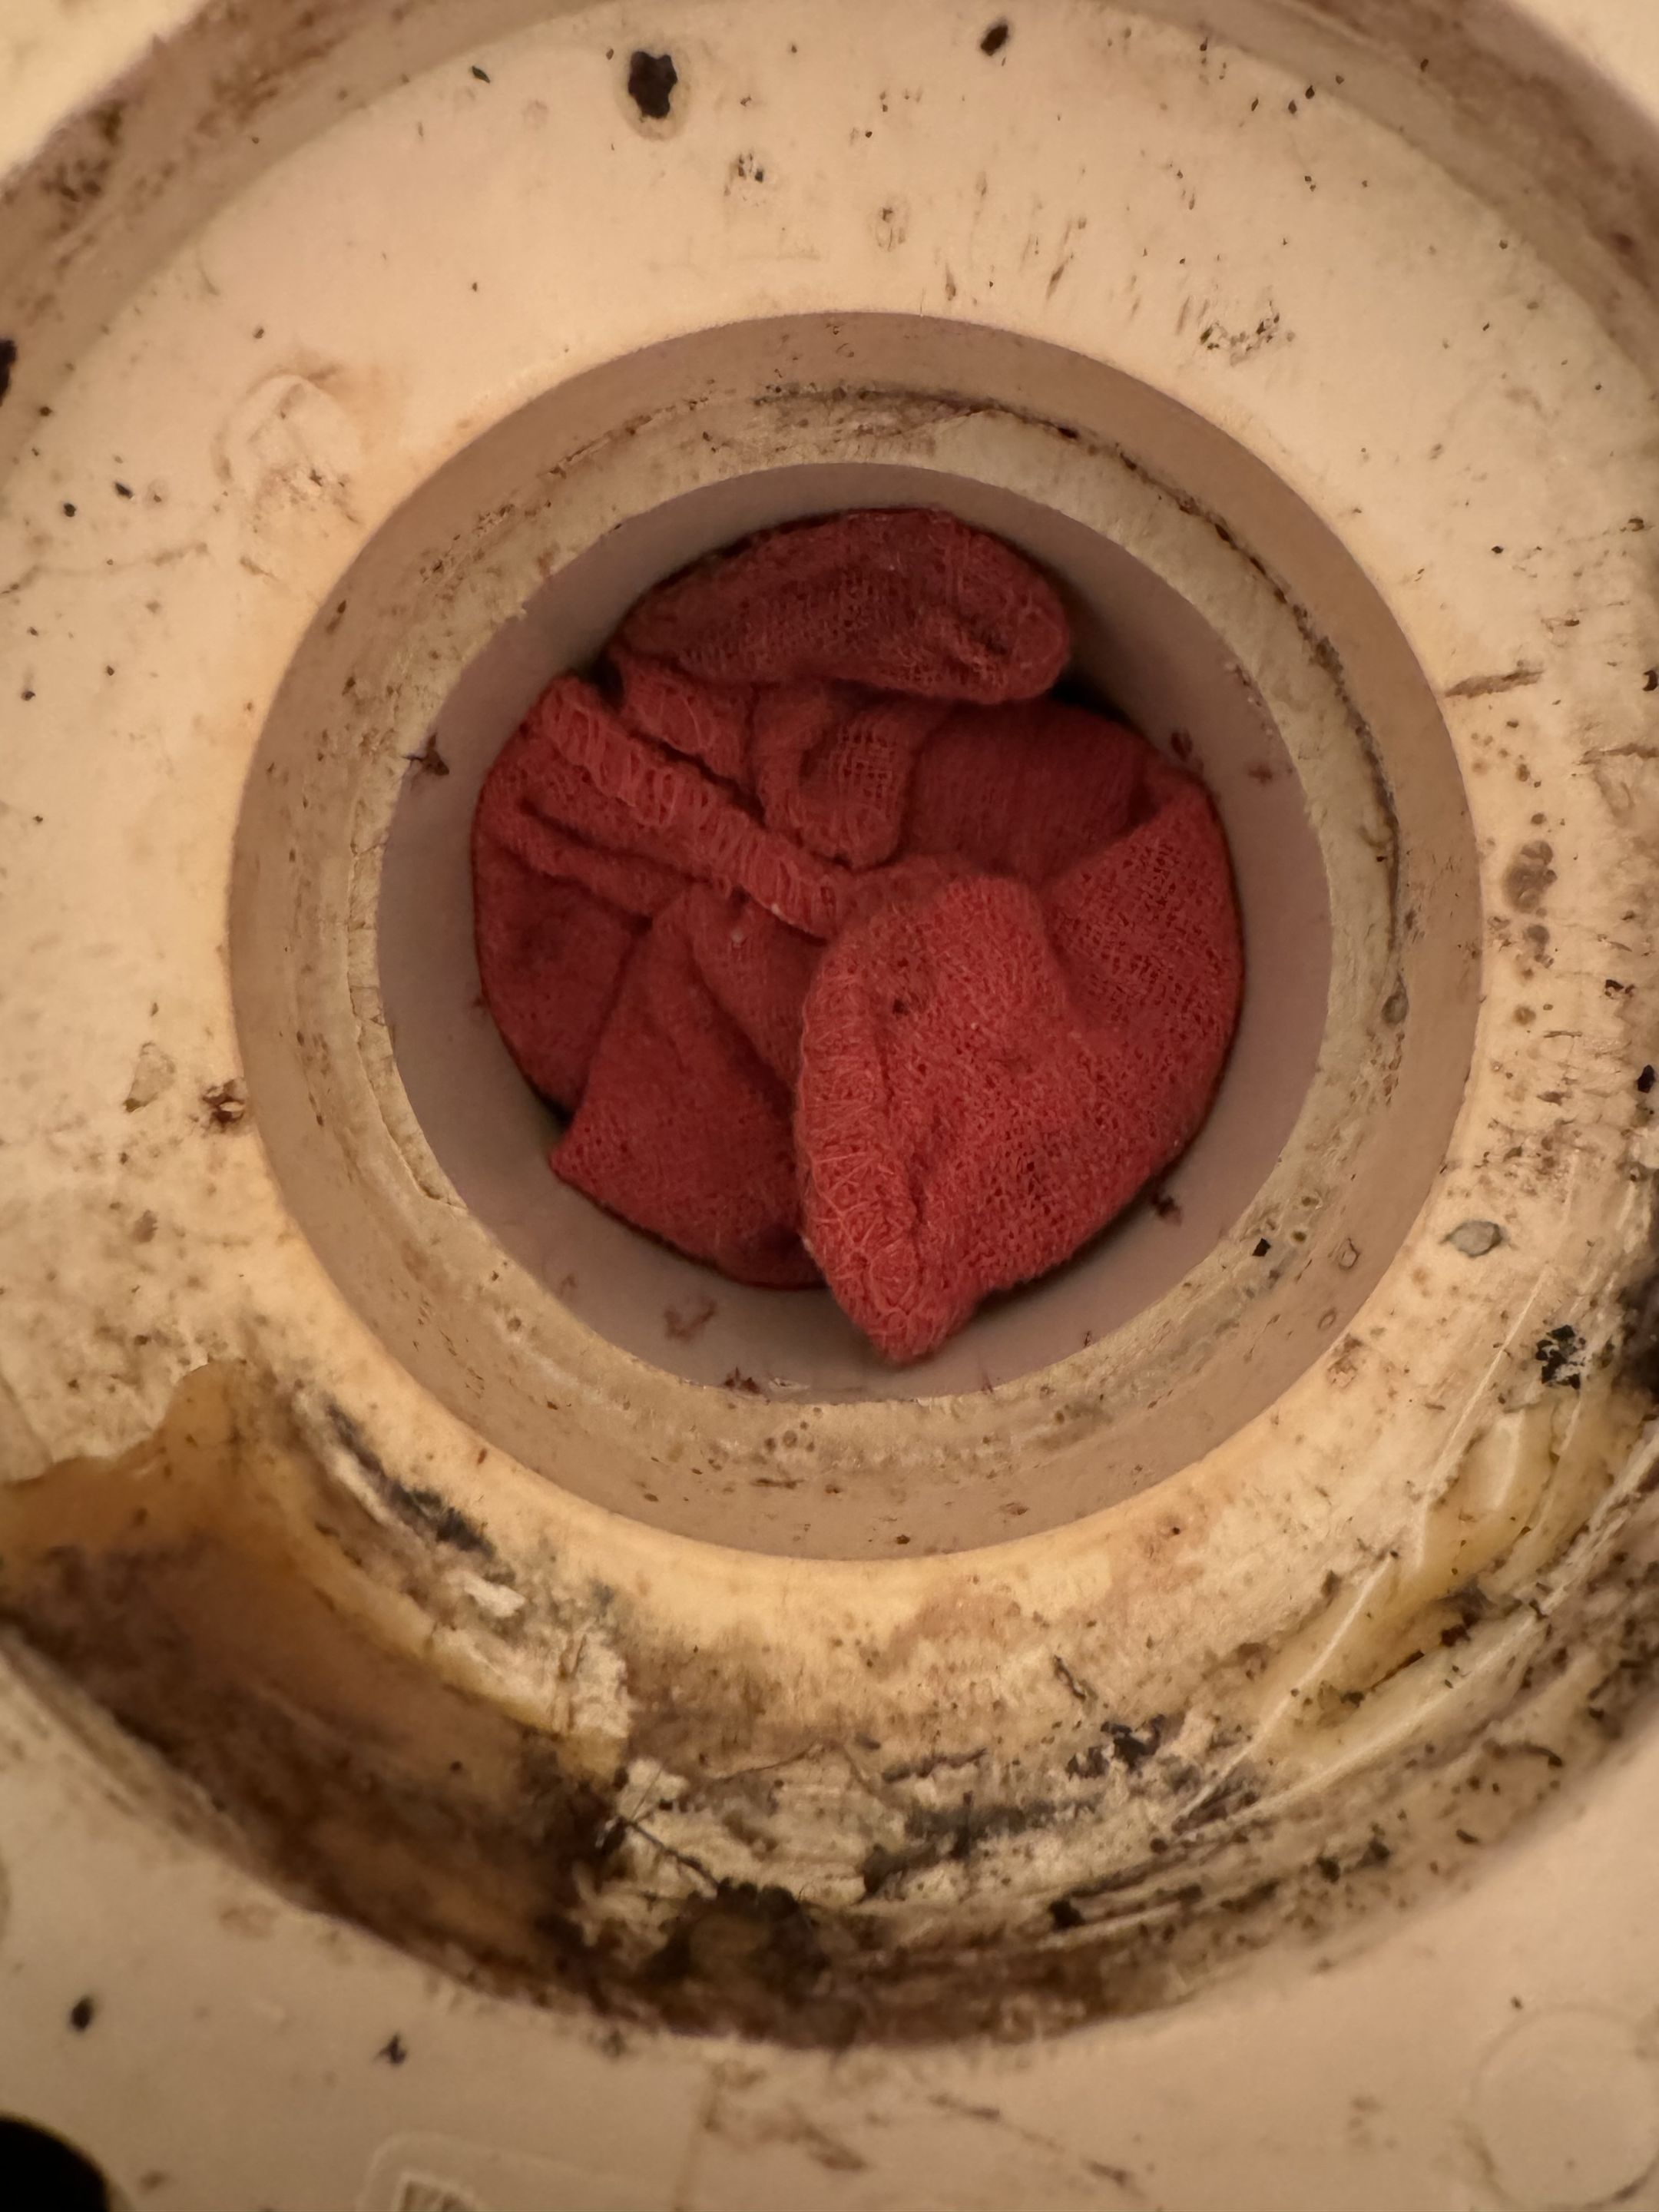
Finally, I stuffed a rag into the pipe to prevent sewer gasses from flowing into the house.
Sunsets runs to Home Depot and Lowe's
Suburban parking lot sunsets somehow always manage to impress.
Also, I gotta say - I absolutely love this truck. My previous Toyota RAV4 Hybrid was great, but this Tacoma enables so much more. I'm getting a ton of use out of it between picking up lumber, hauling construction debris to the dump, carrying my snow blower and ride-on lawn mower to the shop, and much more.
I love the independence of just being able to get shit done rather than trying to schedule a friend with a truck, or renting one from Home Depot, or paying for equipment pickup and drop-off.
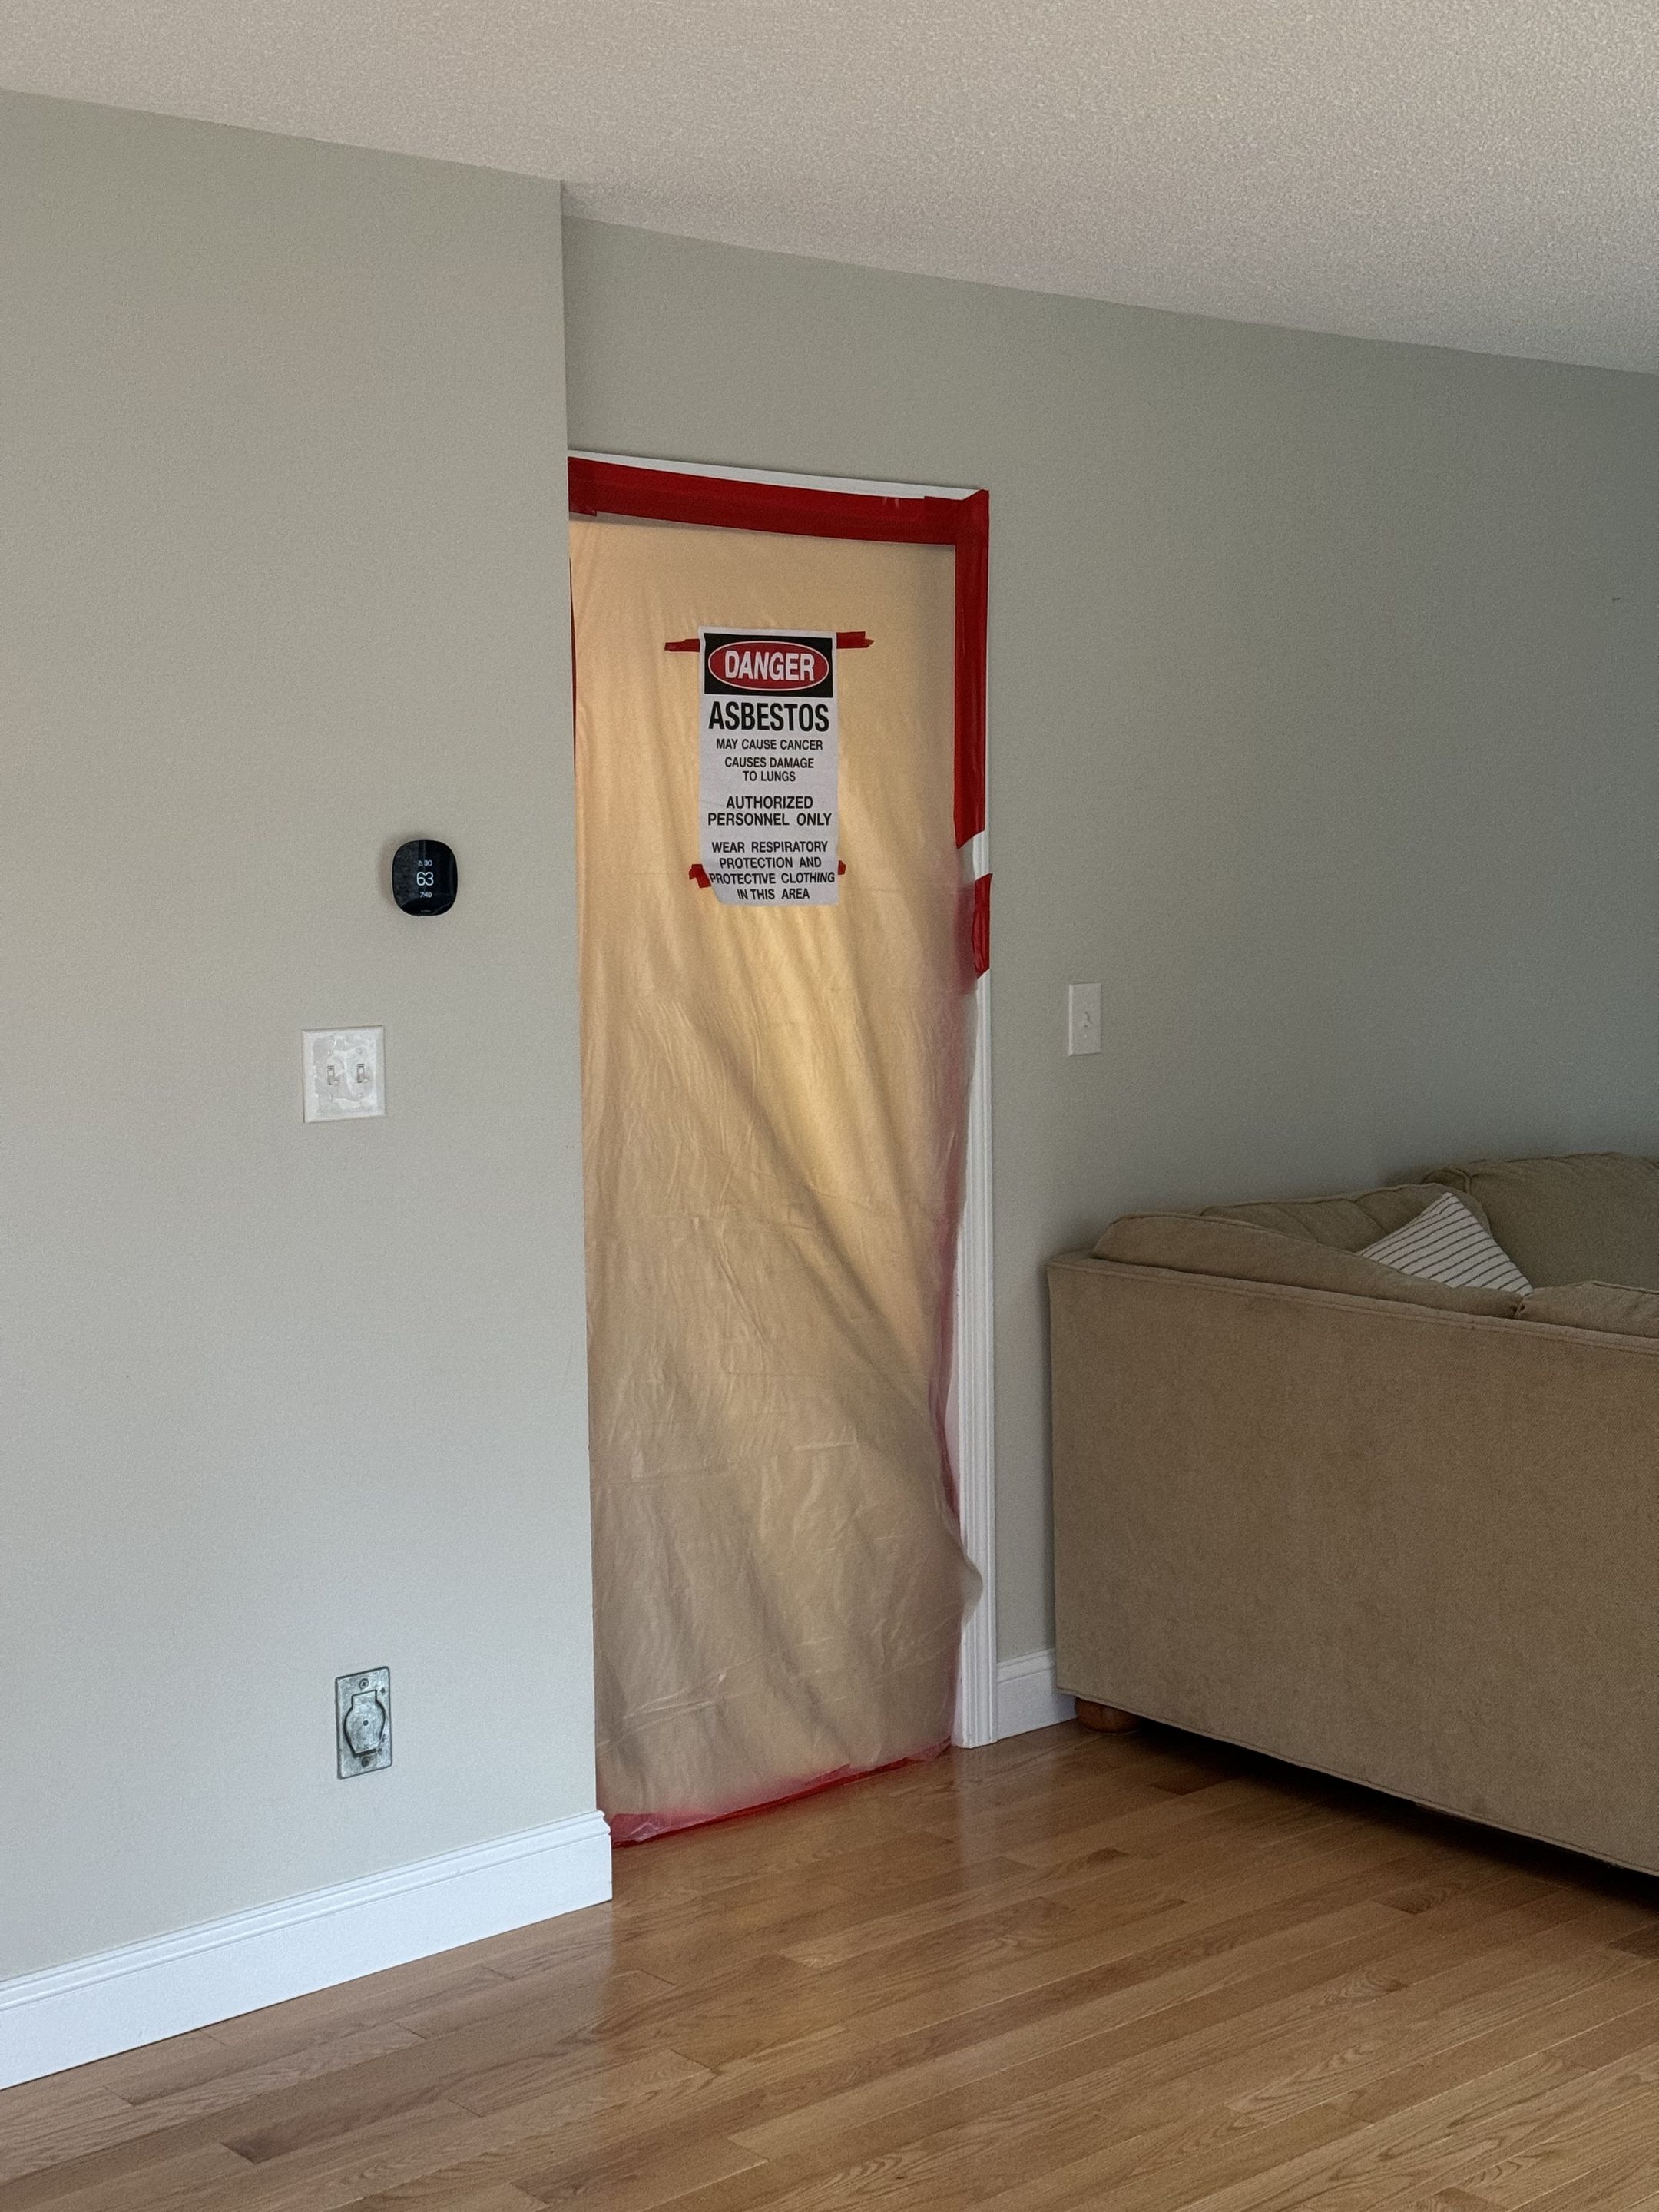
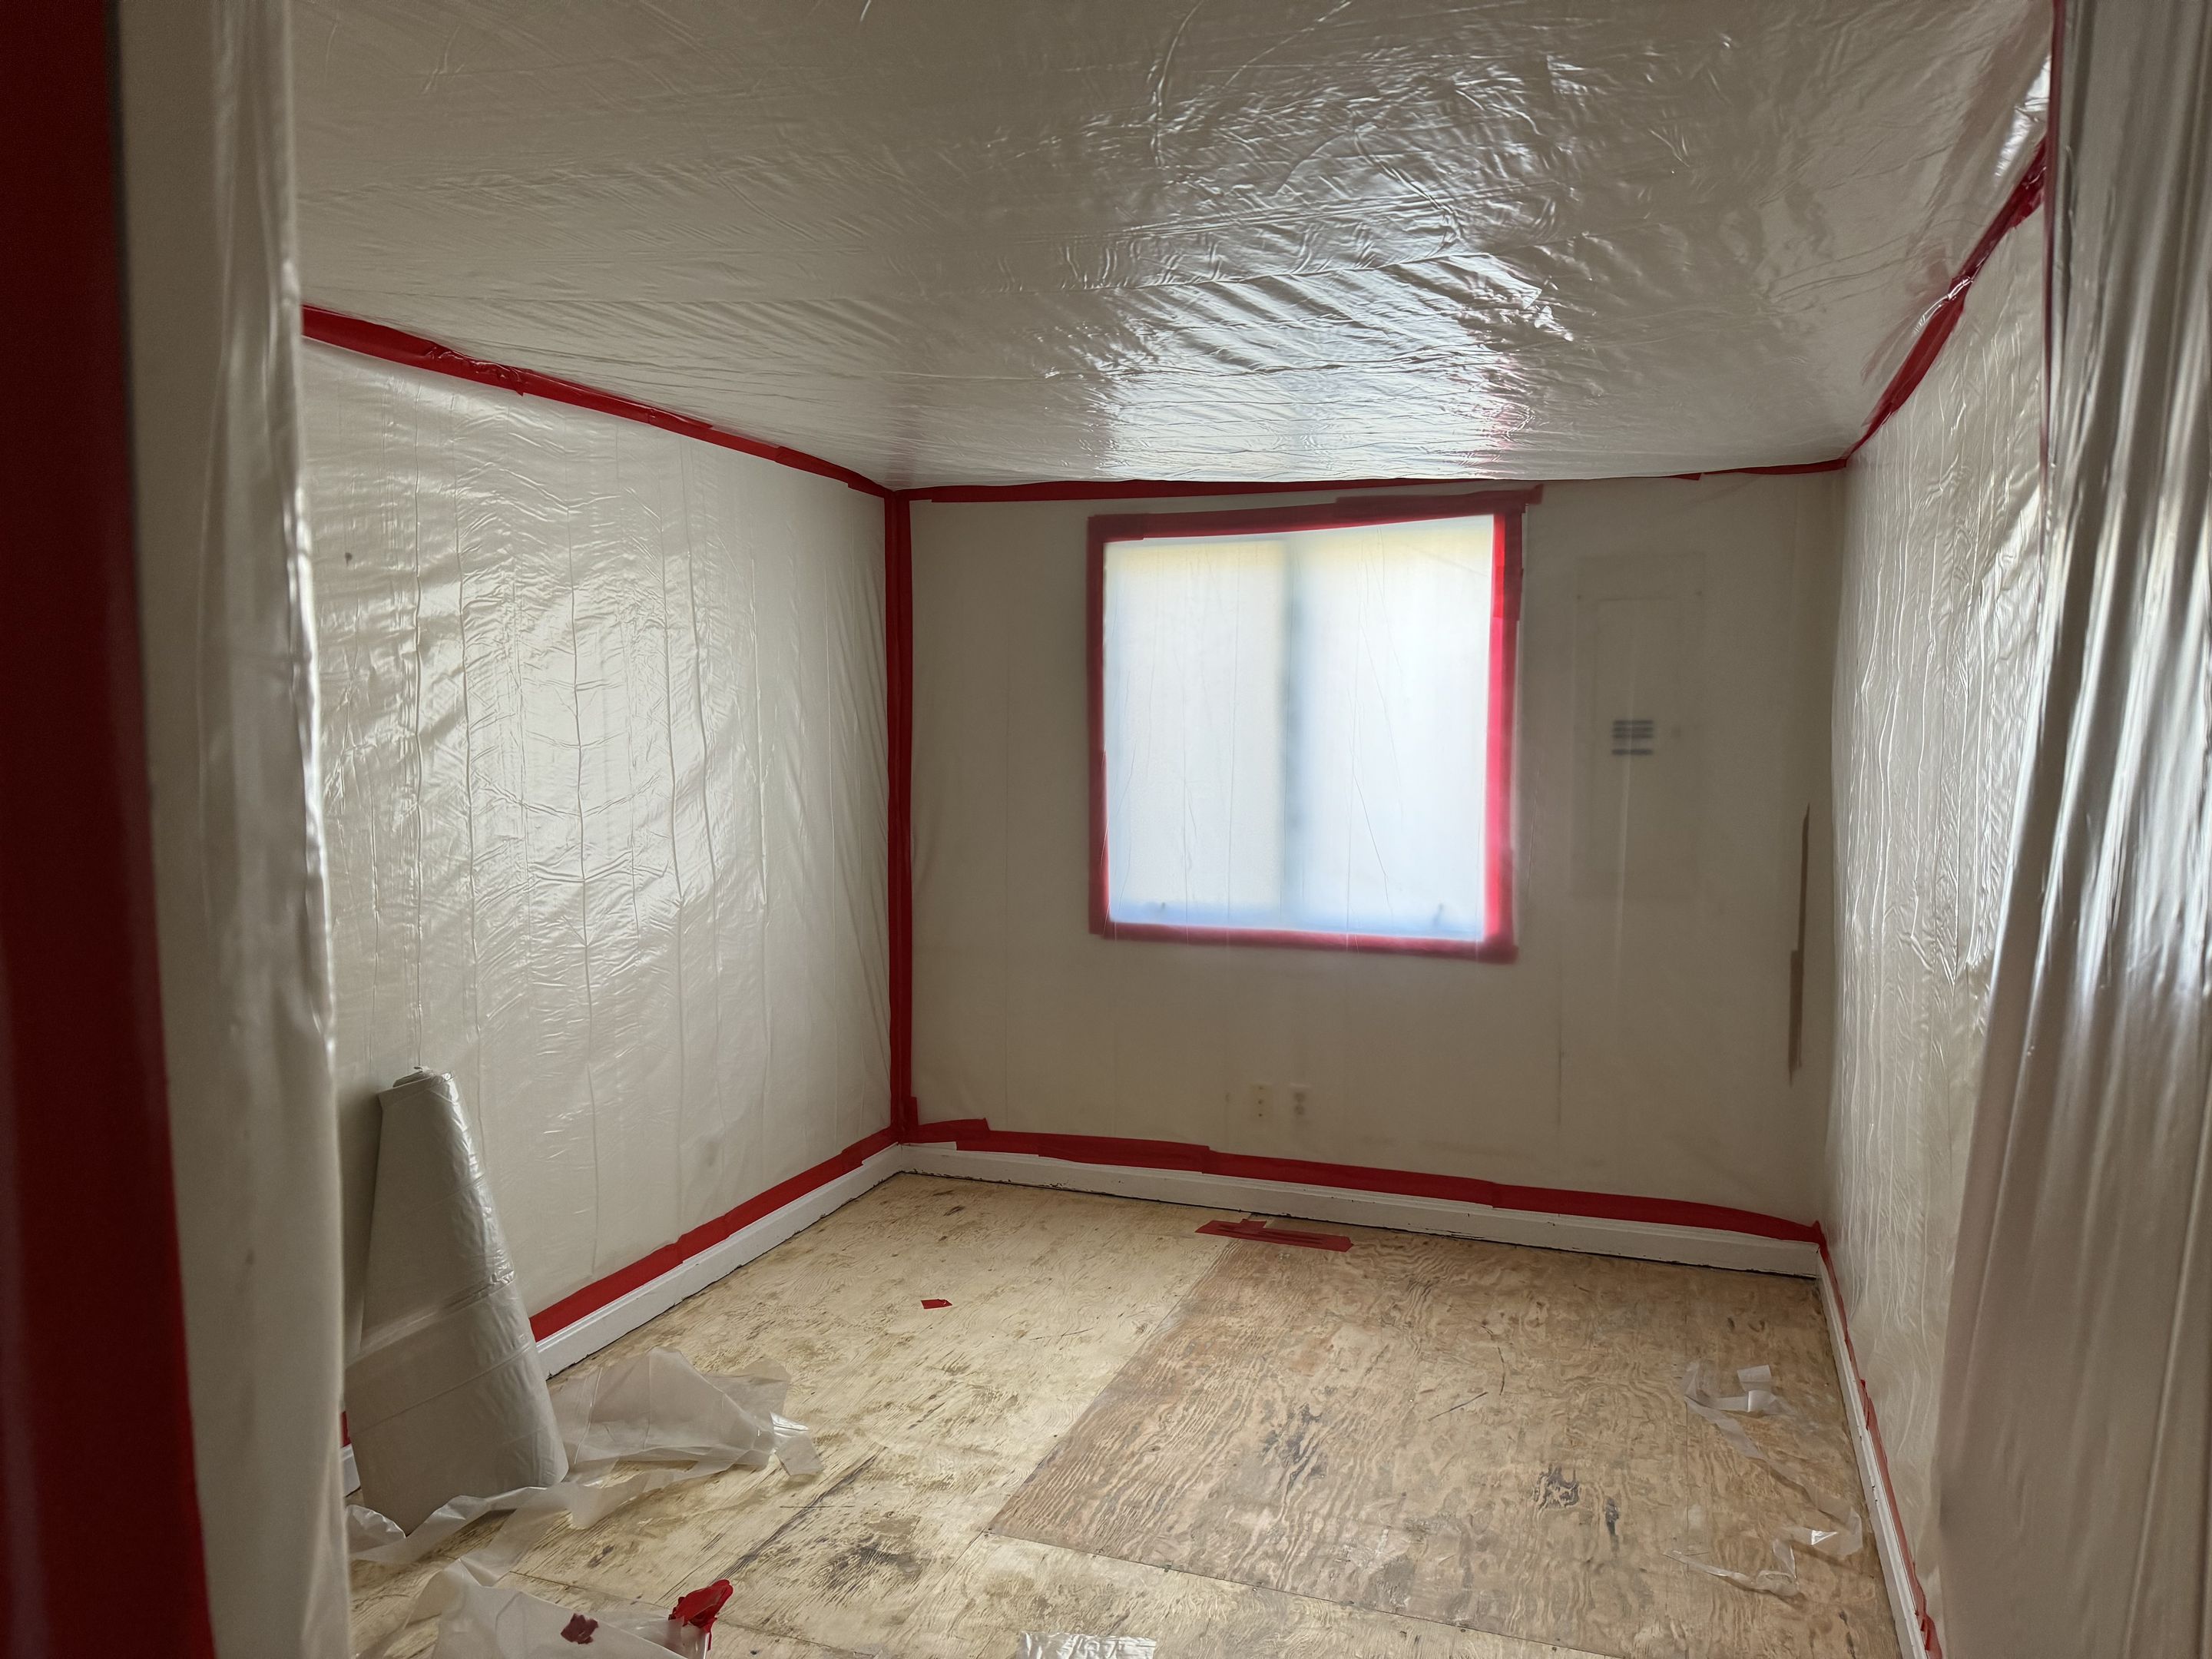
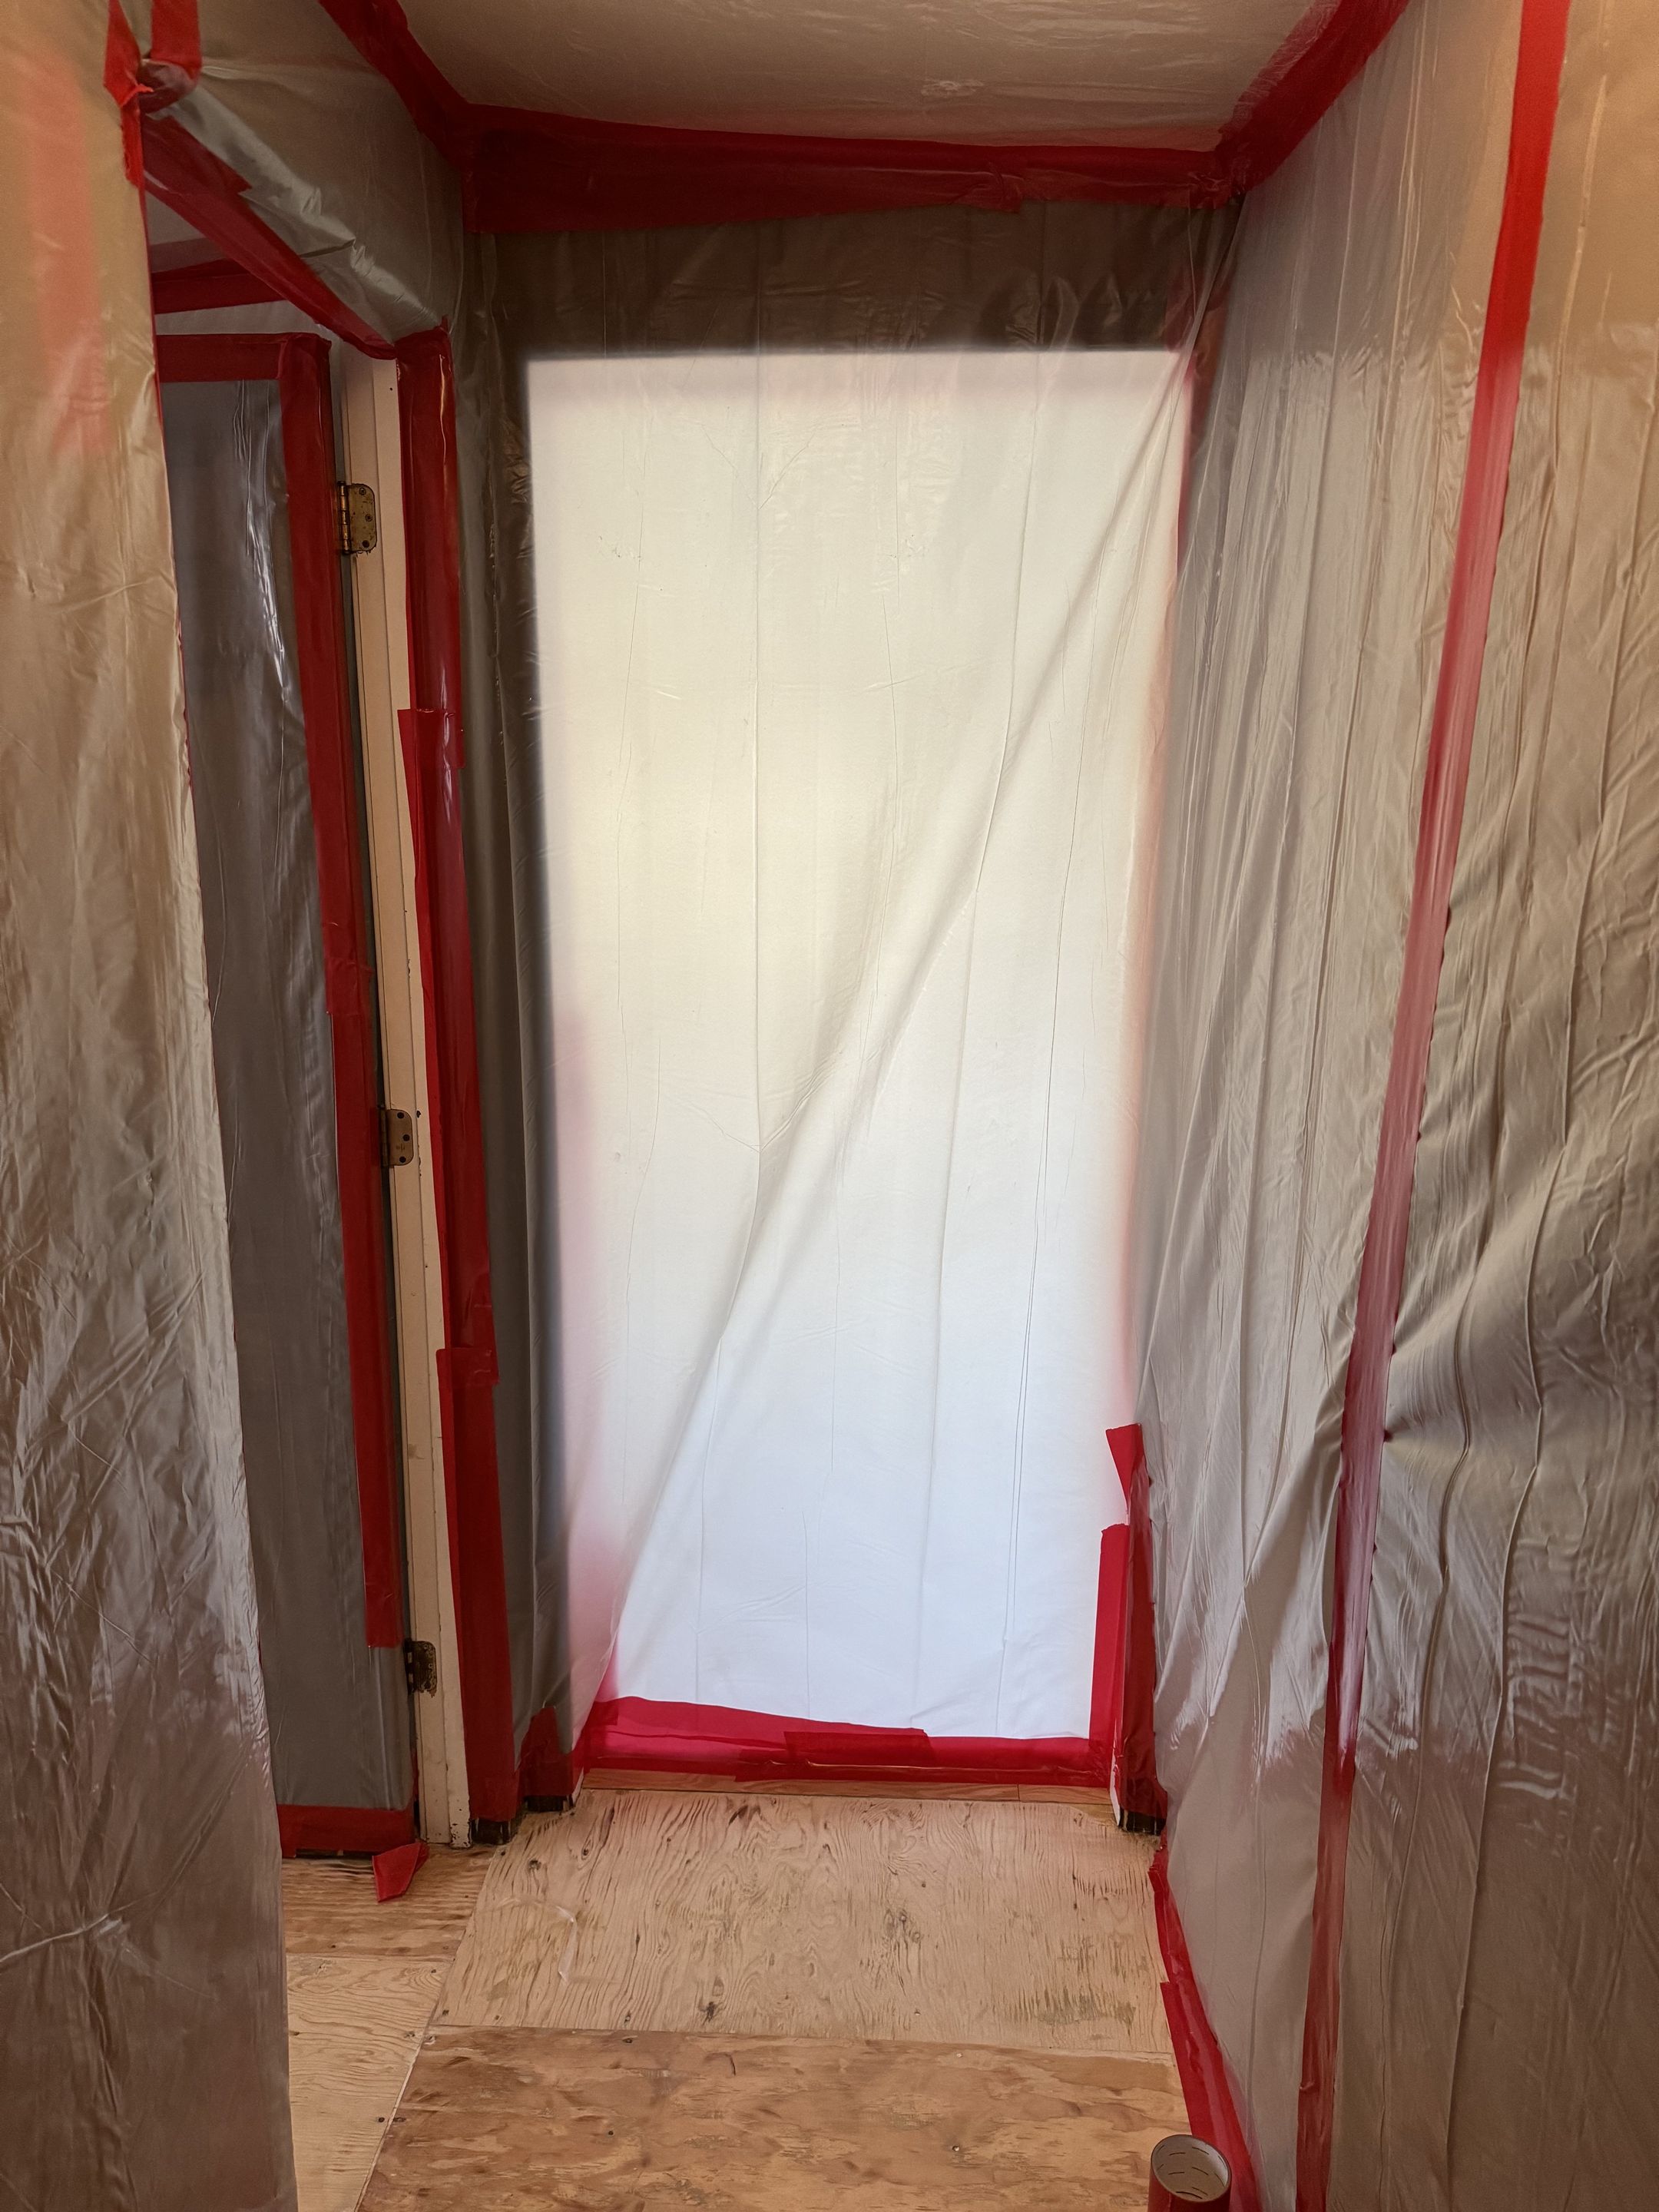
Asbestos abatement
The original bathroom flooring is linoleum that tested positive for asbestos, so we hired a professional company to remove that for us. On the first floor, the bathroom, entry hallway, and laundry room all had asbestos-based linoleum, so we had it all removed in one go.
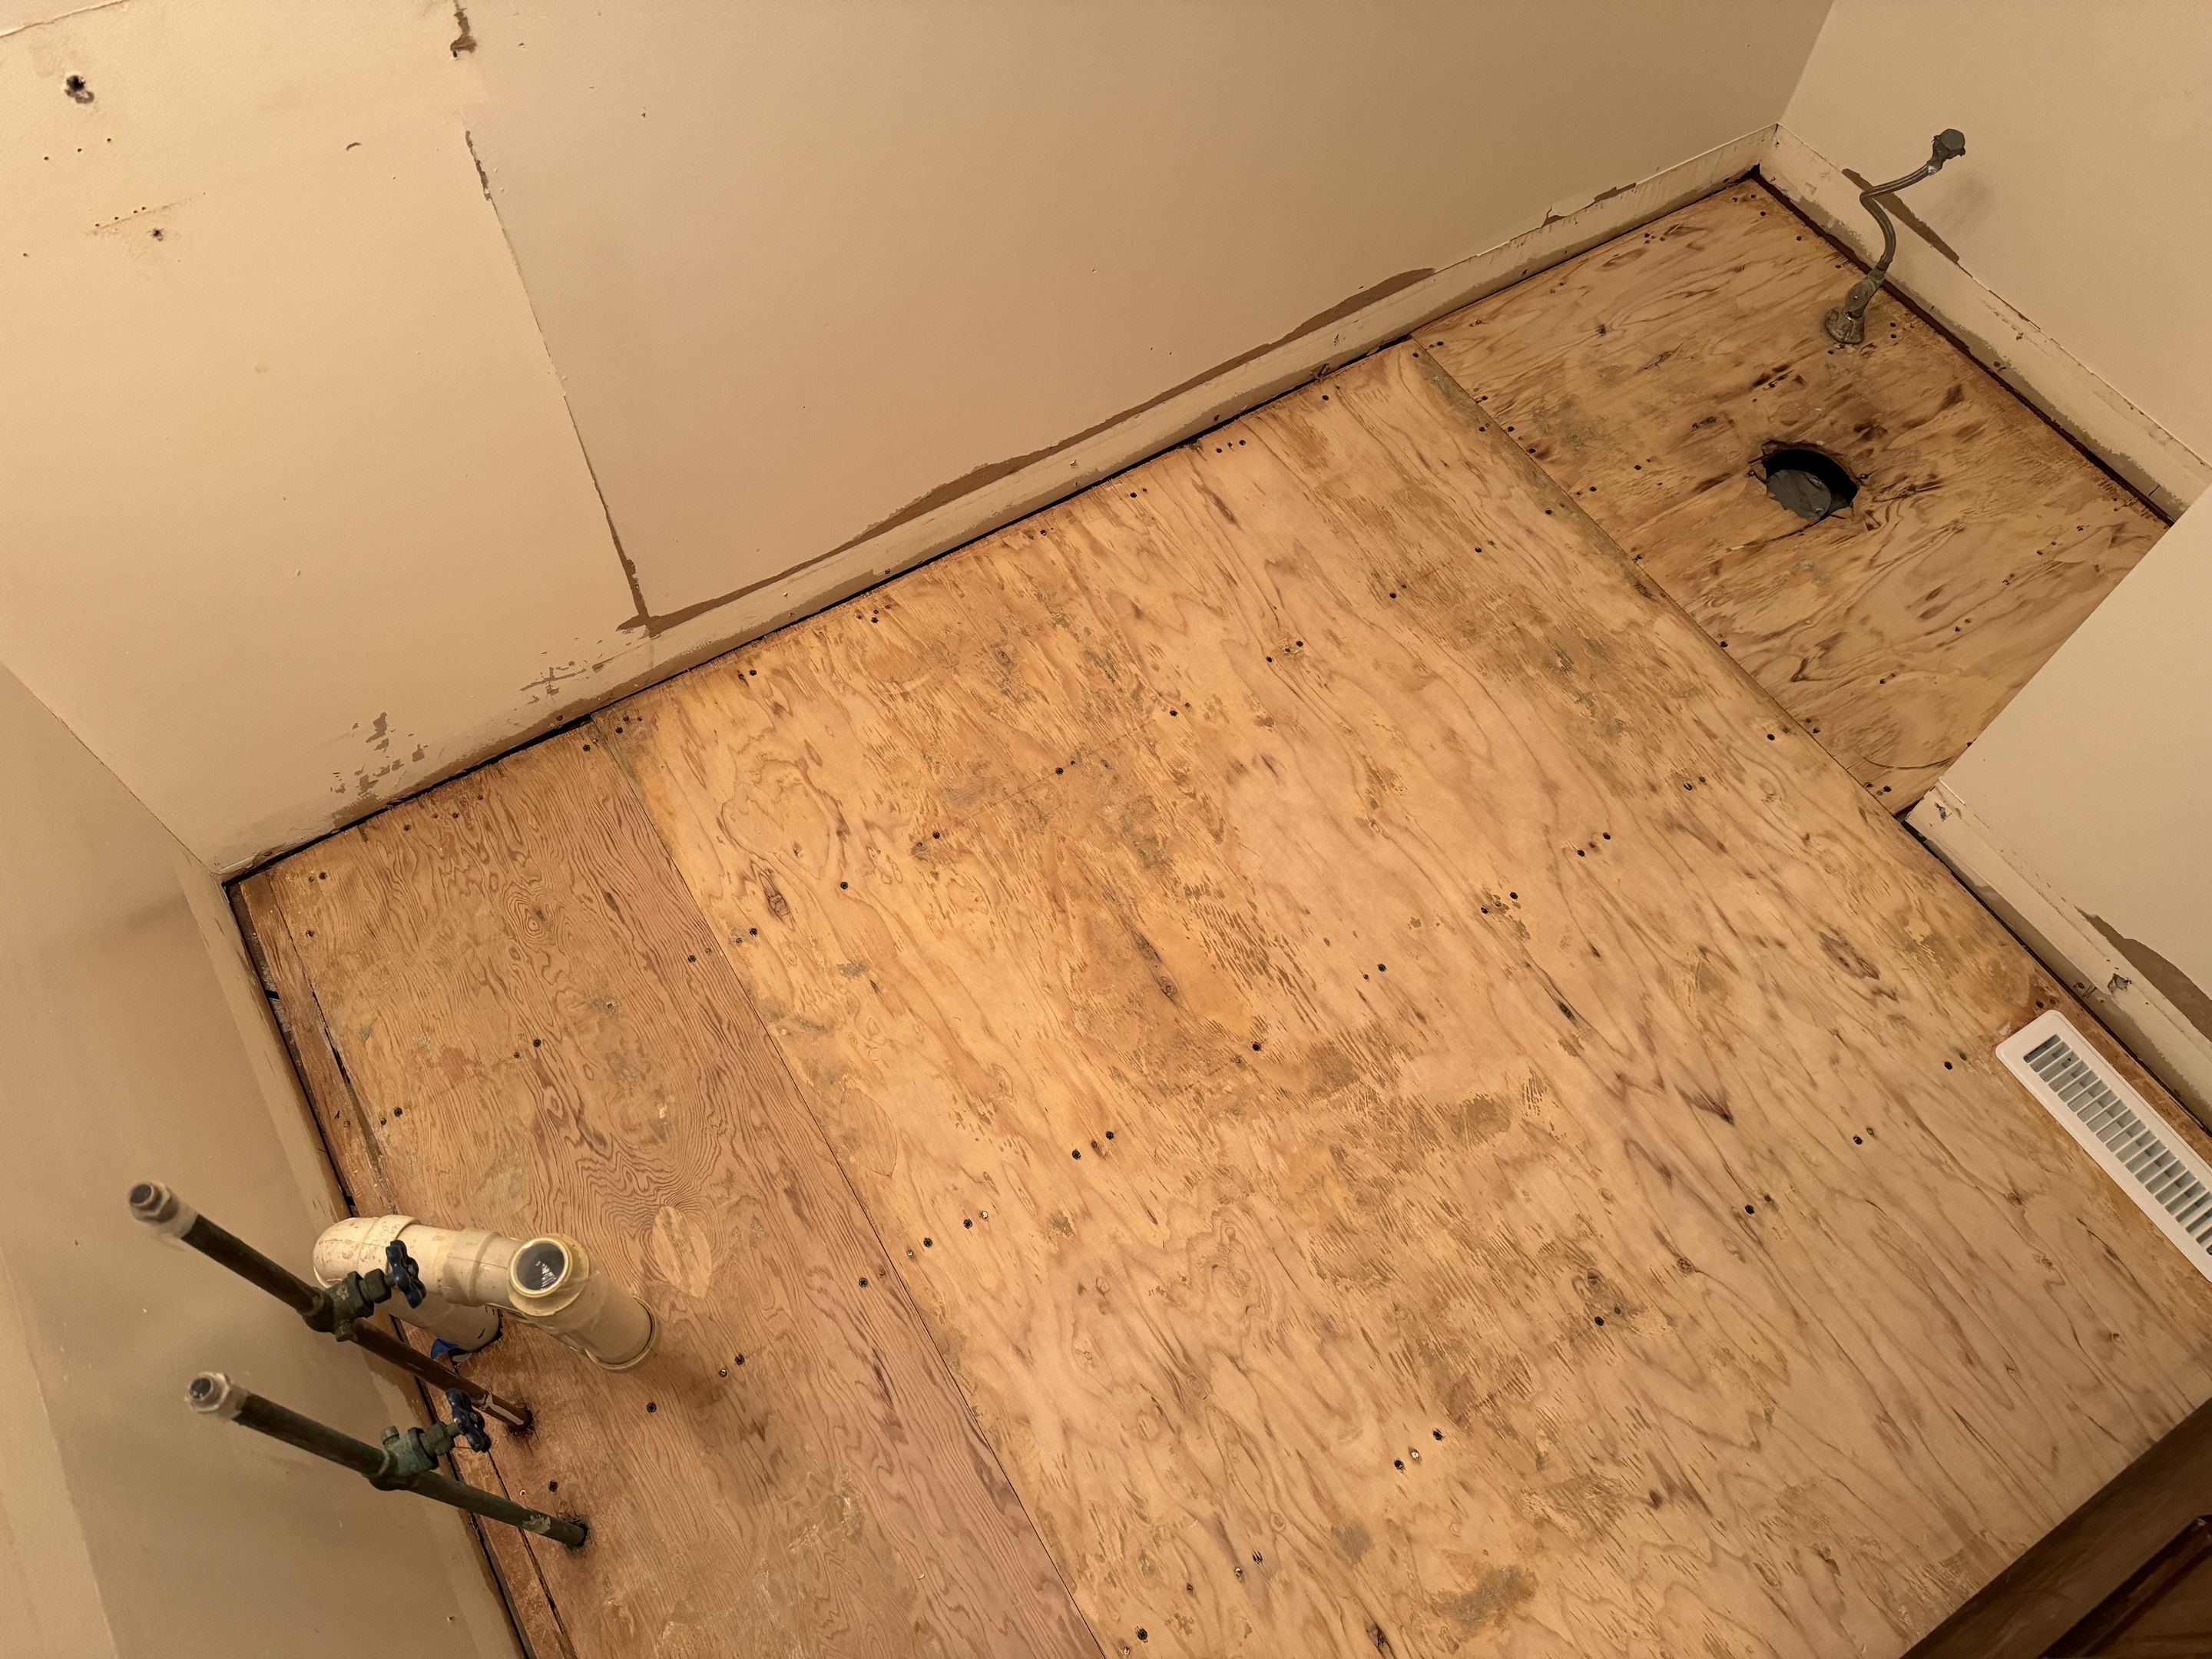
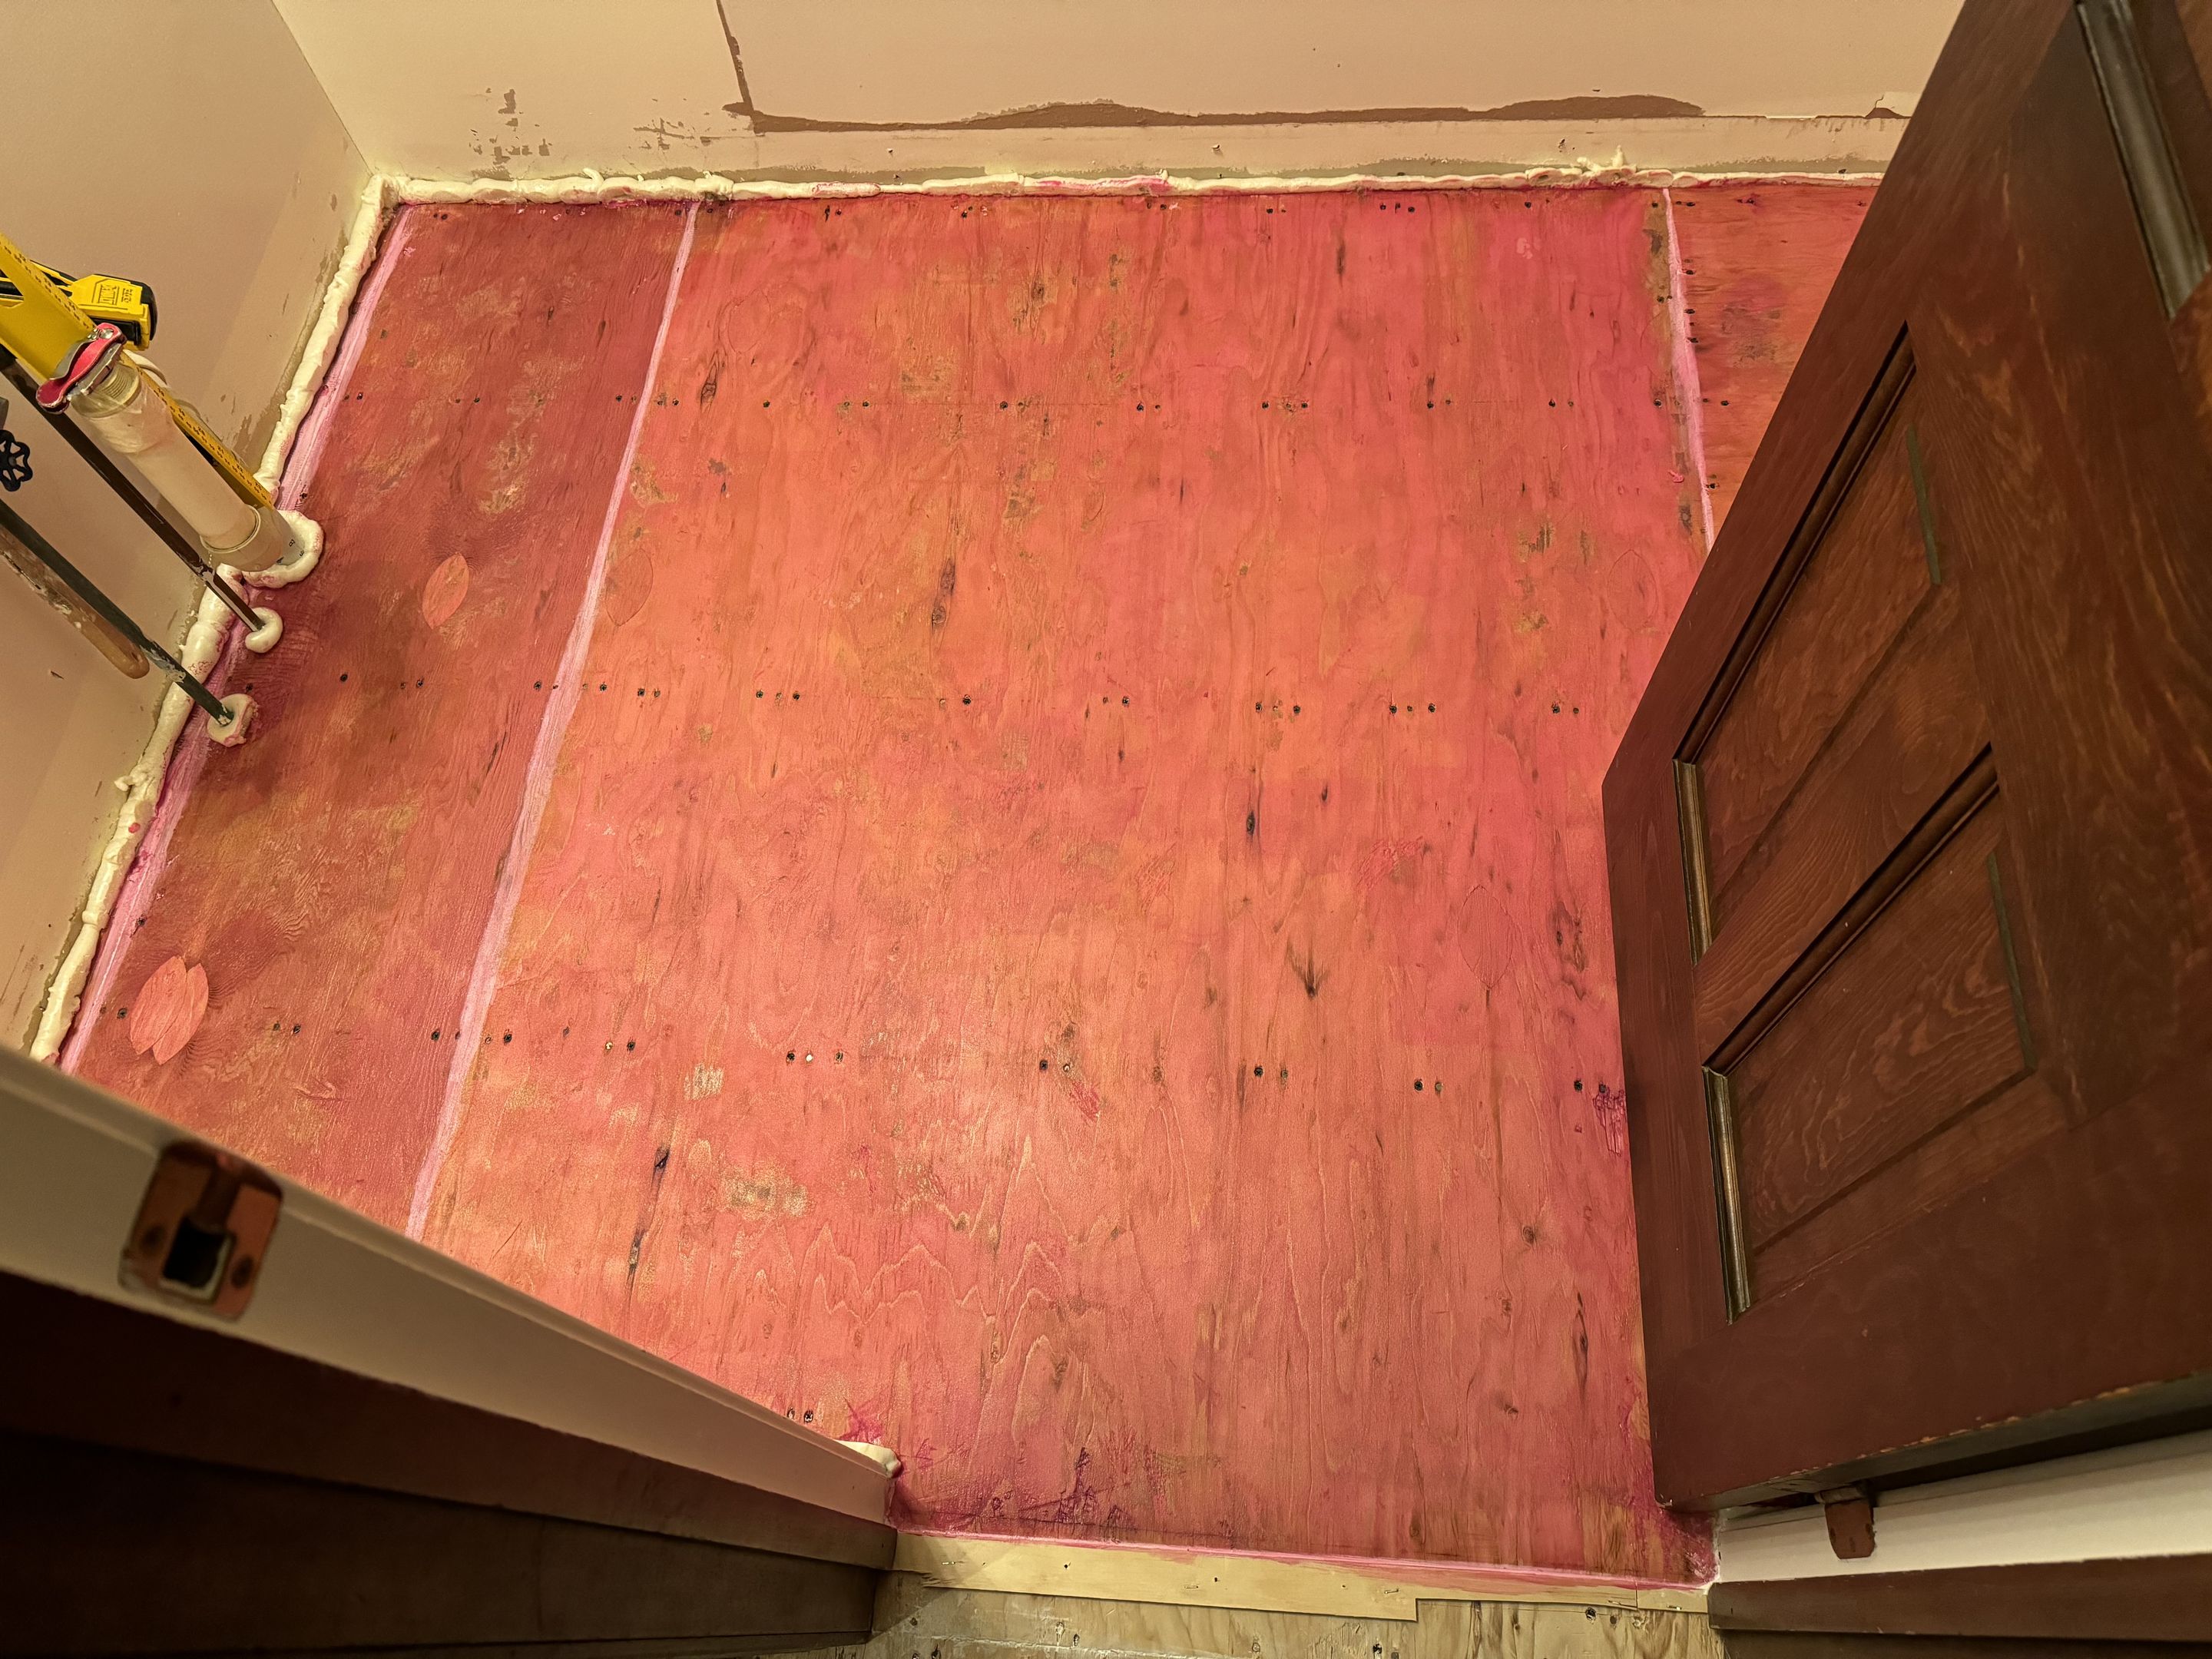
The end result was a fully-exposed plywood subfloor and a room that is safe for me to work in again.
Getting rid of squeaks
I also went through and added long screws next to every nail in the subfloor, fully securing the floor to the joists below. This completely eliminated all squeaky spots in the floor.
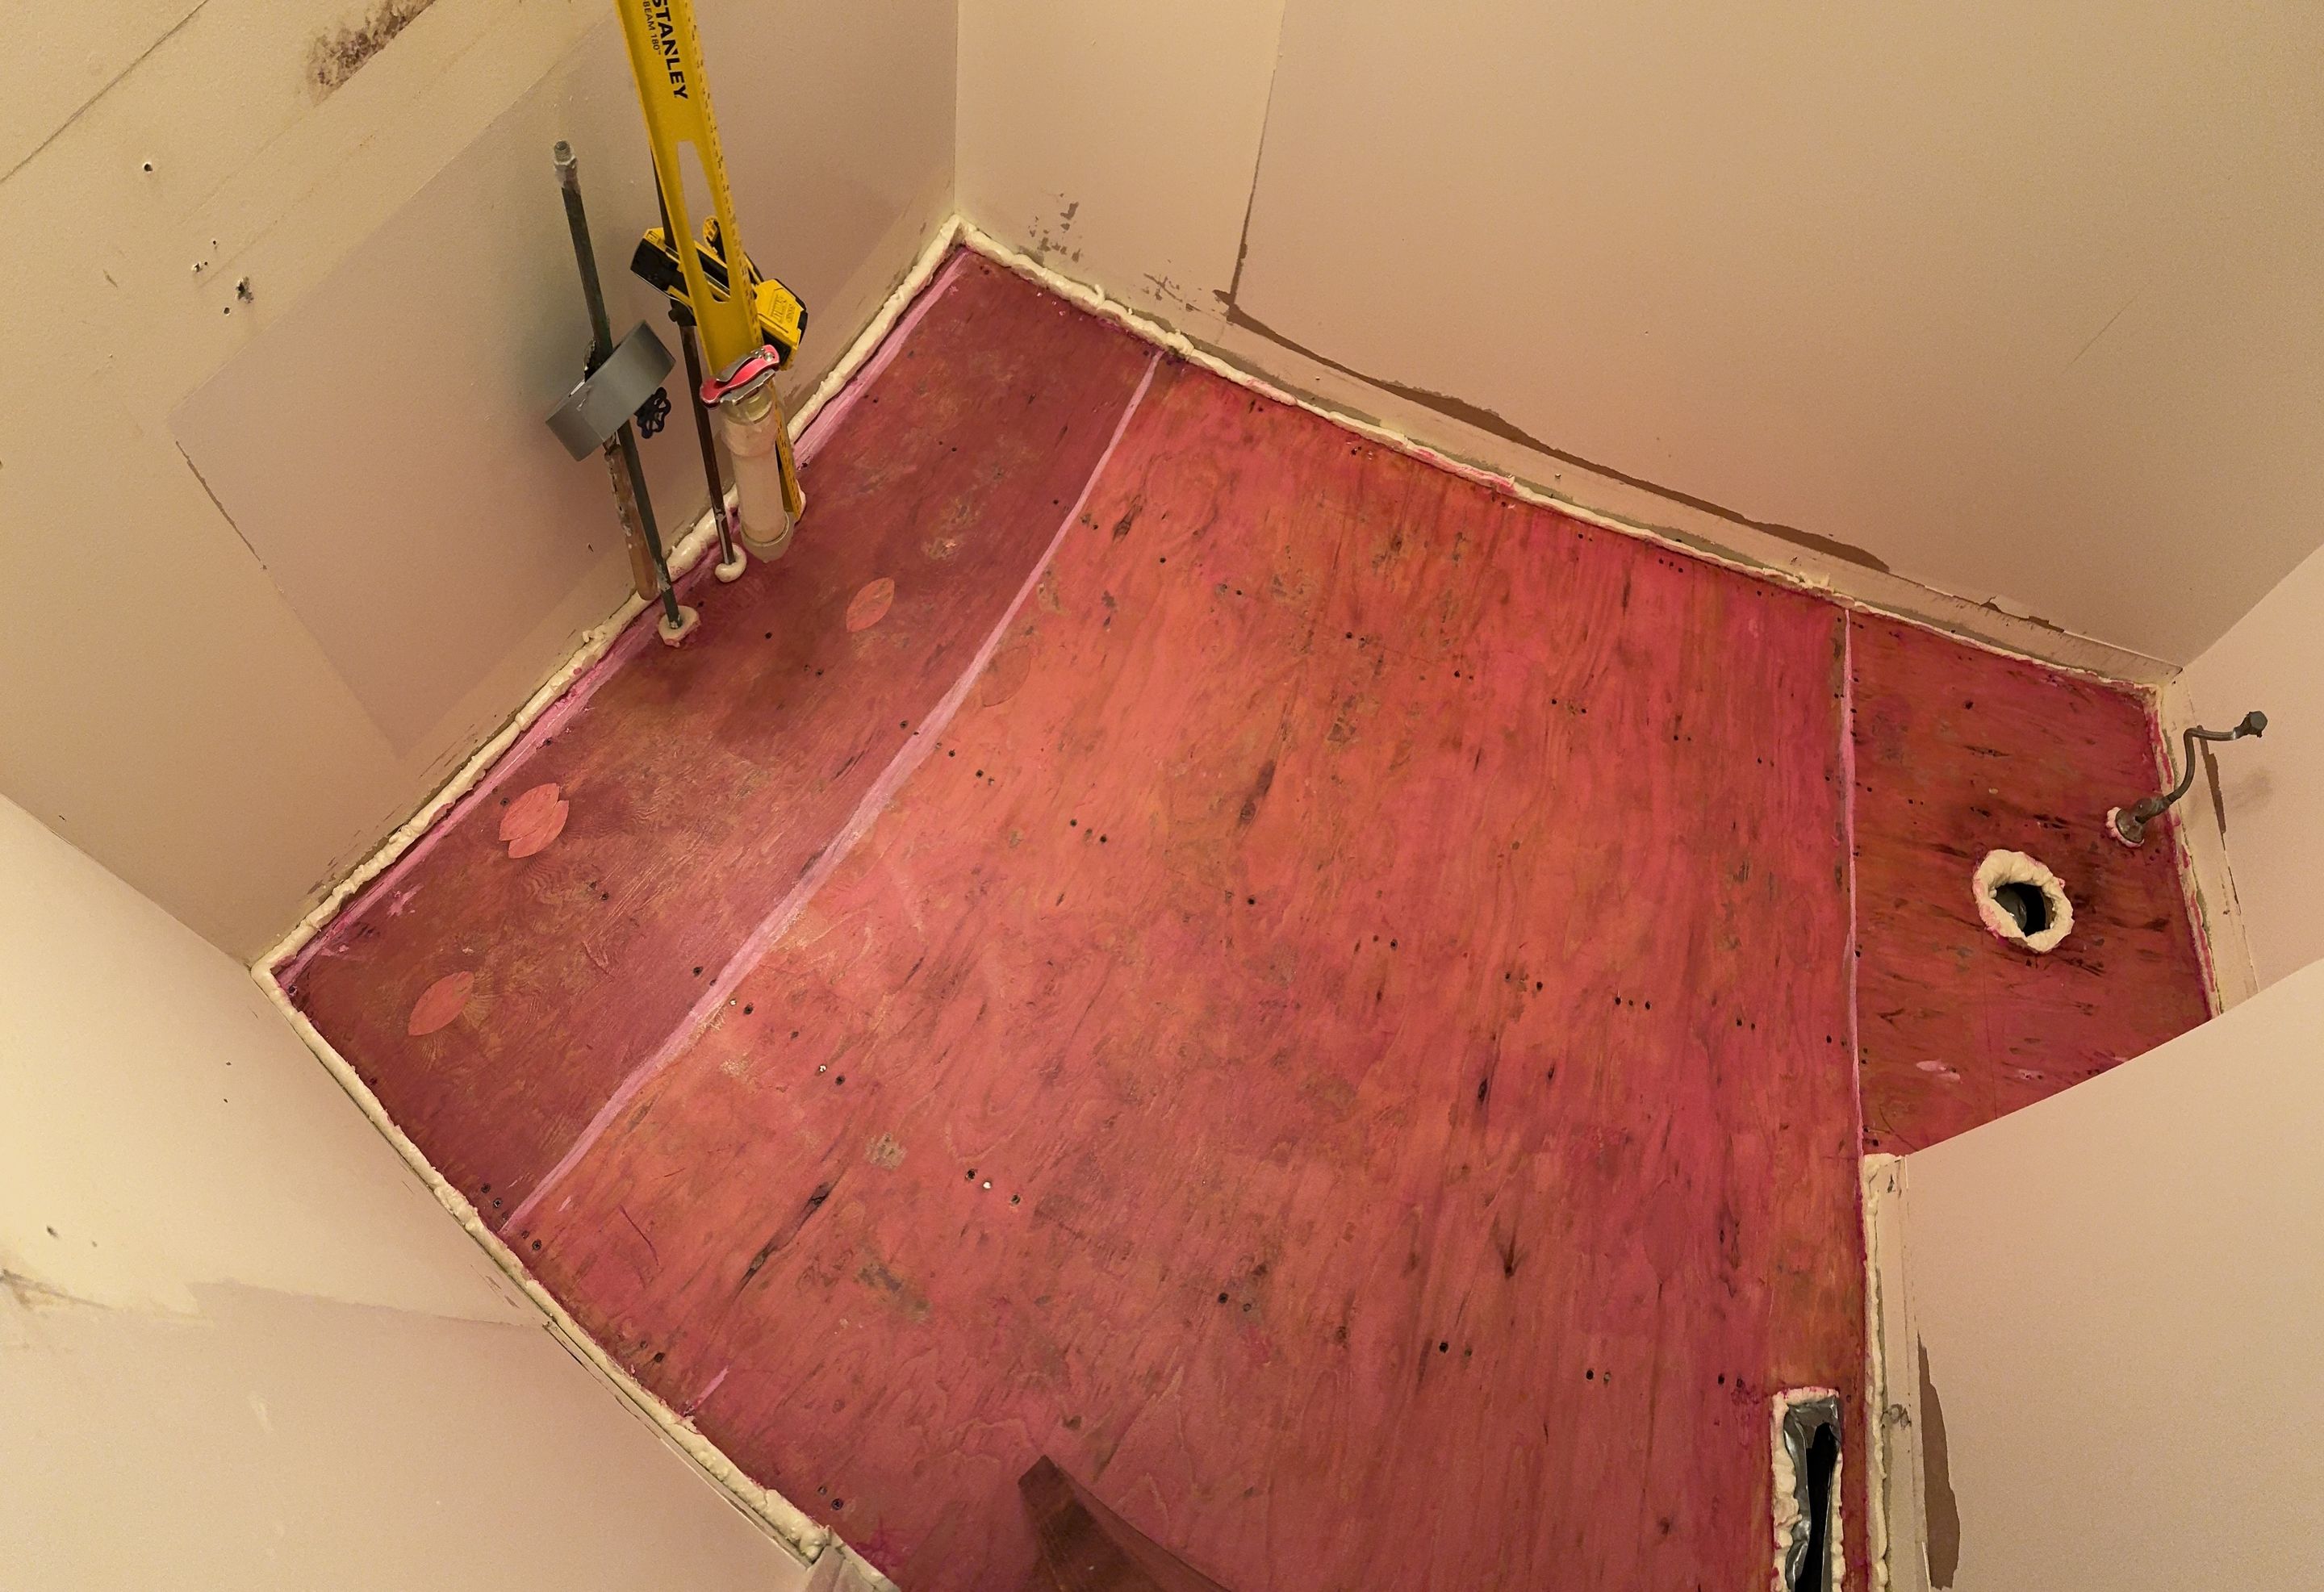
Preparing the floor for tile
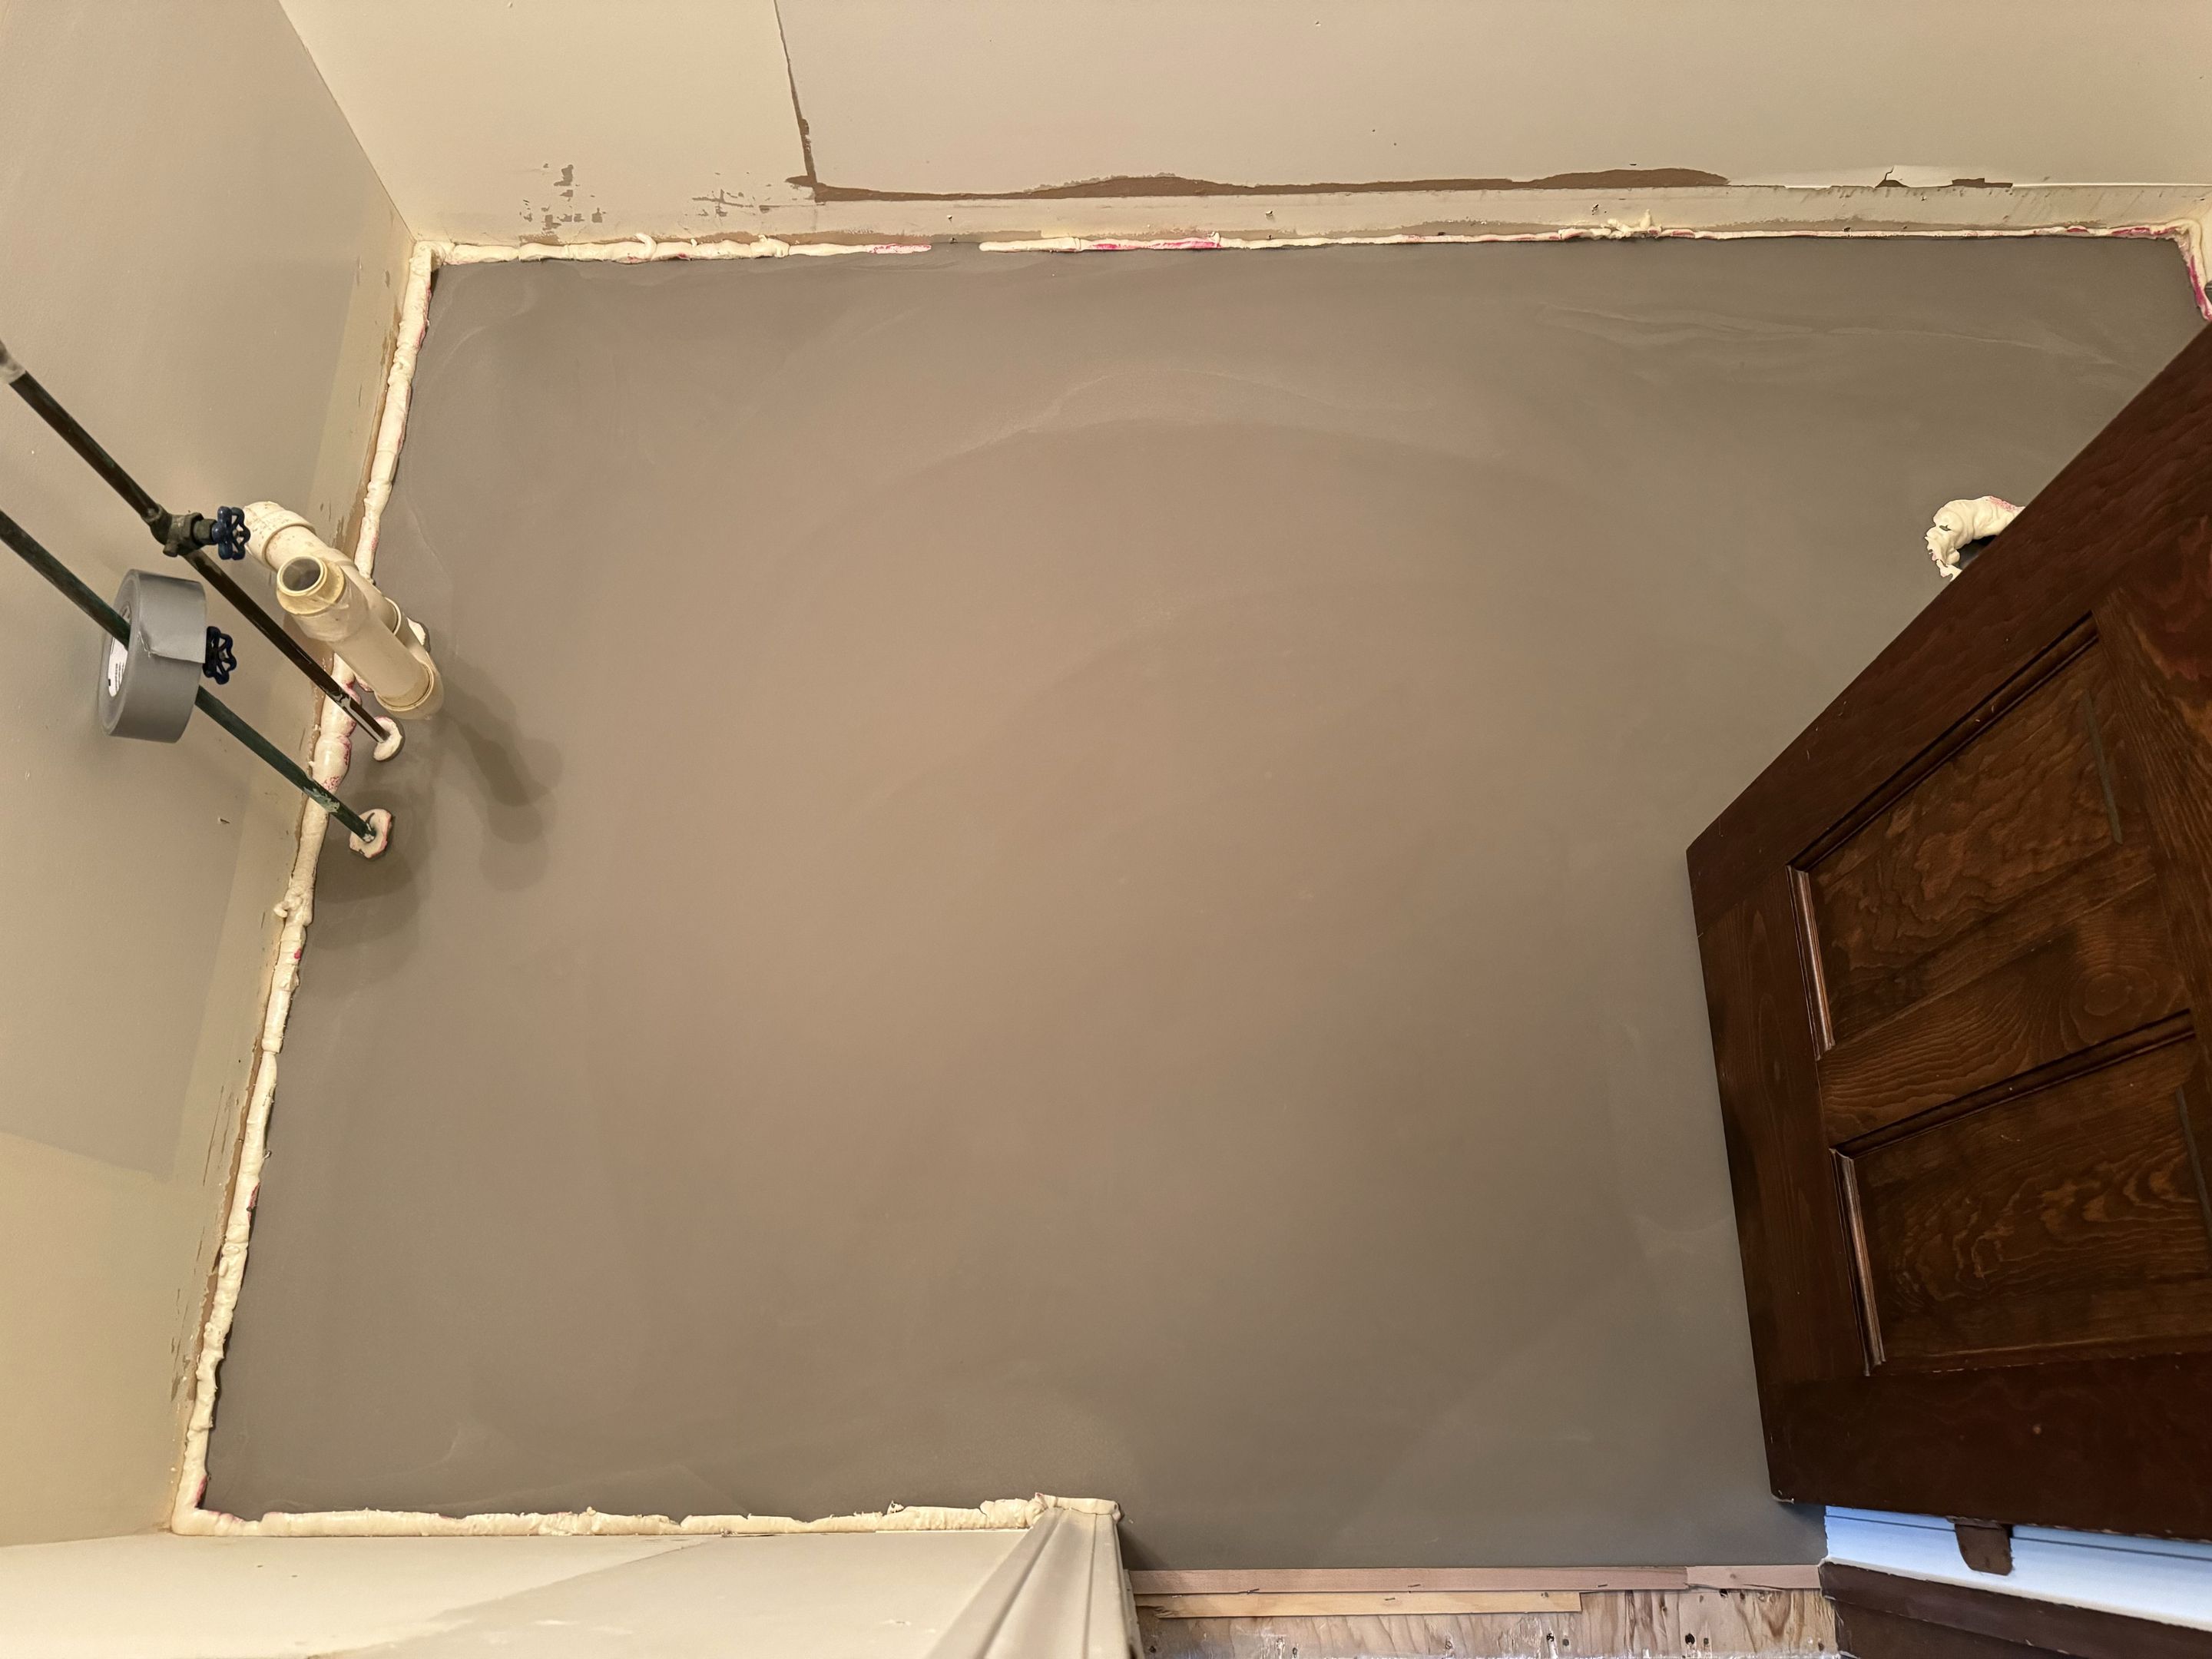
The plywood subfloor has significant high and low spots, so I’ll be using self-leveling underlayment to create a flat and level surface for tile.
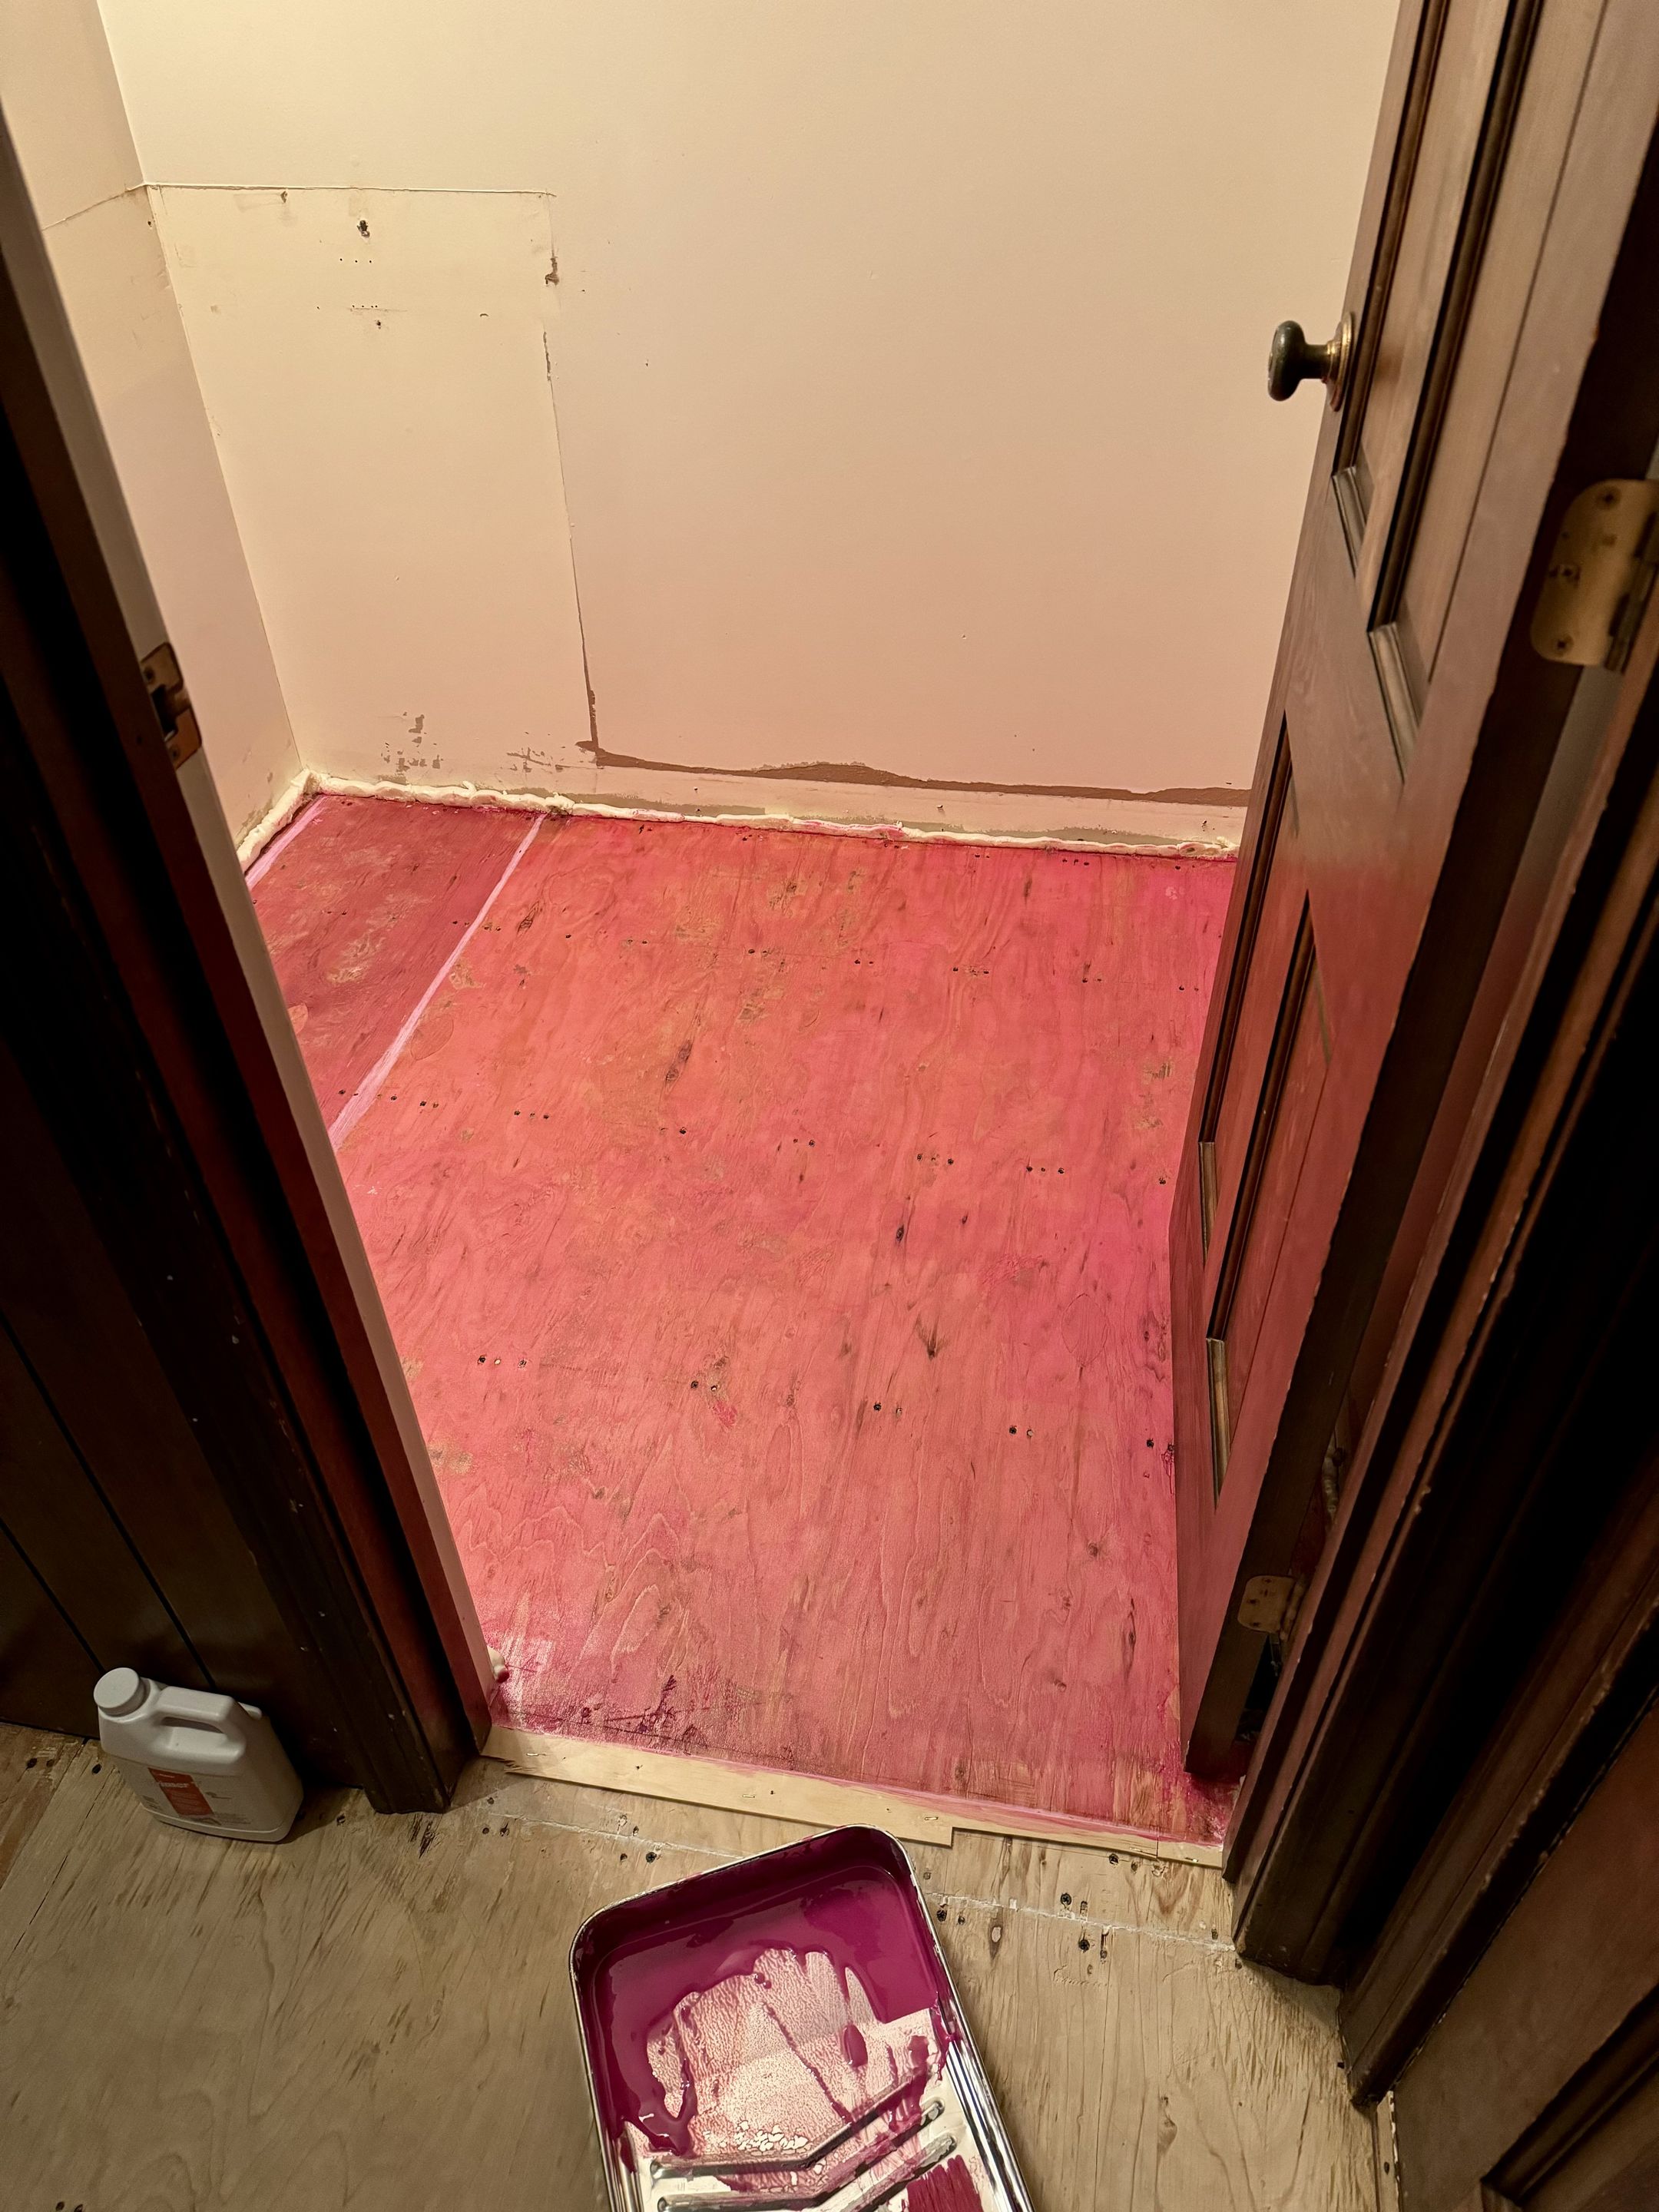
The self-leveling compound is a runny, concrete-like mix, so I sealed all holes, gaps, and cracks with spray foam and caulk. It's also advised to leave a gap between the self-leveling underlayment and the walls to allow for natural expansion and contraction, so the spray foam achieves that as well.
Finally, I painted the subfloor with a special primer to prepare it for the self-leveling compound. This ensures the compound adheres to the surface properly.
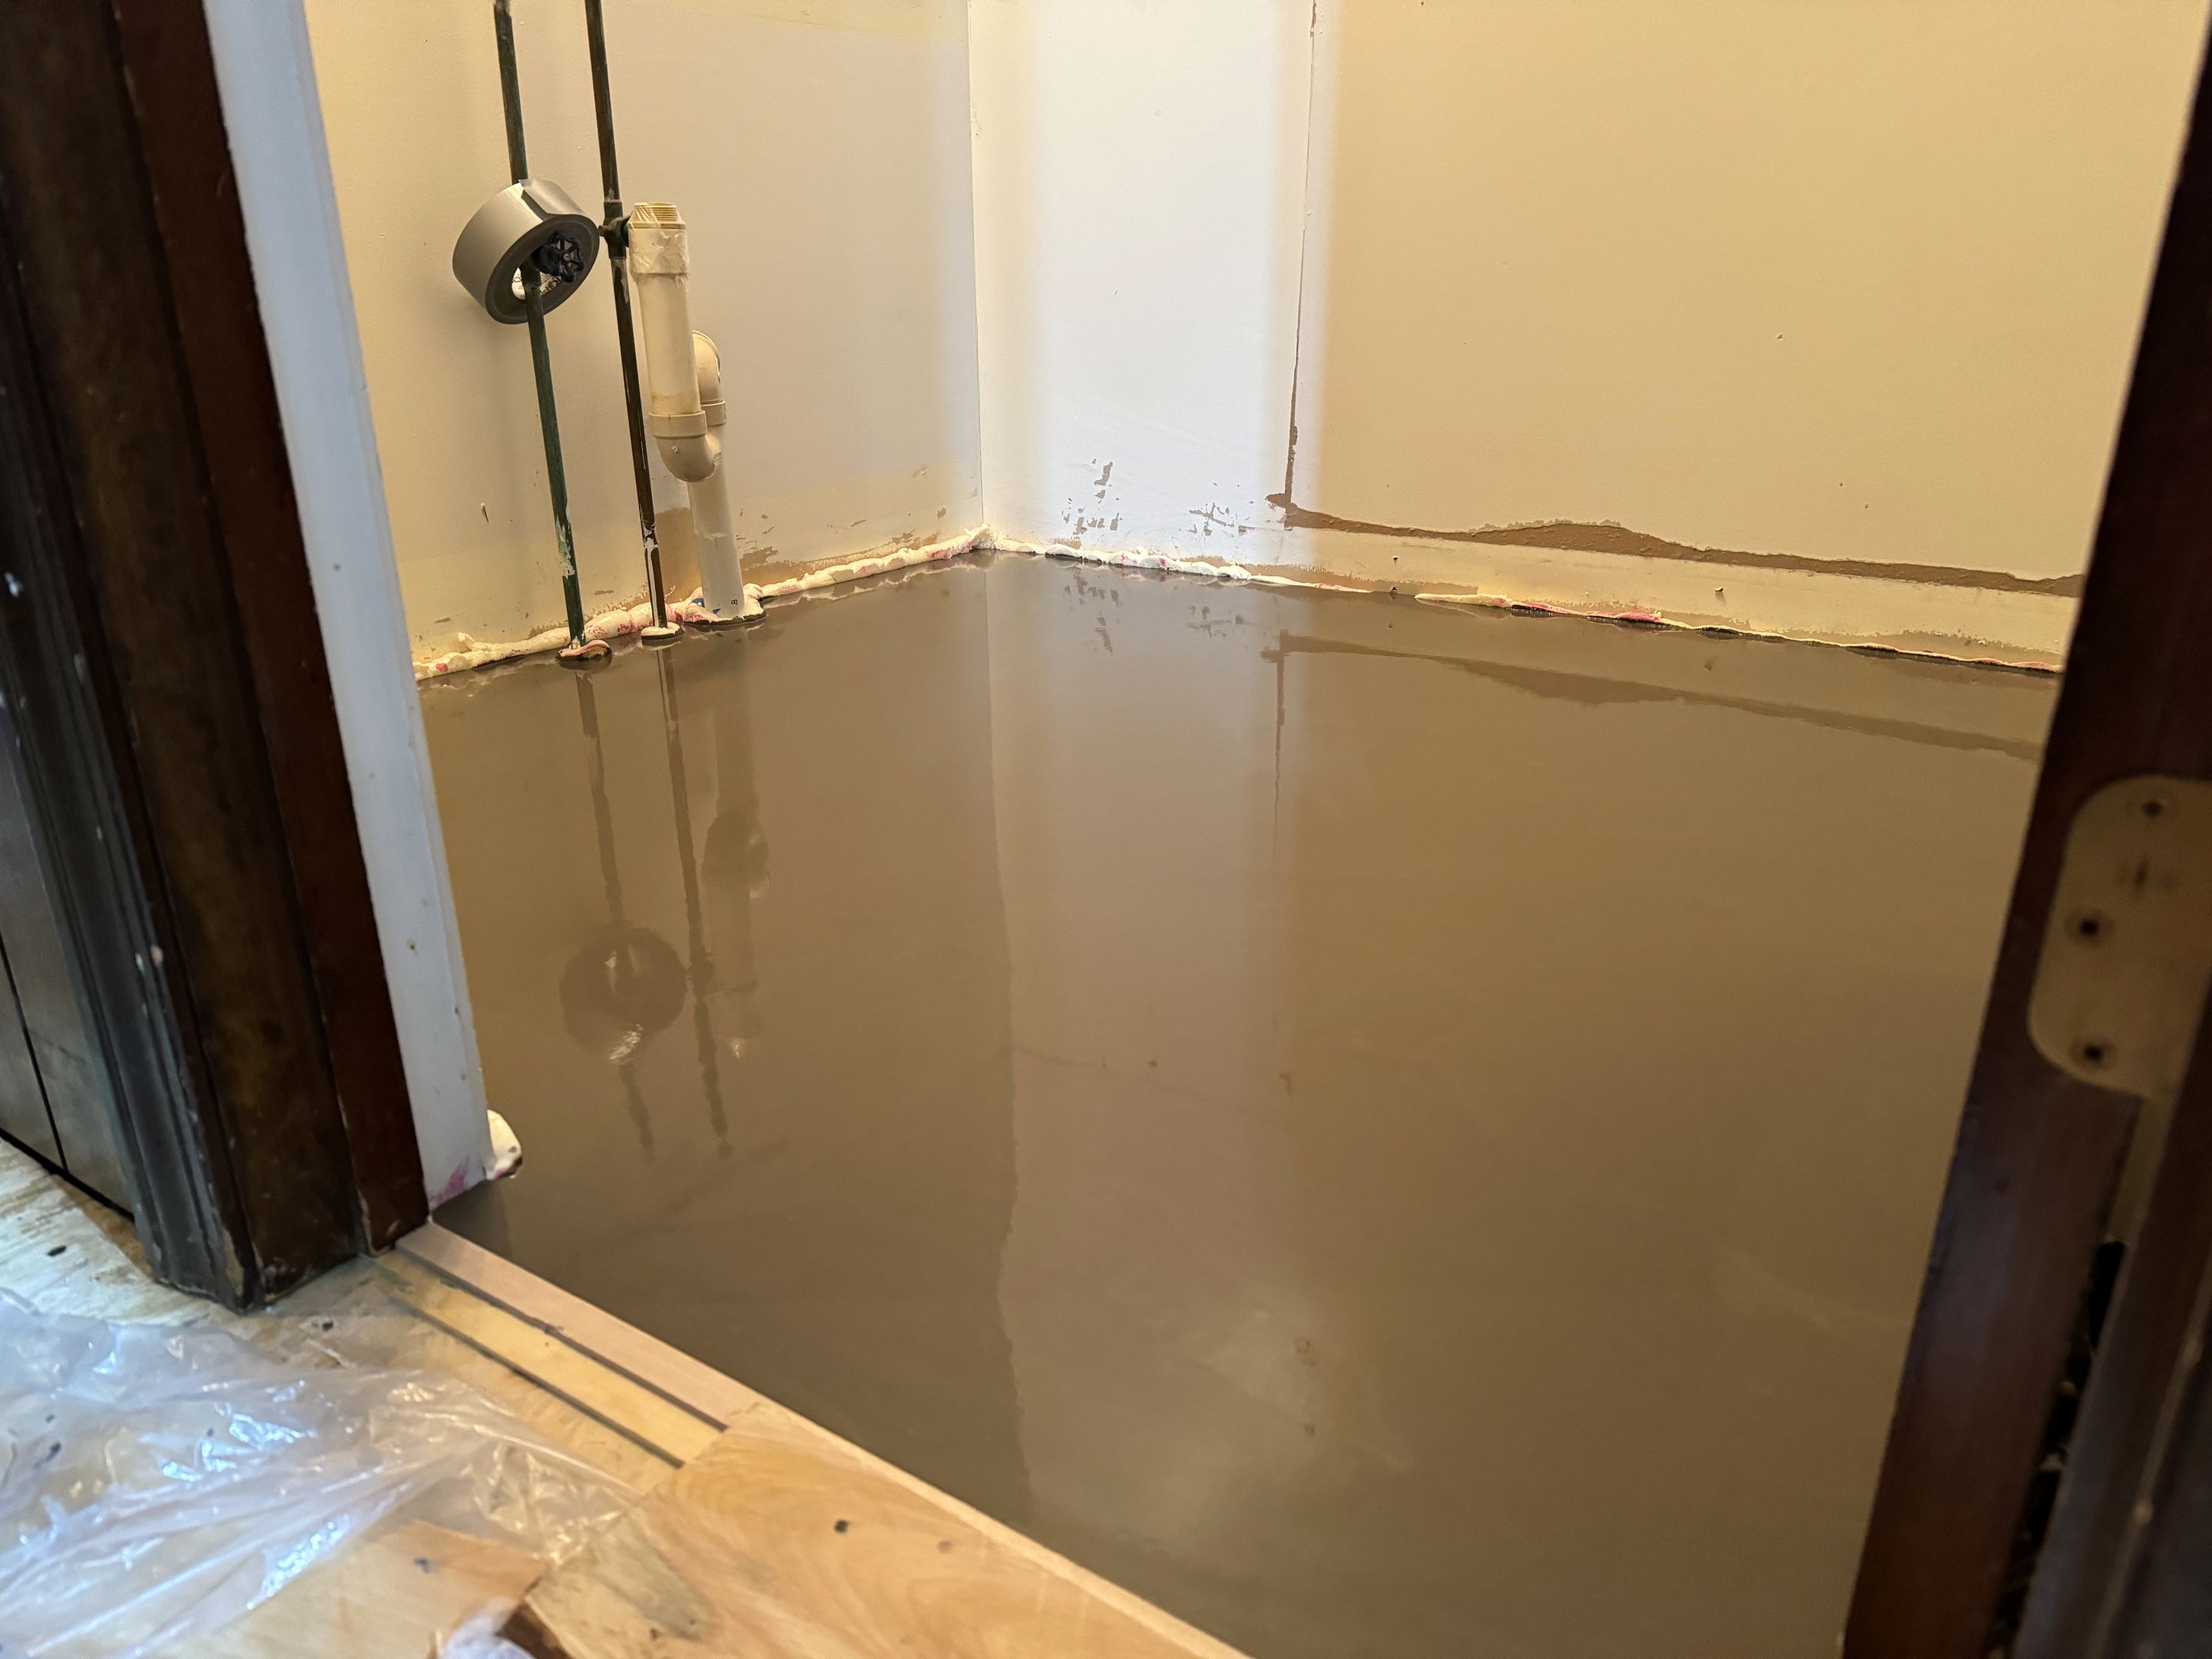
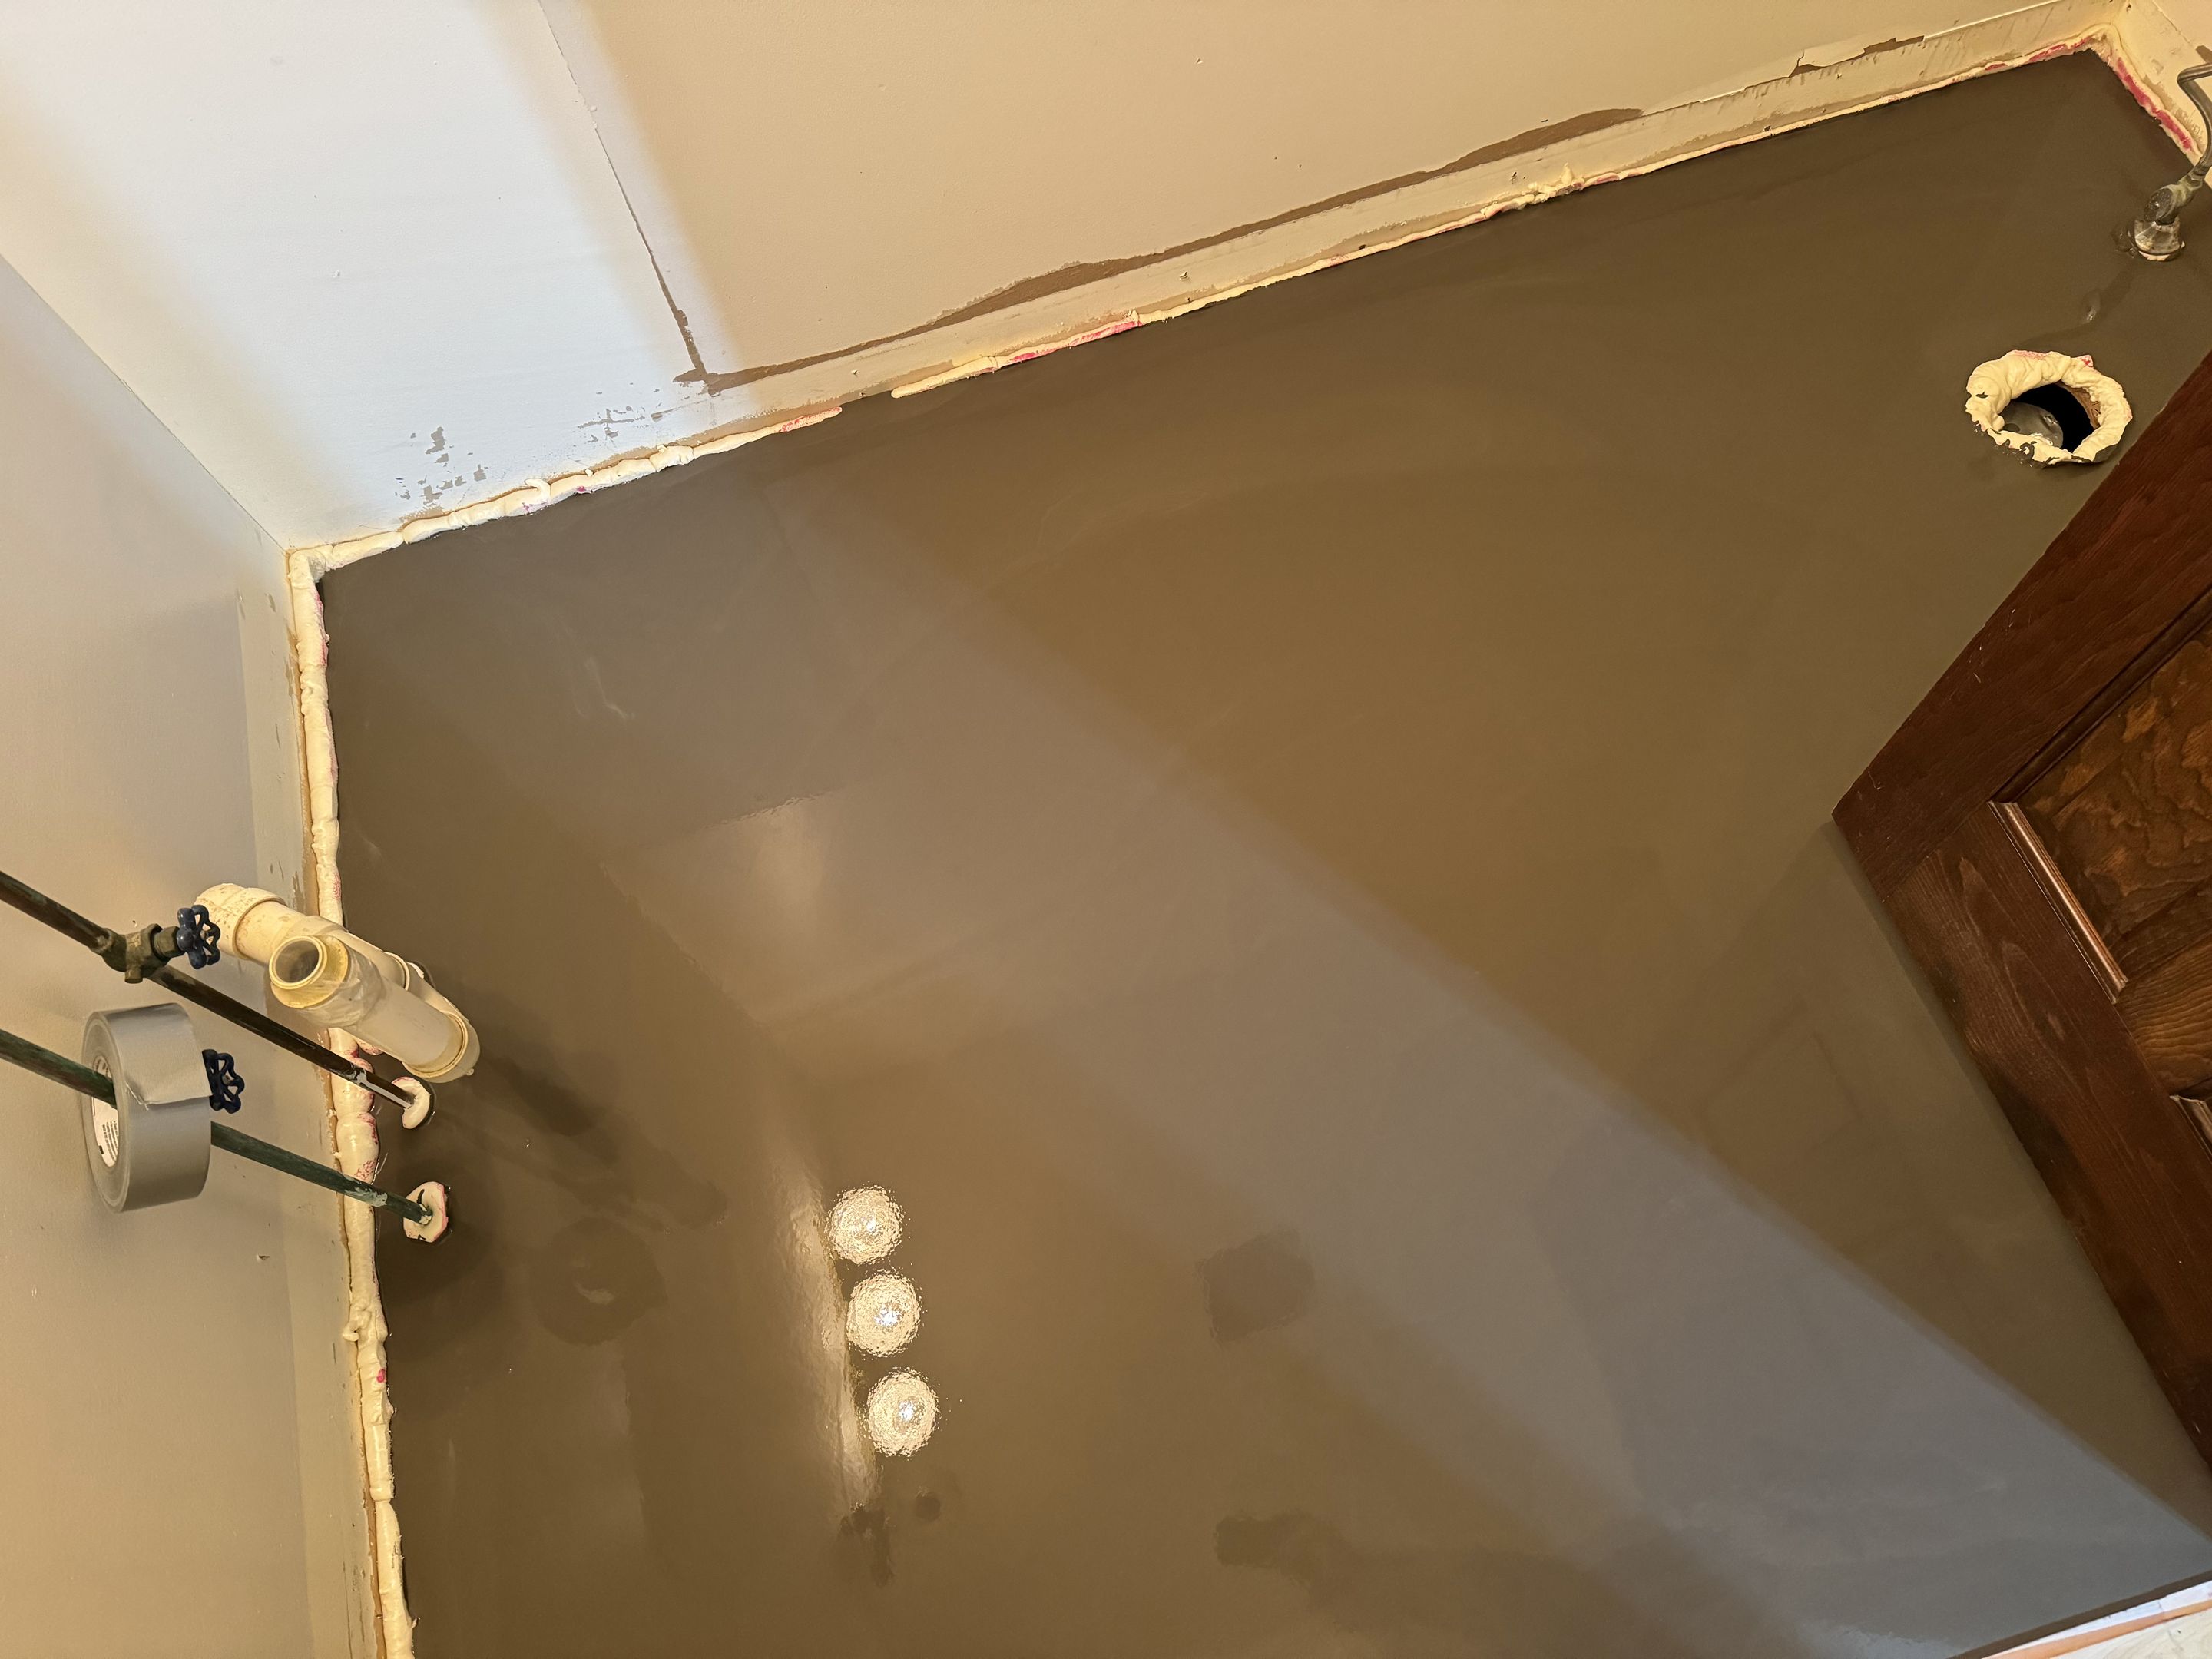
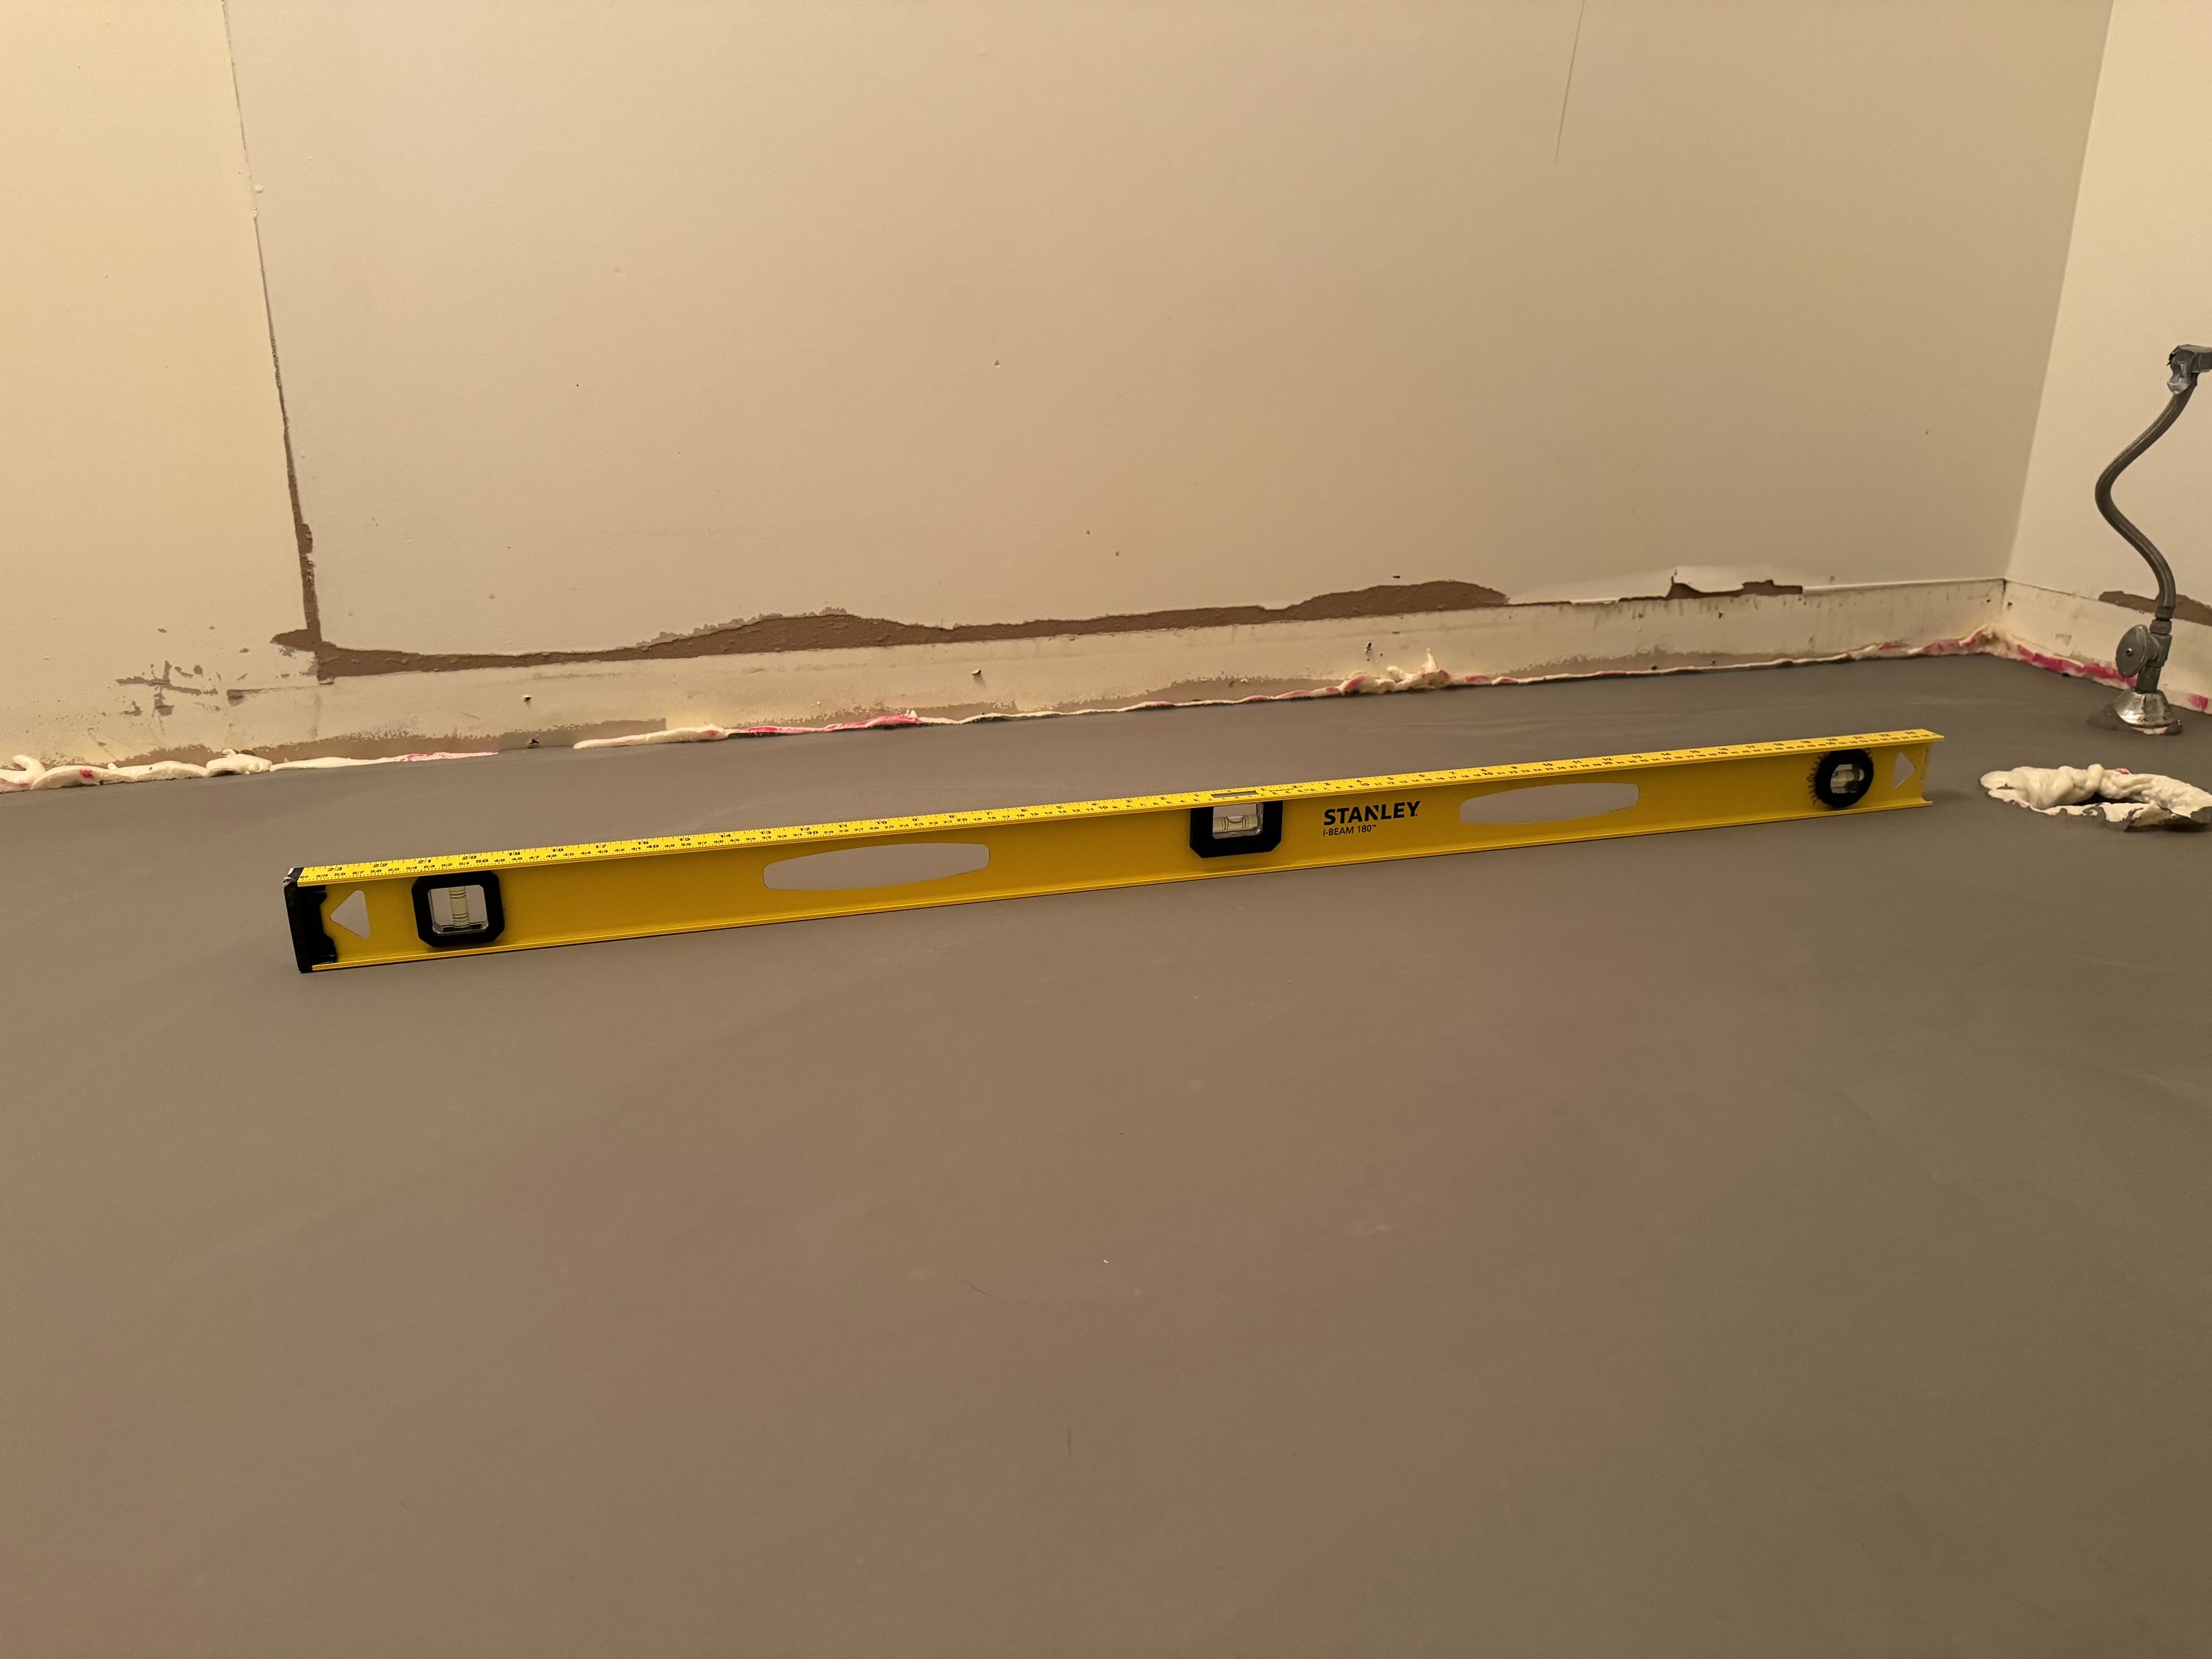
Pouring the self-leveling underlayment
I really wanted to get this done last night before heading out for my tennis class, so I rushed and managed to get it done in less than an hour.
I was hoping to only need one 50-pound bag of self-leveler, so I mixed and poured that first. But I quickly realized that it wasn't enough to cover the space and achieve the desired height to fill all low spots, so I mixed and poured a second bag.
Ideally I would have mixed everything upfront and poured it all at once. Next time I do this I should also buy some of those spiked shoe attachments so I can walk over the mixture to fully work it around. It was very hard to reach from the doorway.
Overall, it came out near-perfect. The floor is so much flatter than it was before!
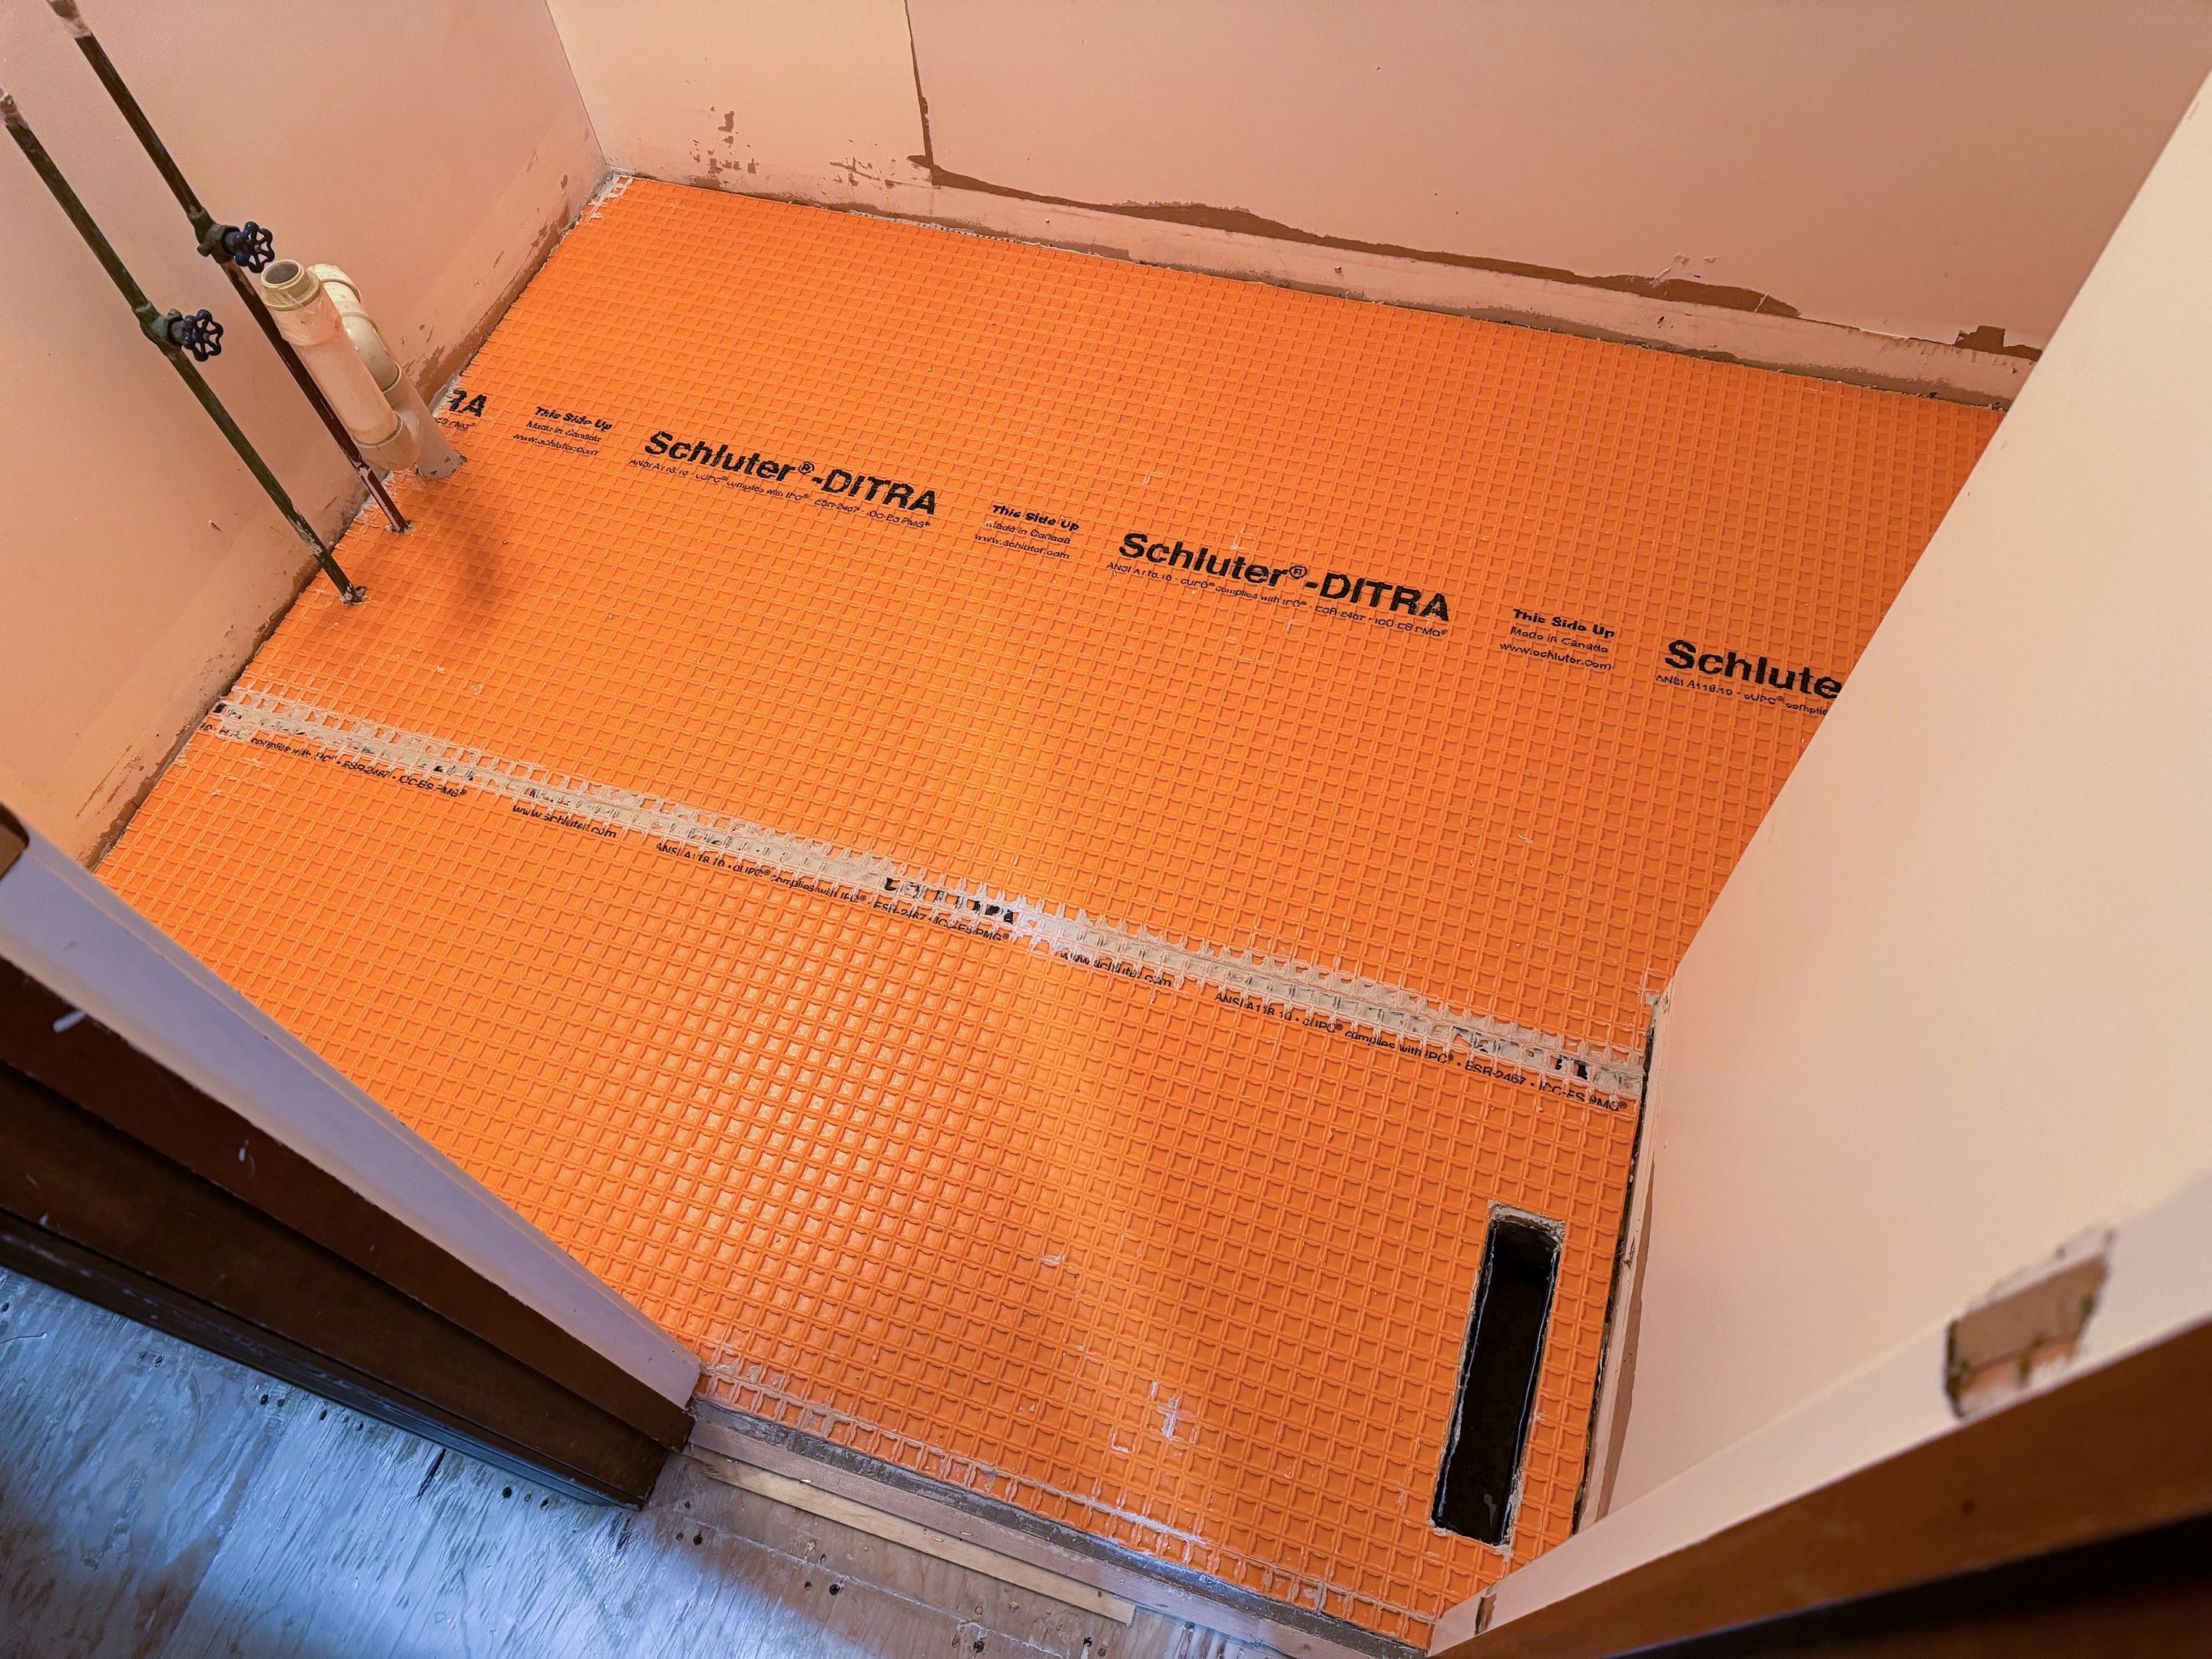
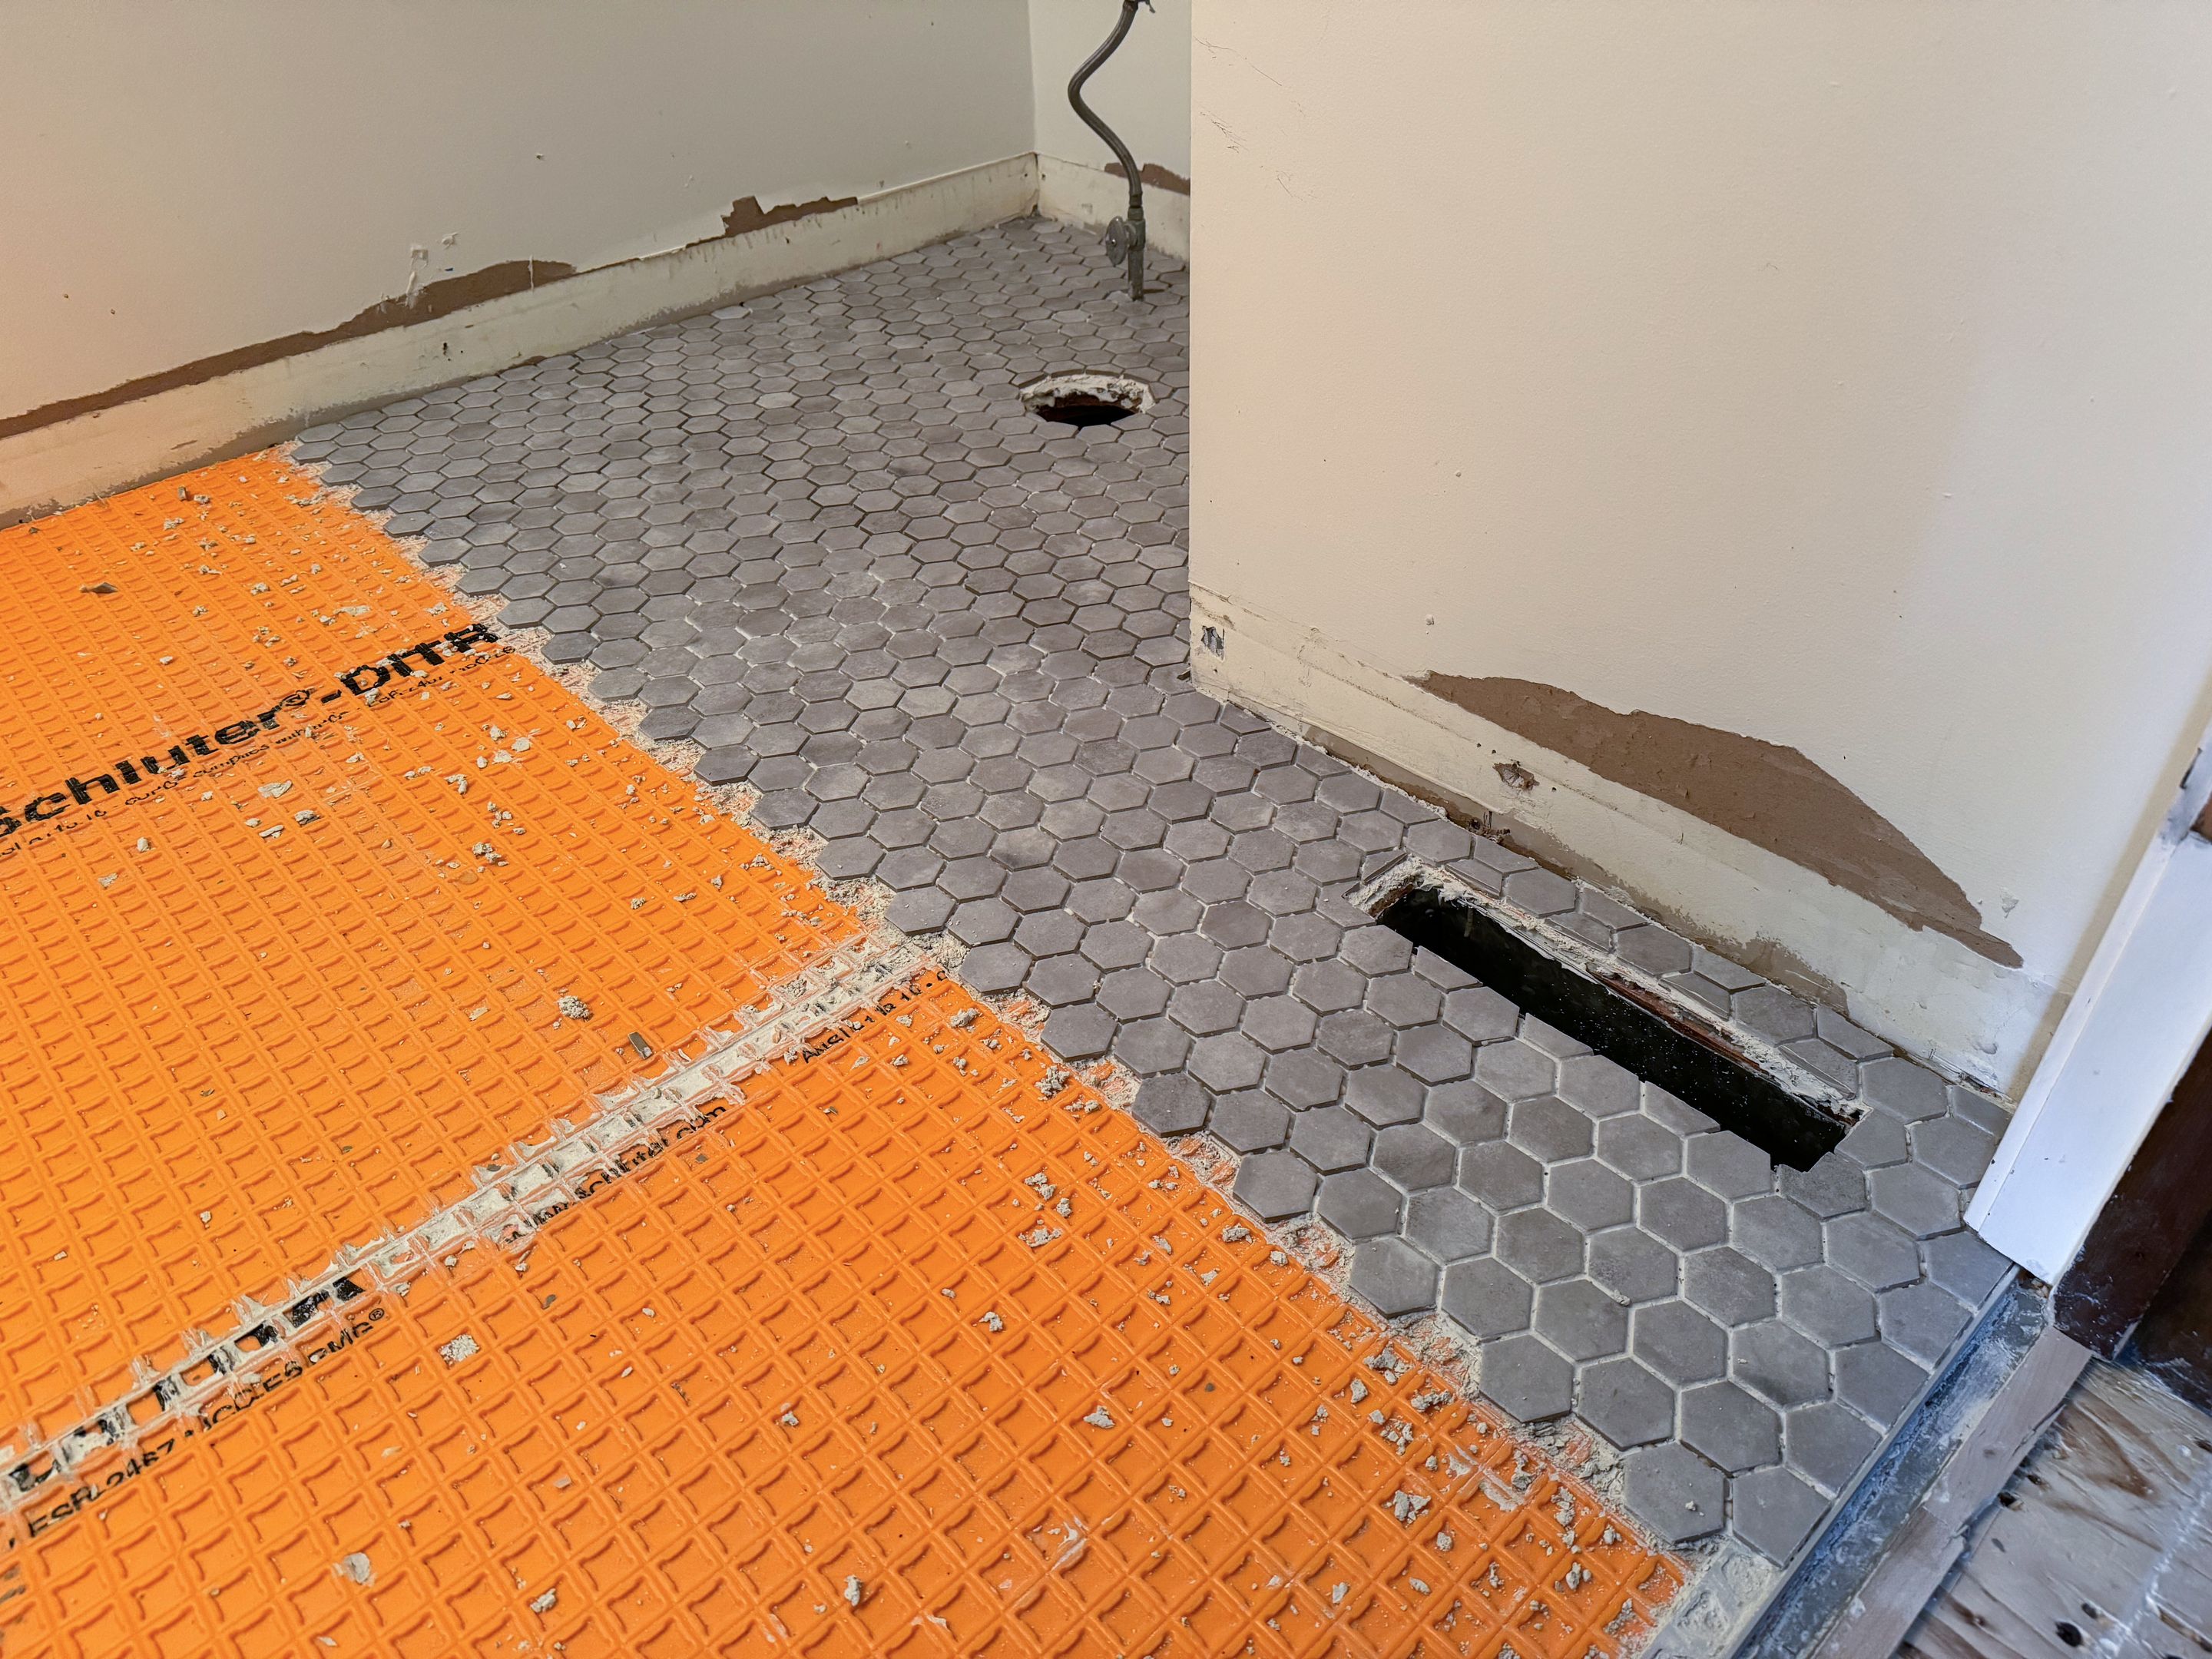
Installing an uncoupling membrane
Rather than using traditional concrete backer board I decided to go with the more modern approach of an uncoupling membrane.
I chose the DITRA product by Schluter, which is essentially a roll of textured plastic sheeting with a felt-like material on one side. This should help prevent the tiles and grout from cracking as the house moves.
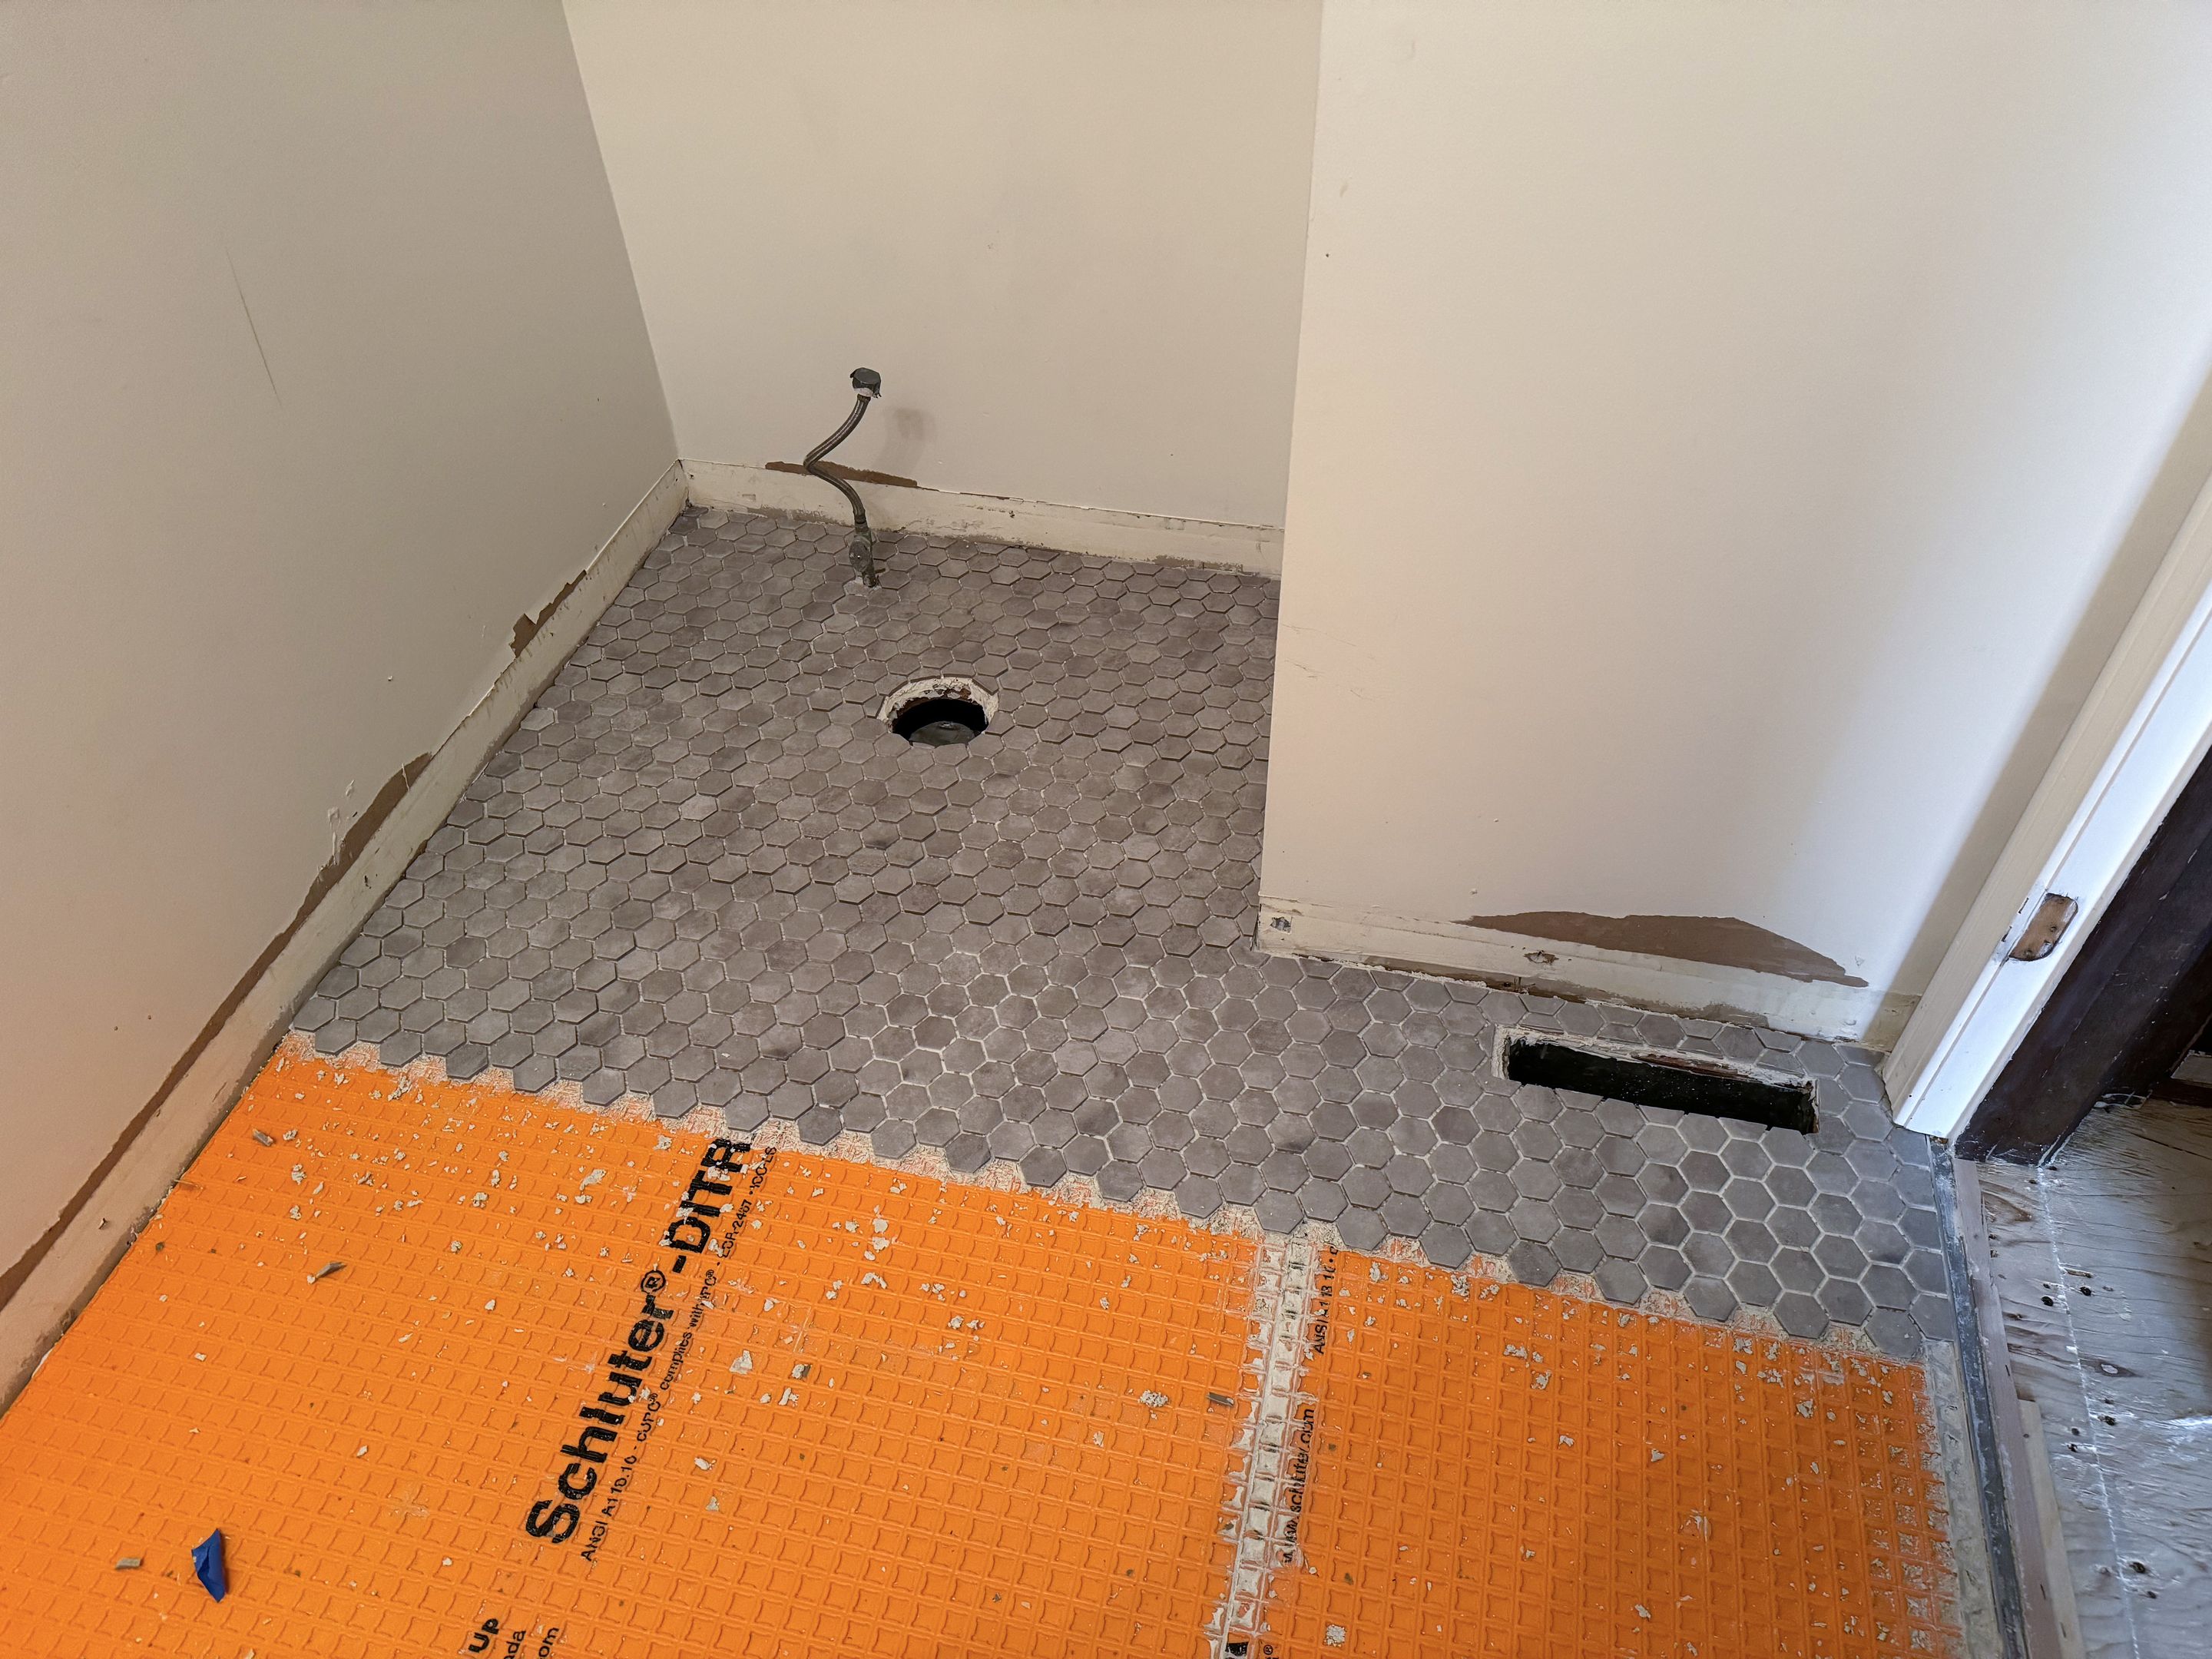
And finally, tile installation
After all of this prep work I was excited and nervous to begin actually laying tile down. I decided to start with one half of the room so I wouldn't be too rushed. Once you mix the thin-set mortar you have a limited amount of time before it starts to cure.
I should mention that before I mixed the mortar and started laying tiles I spent quite a bit of time dry-fitting the tile sheets to figure out the best layout and starting point, as well as cutting tiles to fit around openings and pipes. Planning the first row felt vital to get right since everything else will be based off of it. I hot-glued a long board to the floor to use as a straight edge for the first row. This worked out pretty well.
Overall it was an exhausting and somewhat frustrating process. I had to fine tune the amount of mortar to leave on the floor so that it wouldn't squeeze through the tile gaps, since this created a lot of extra cleanup effort during the first few sheets.
But in the end I think I got the hang of it. I'll plan and prepare even more carefully for the second half of the room before starting on it and hopefully that will make for a smoother and less stressful process.
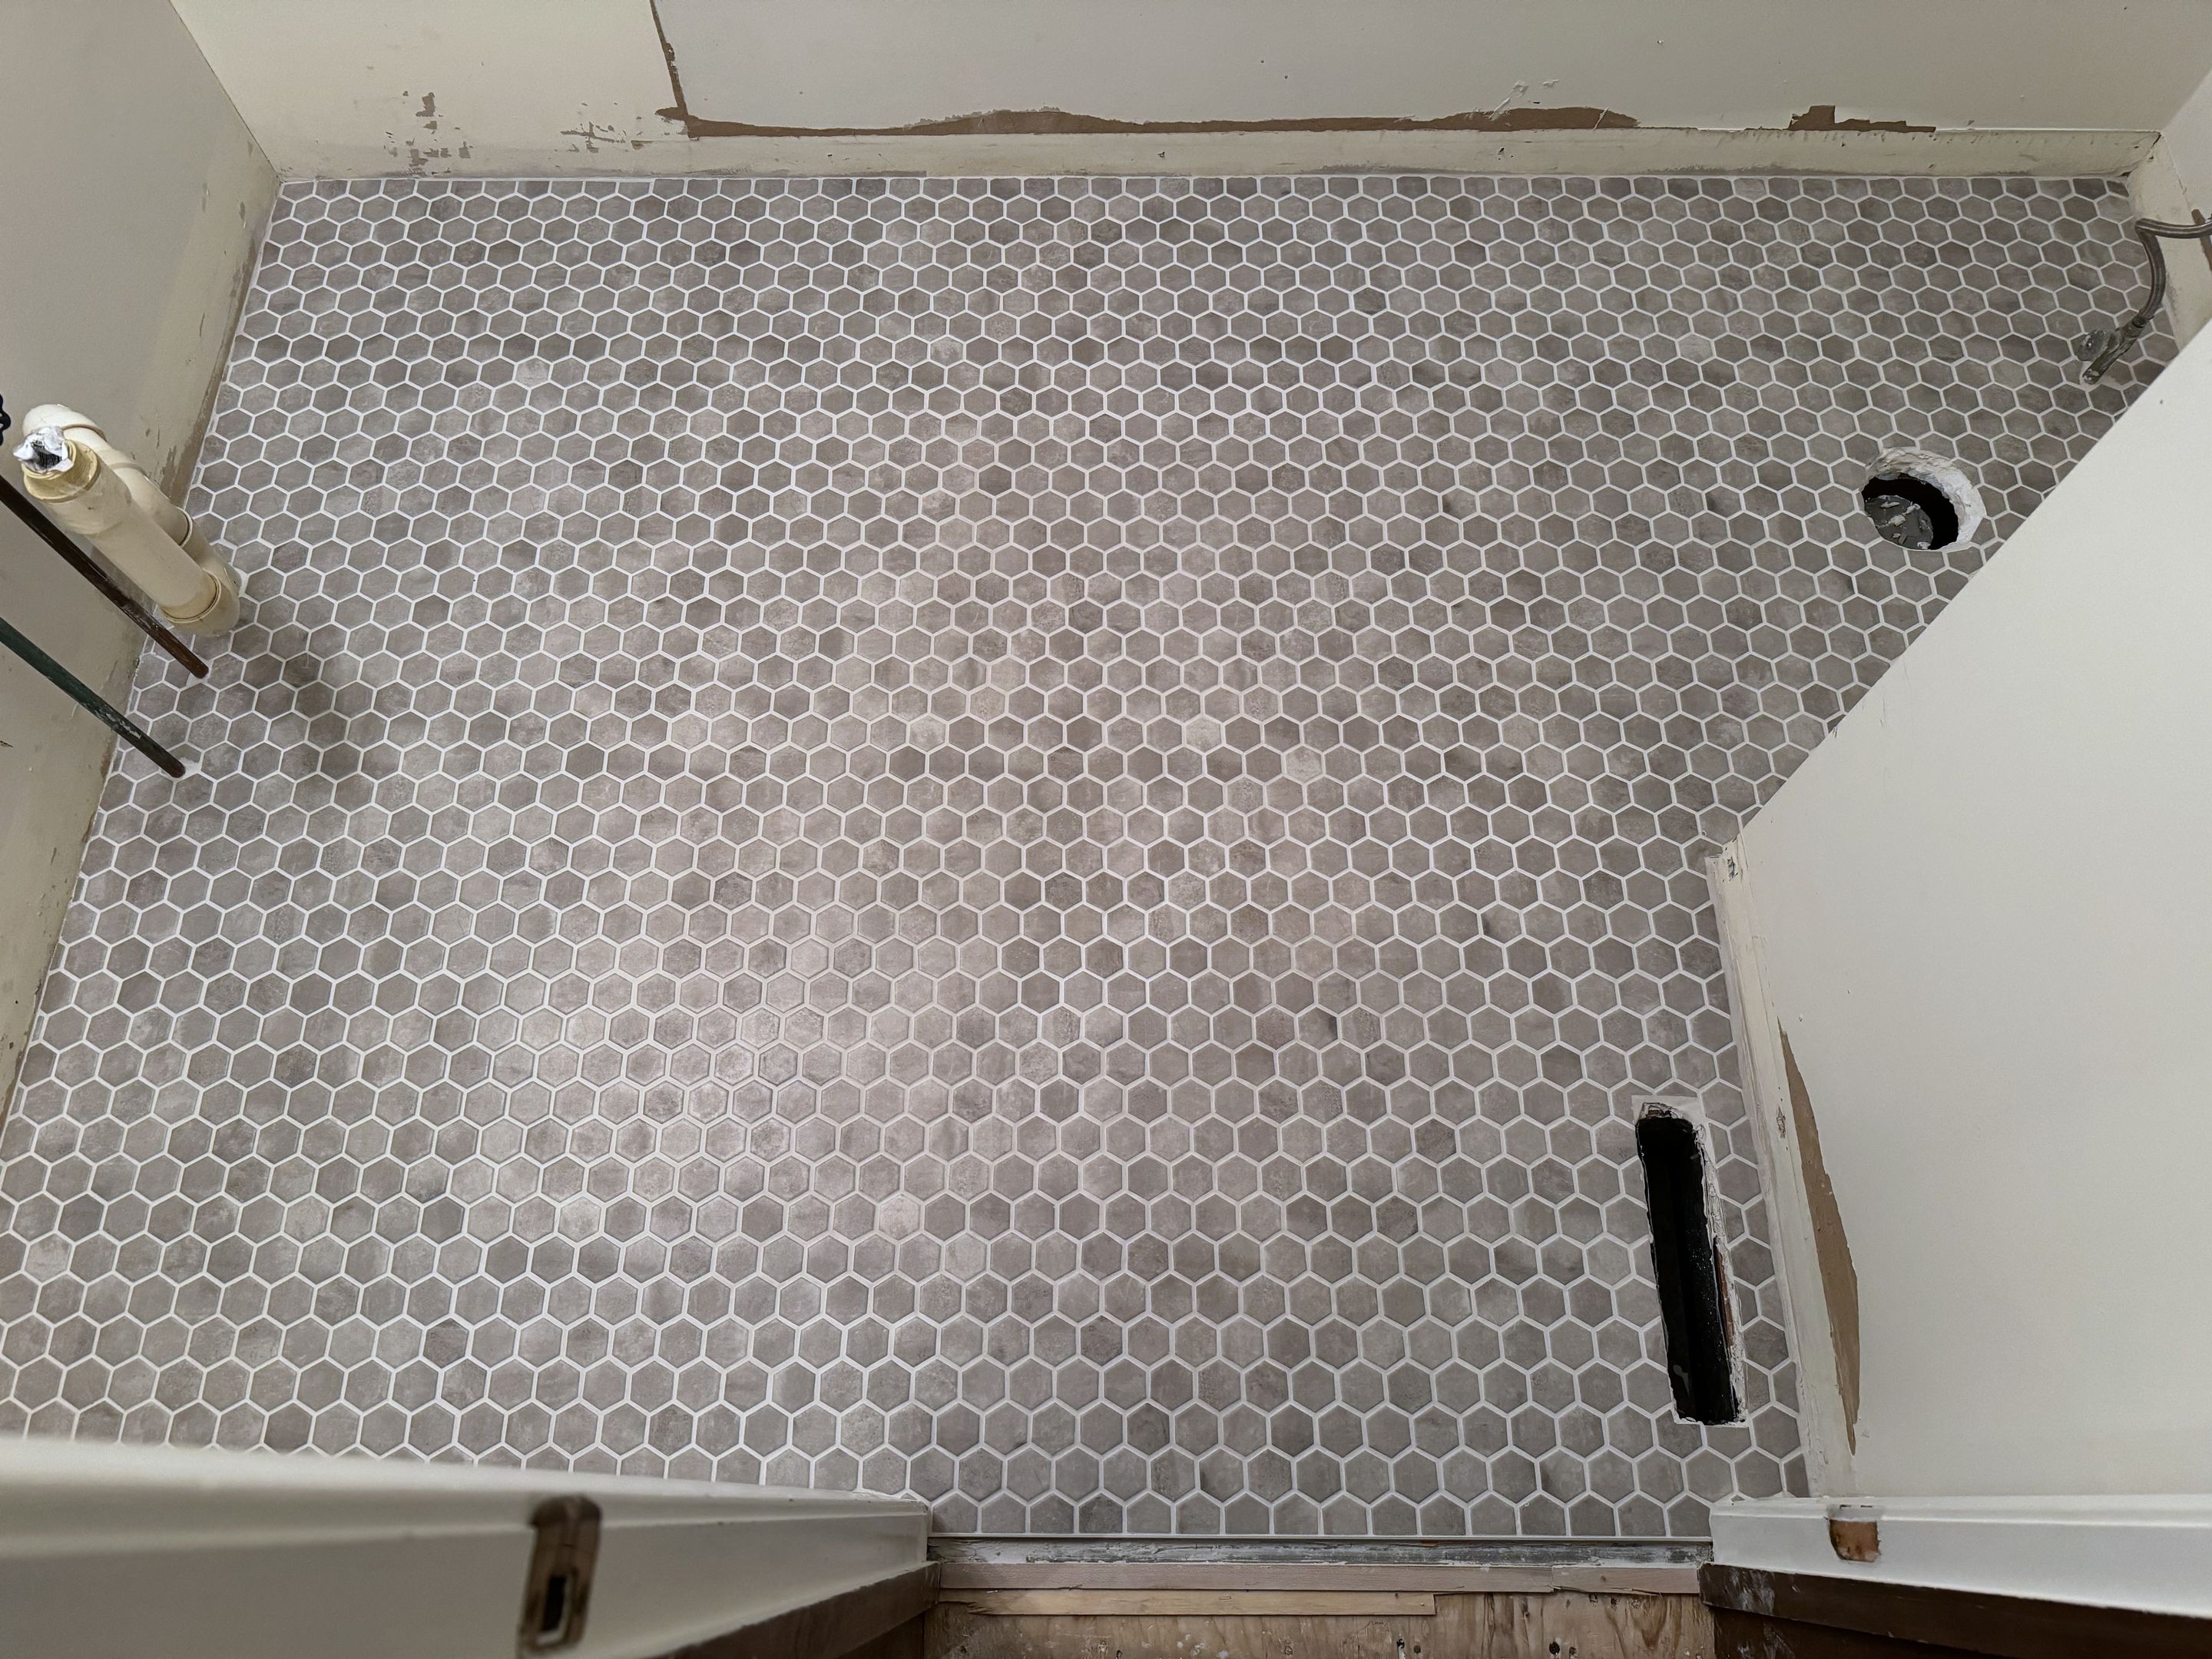
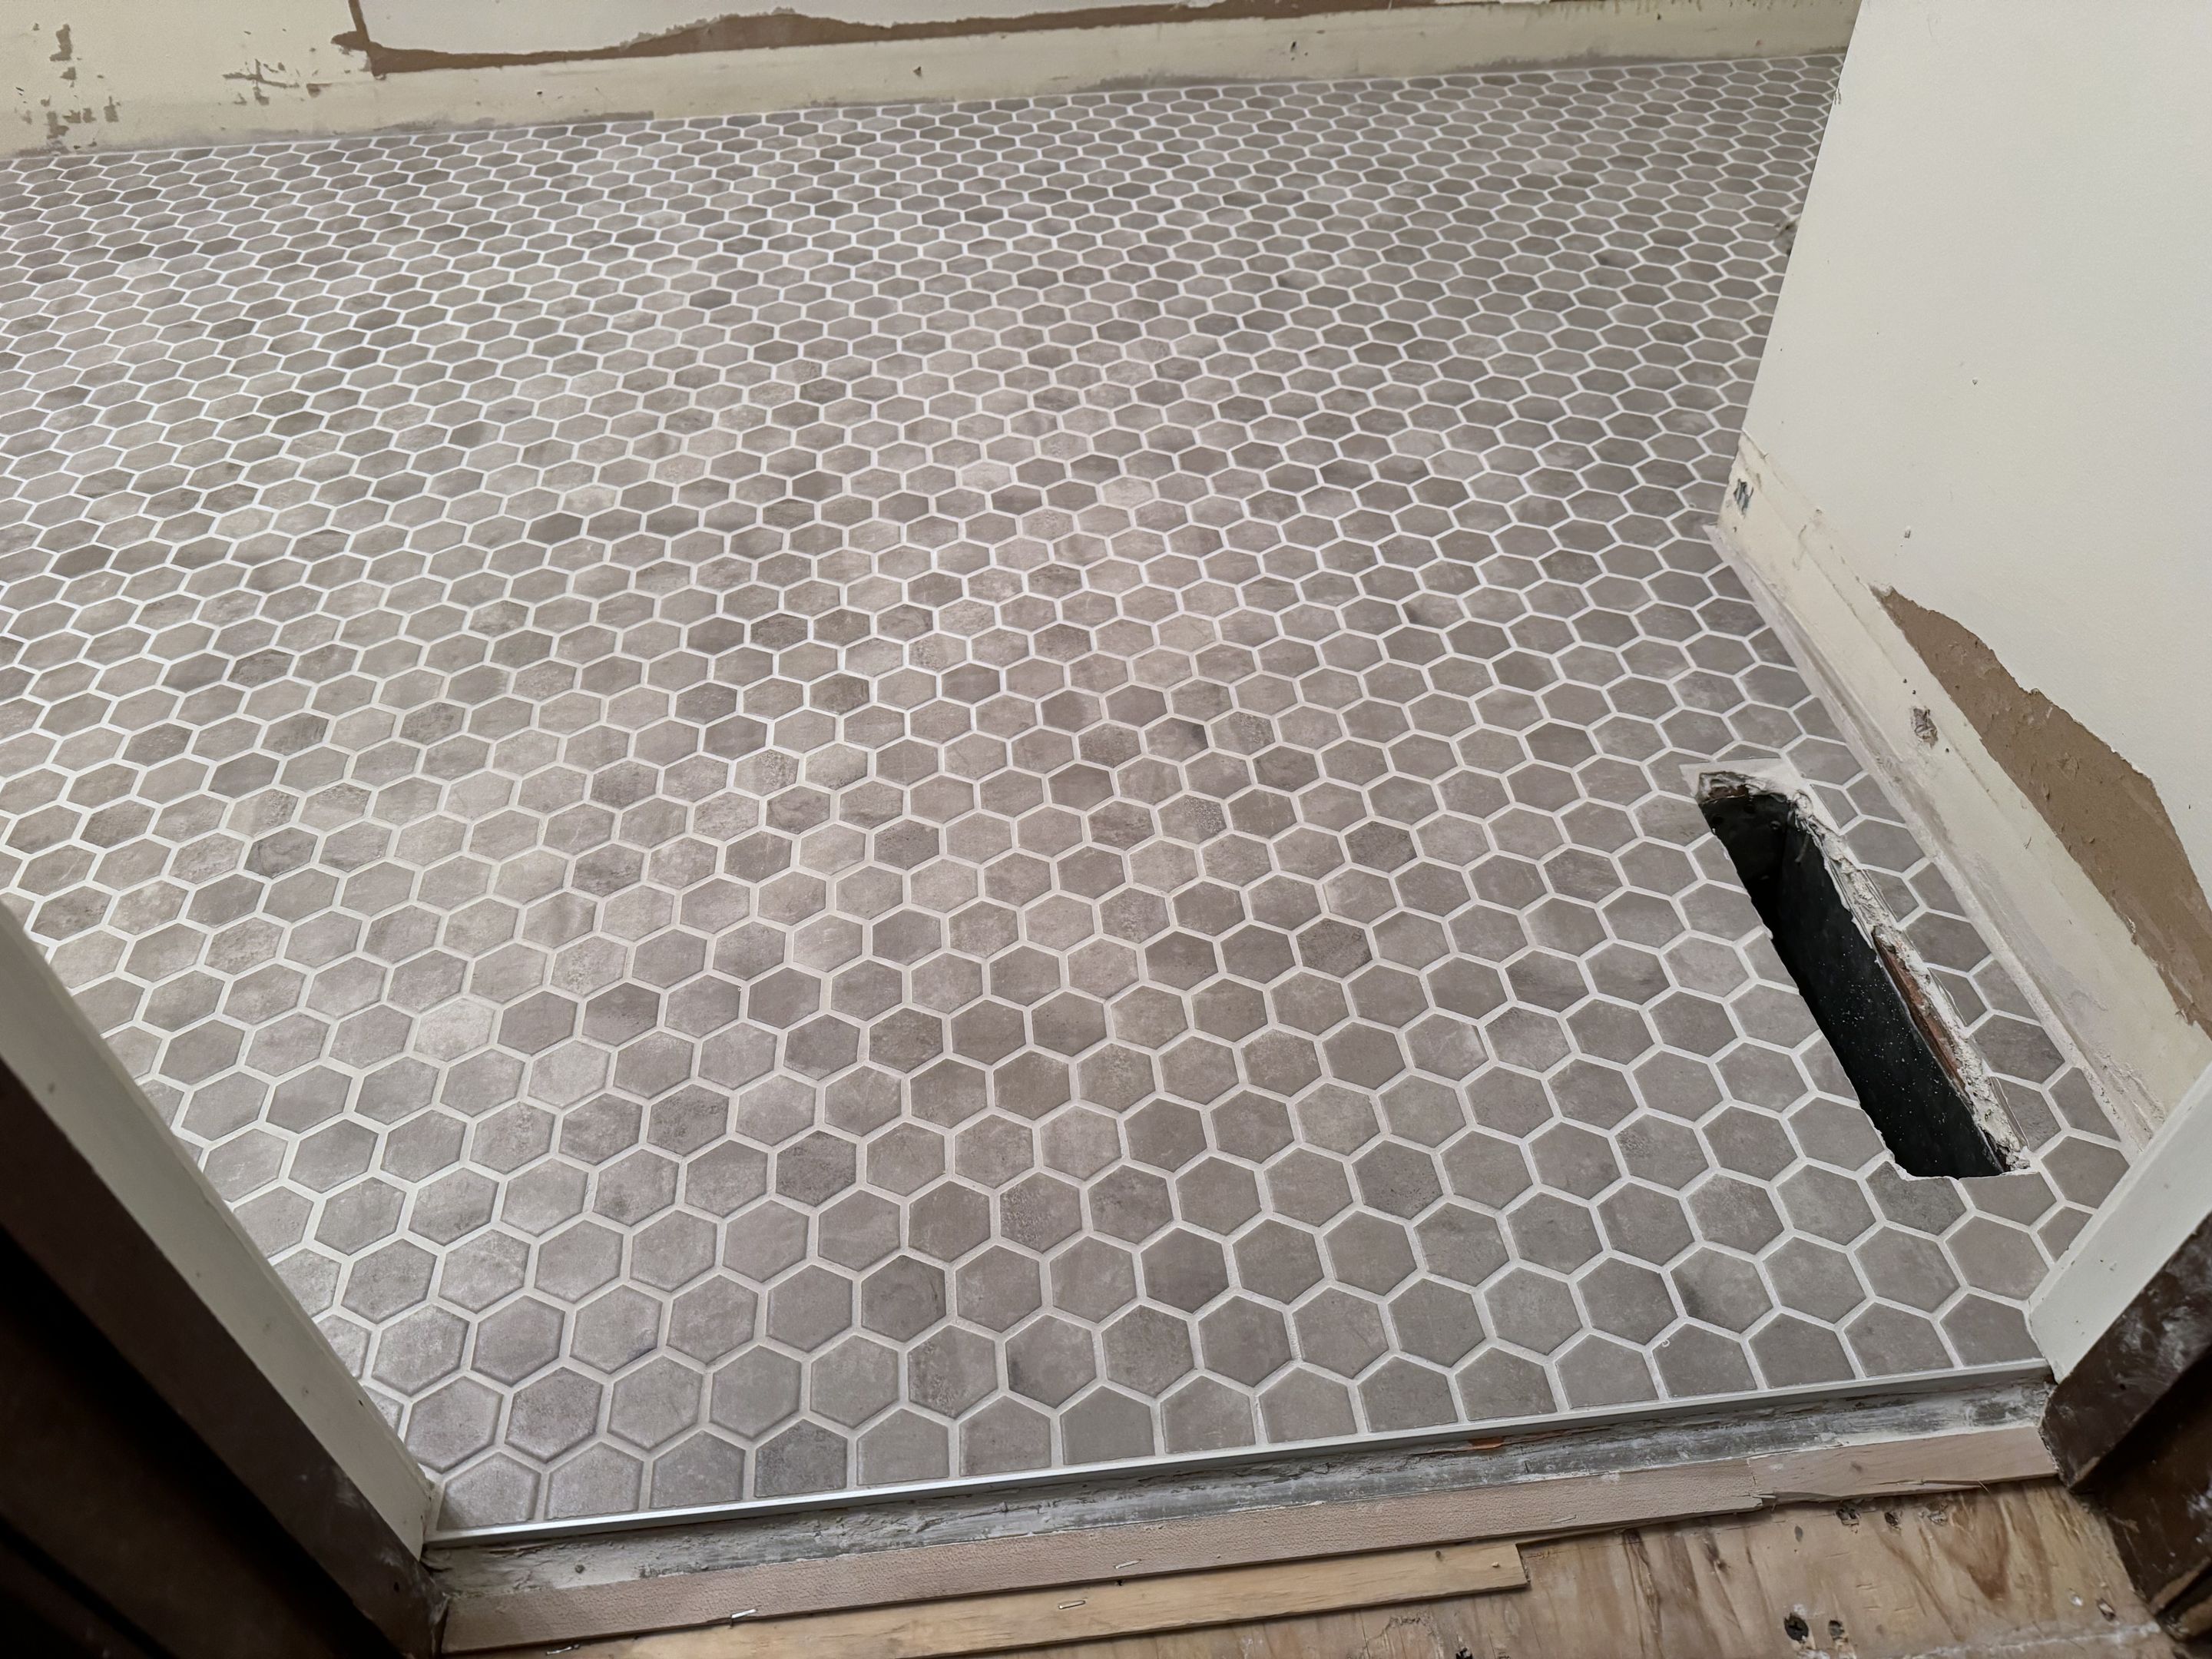
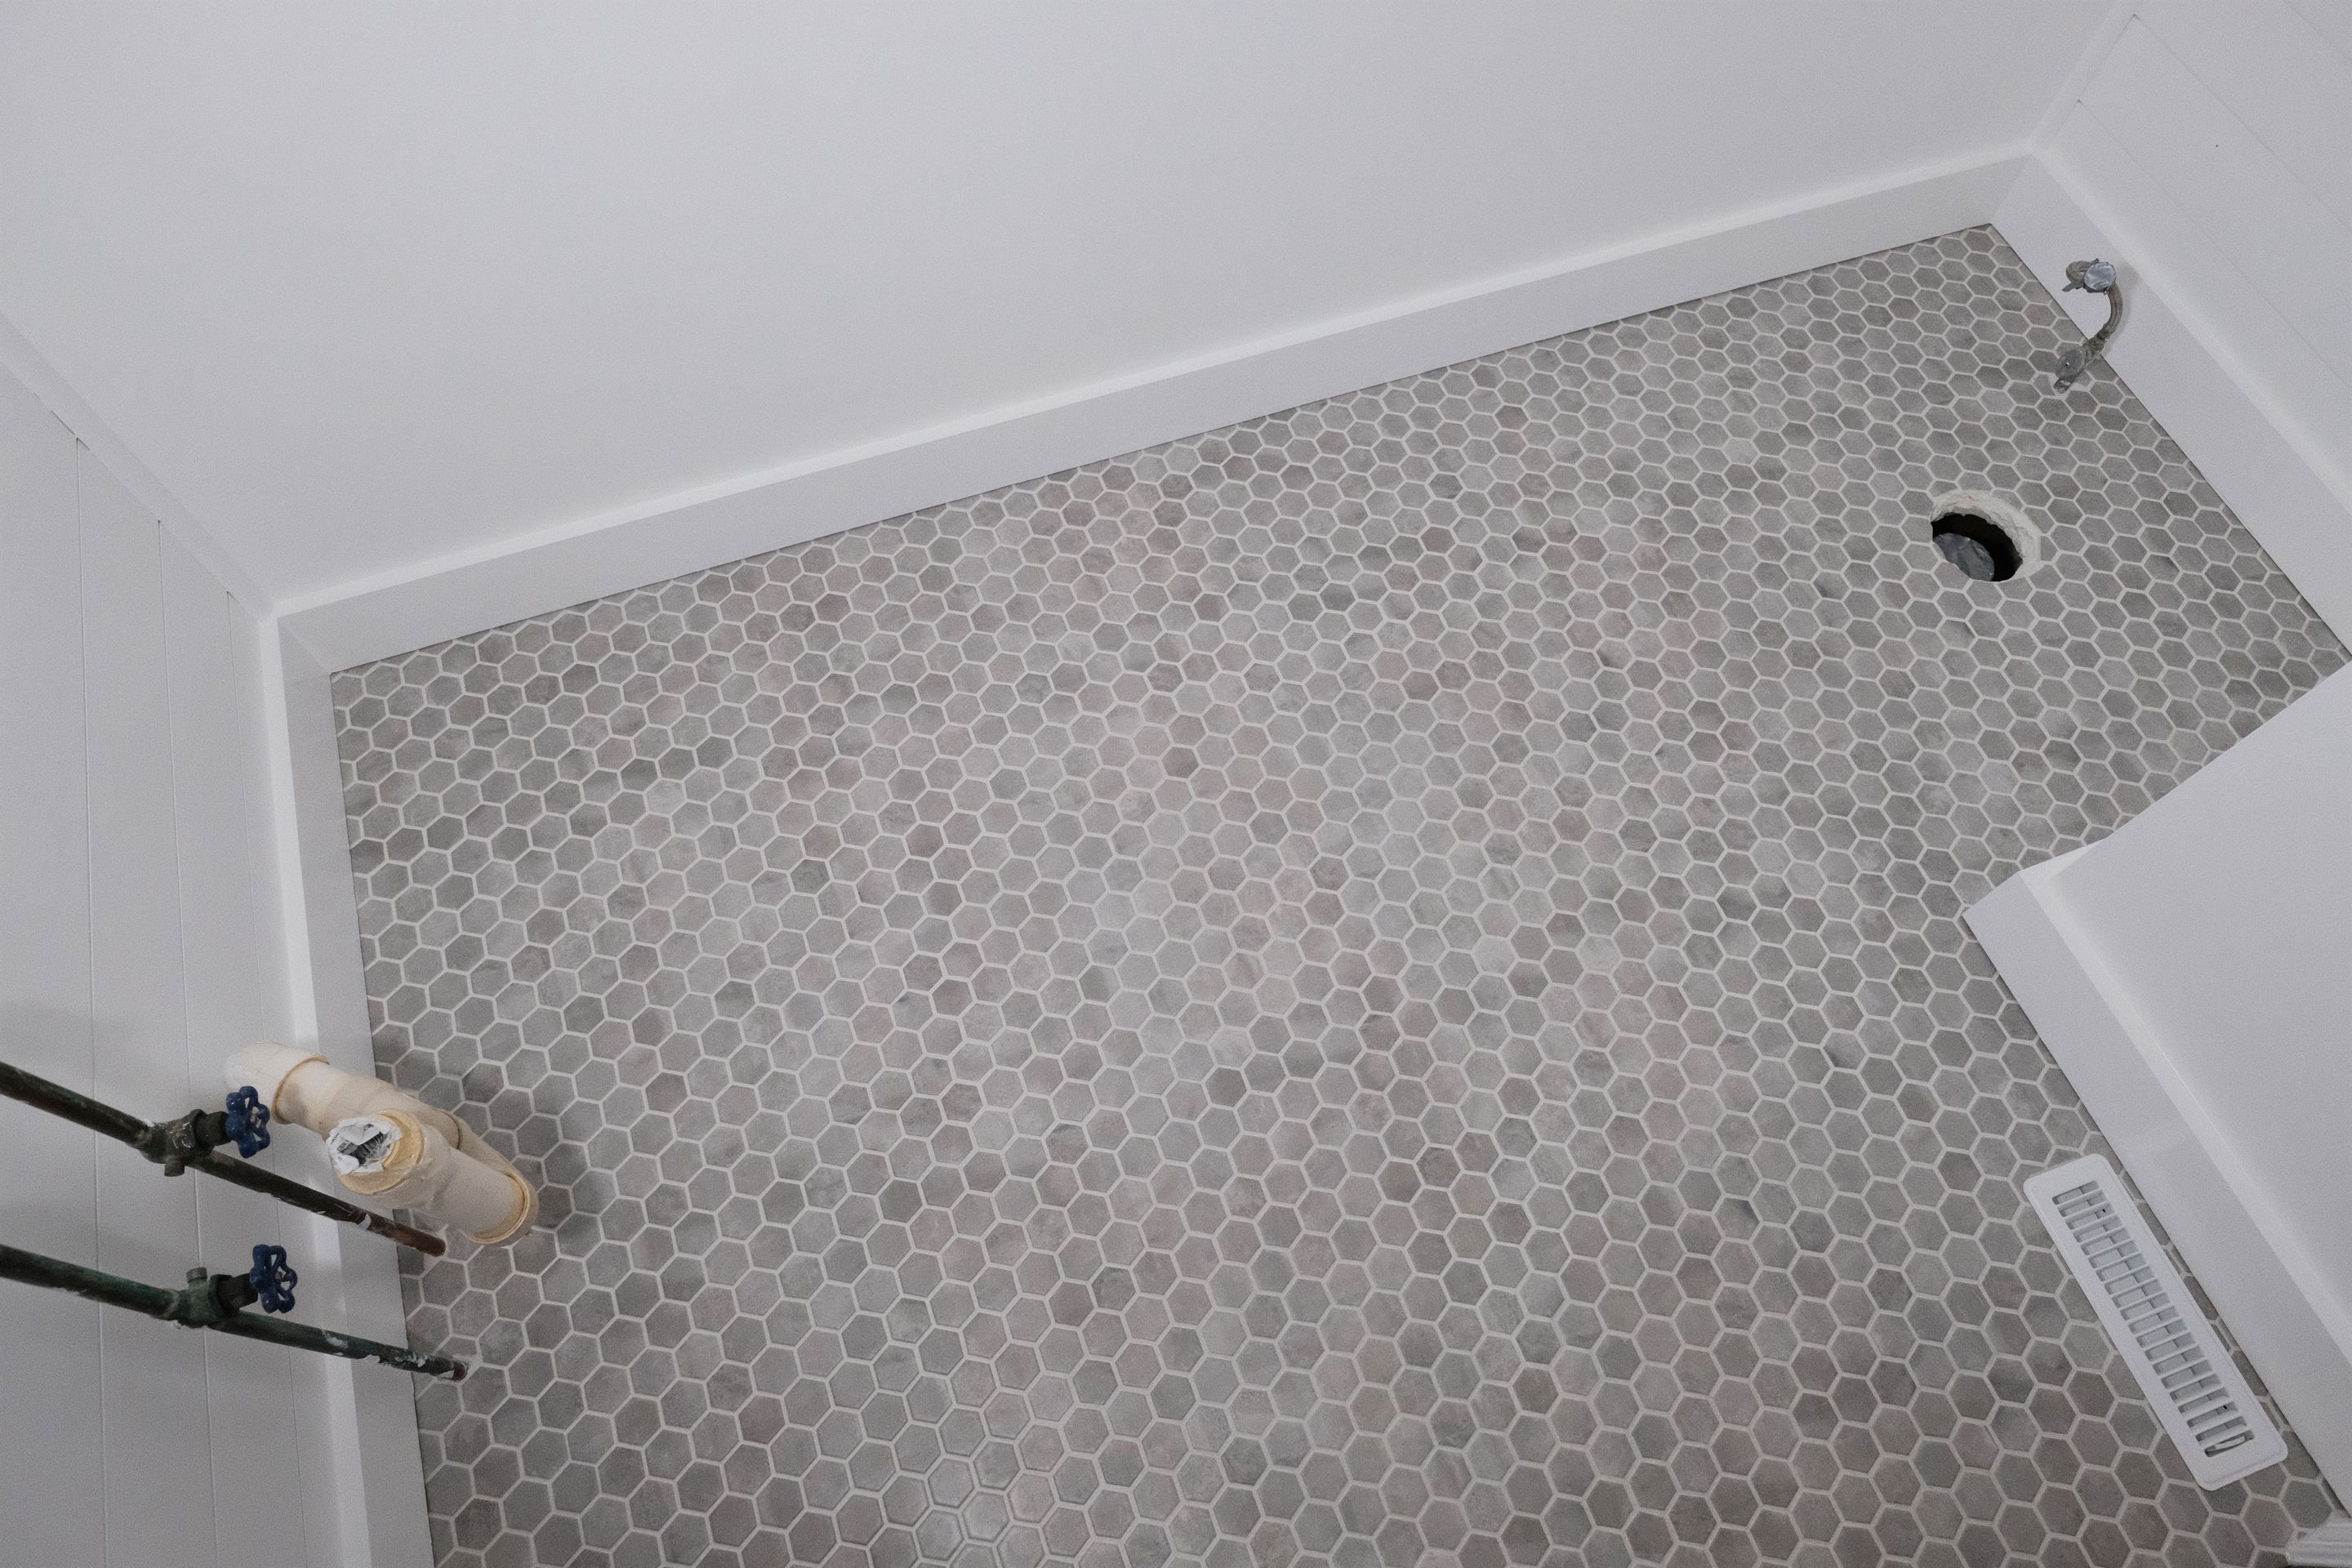
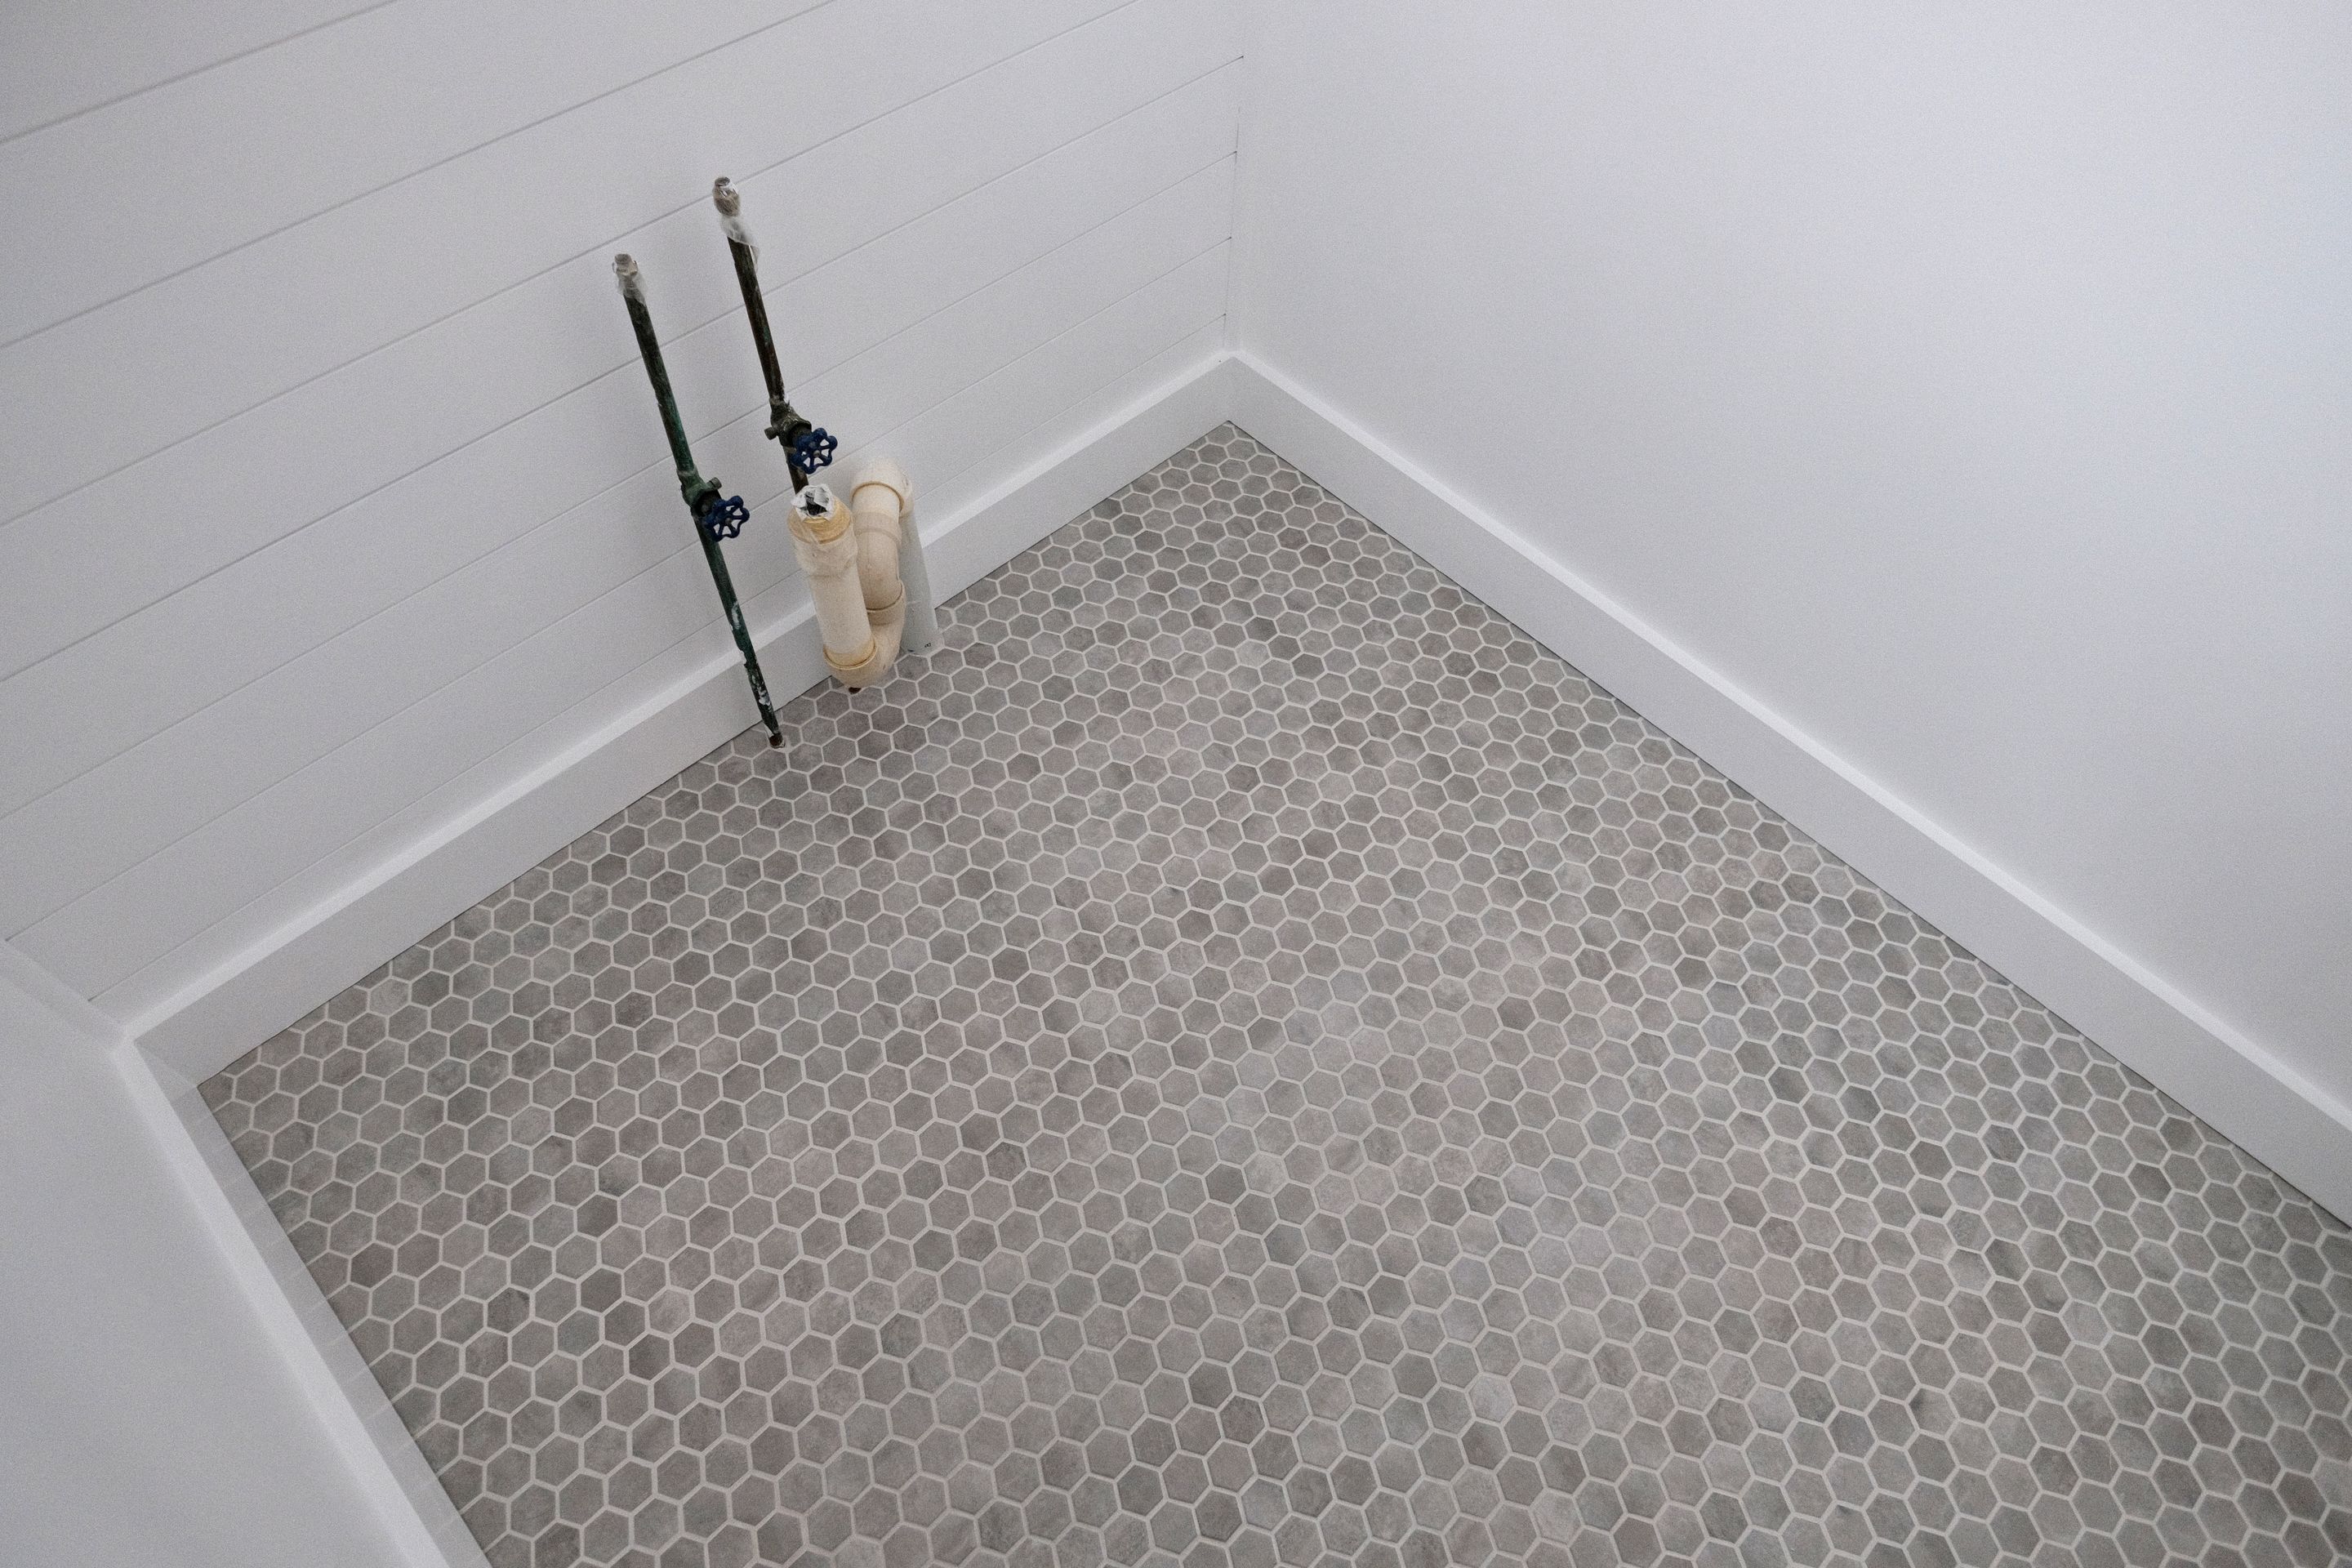
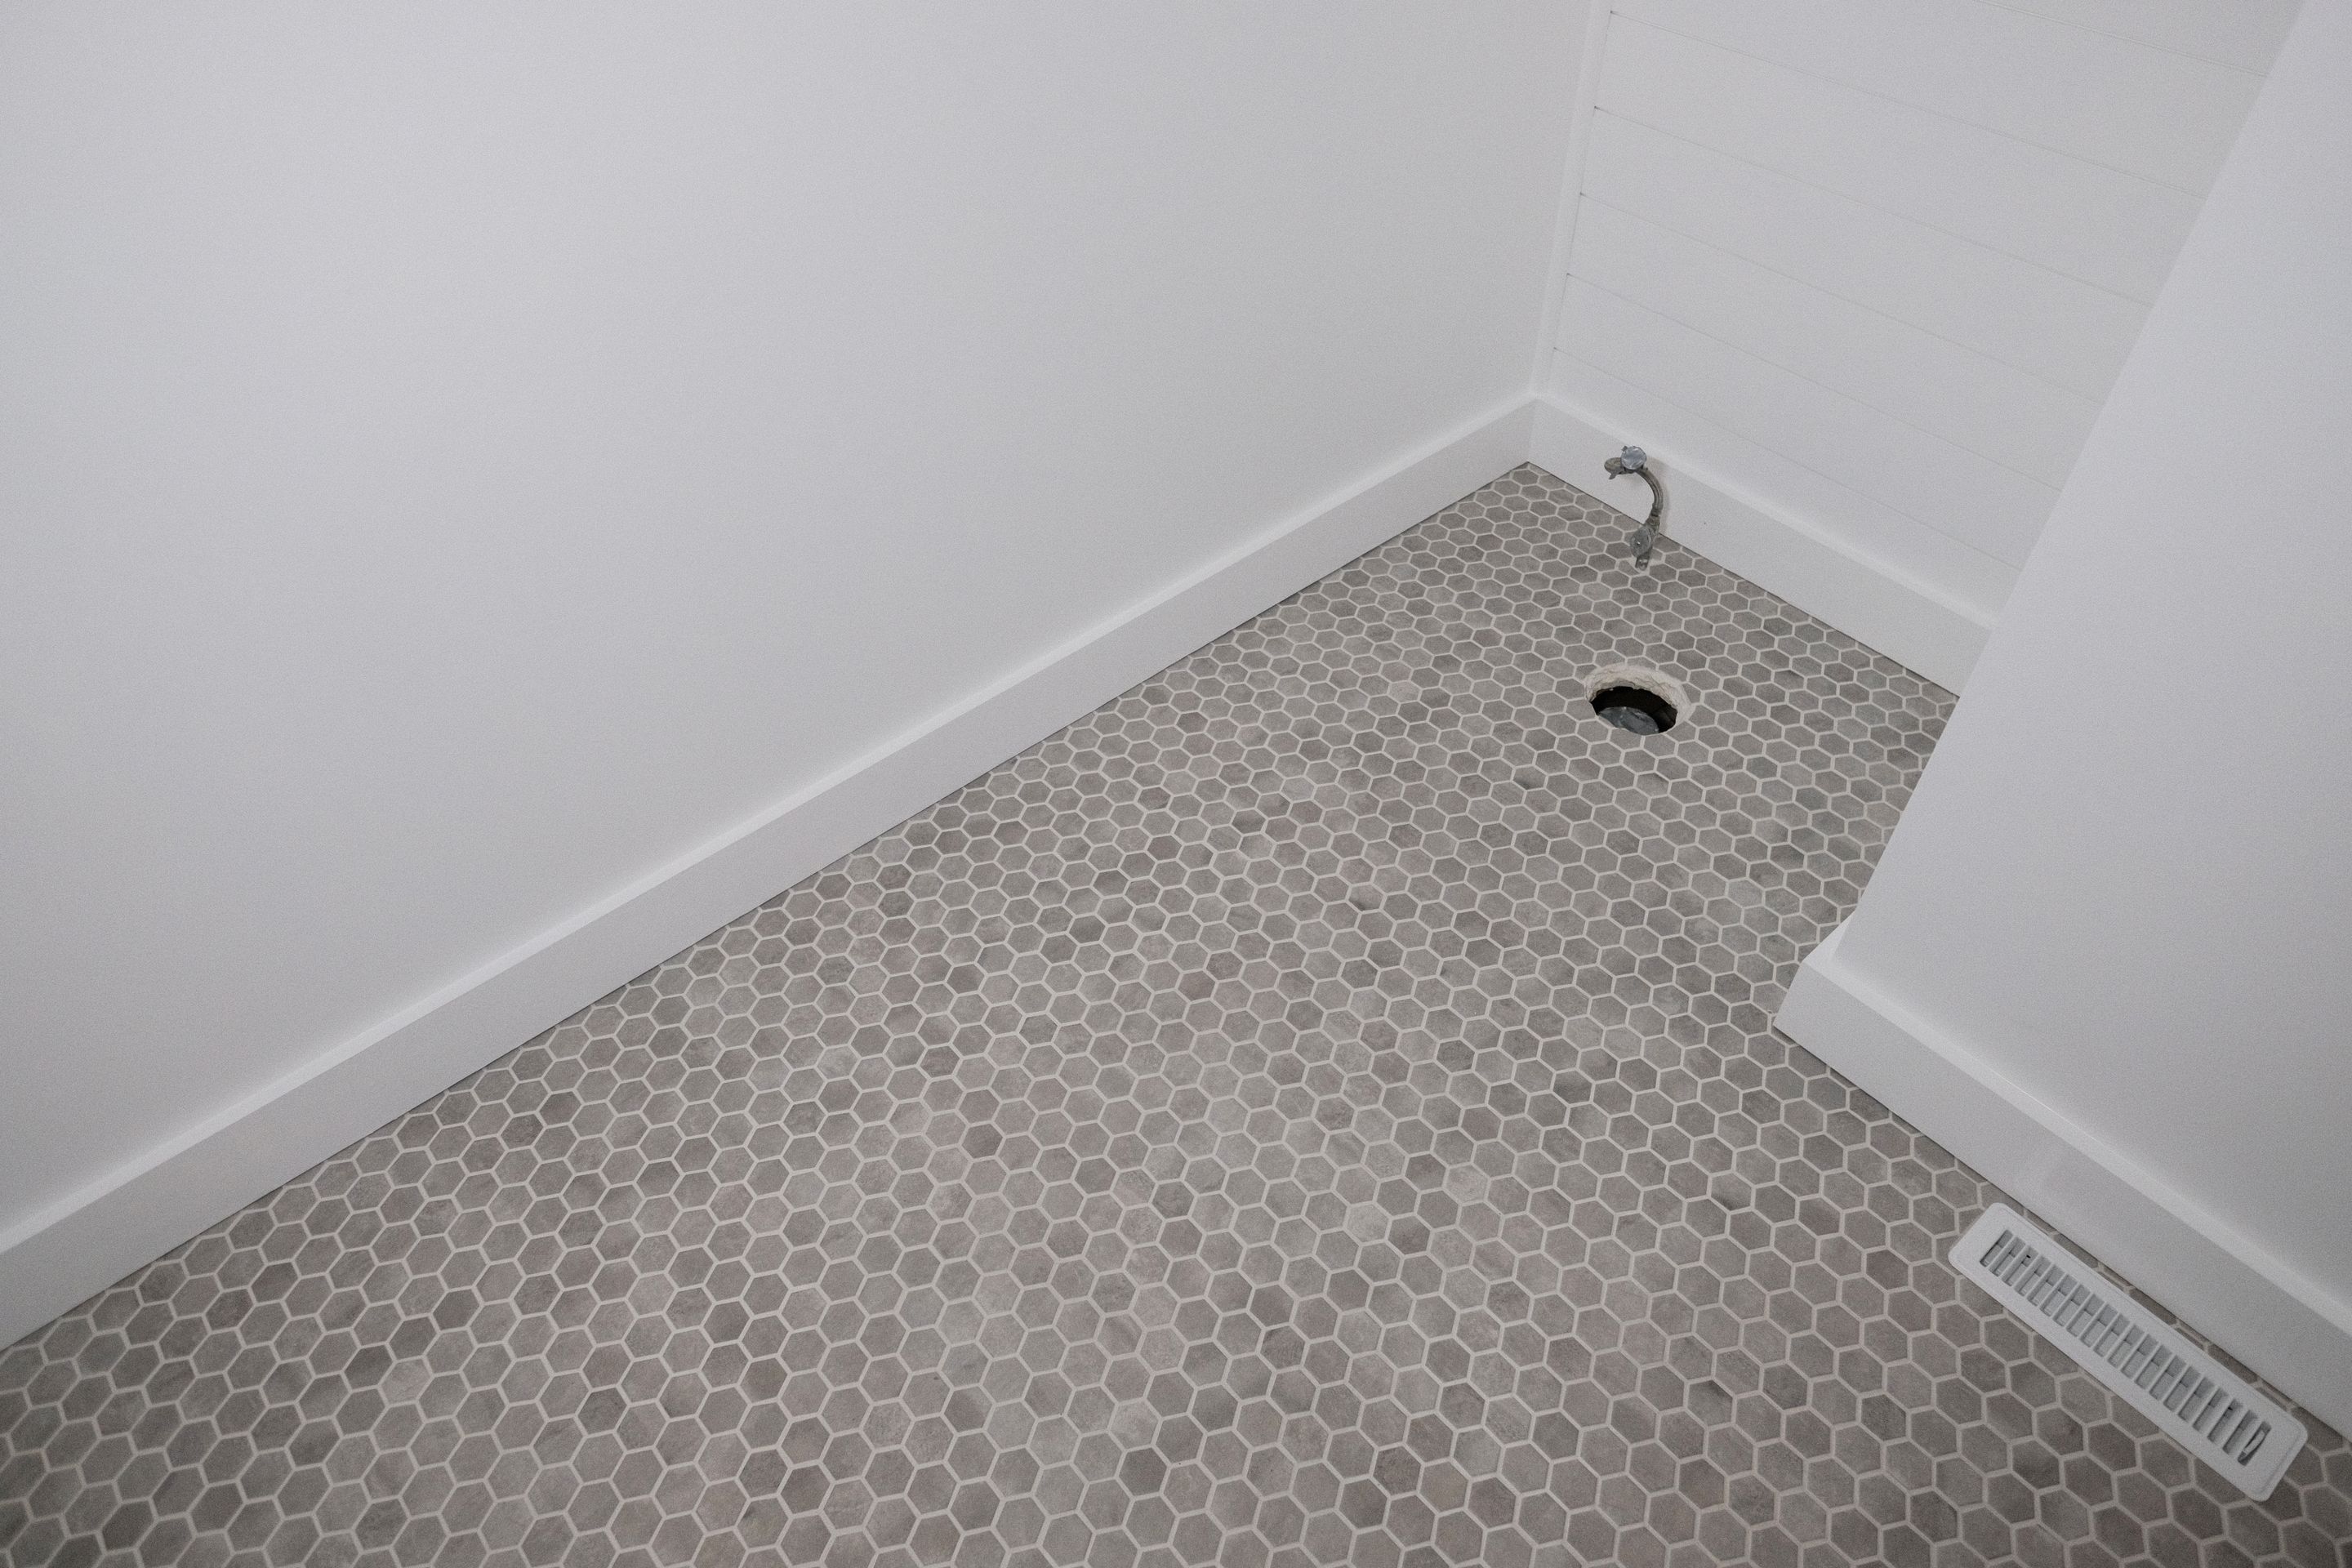
Remaining tile installation and grout
I finished installing the second half of the tiles and then grouted everything. As I was grouting, two different sections of tiles came loose, so I had to fix those with fast-setting mortar first.
I guess I didn't use enough mortar in these areas originally because I was worried about having too much squeeze-out. Finding the perfect balance of enough mortar but not too much feels pretty important.
I really like how the aluminum border at the doorway came out! The border lies directly under the center of the door when it's closed, so you won't see flooring from either room poking through when you're on the other side.
Finally, I finished with some grout sealer to protect it against stains. We have four cats and they like to throw up in random locations.
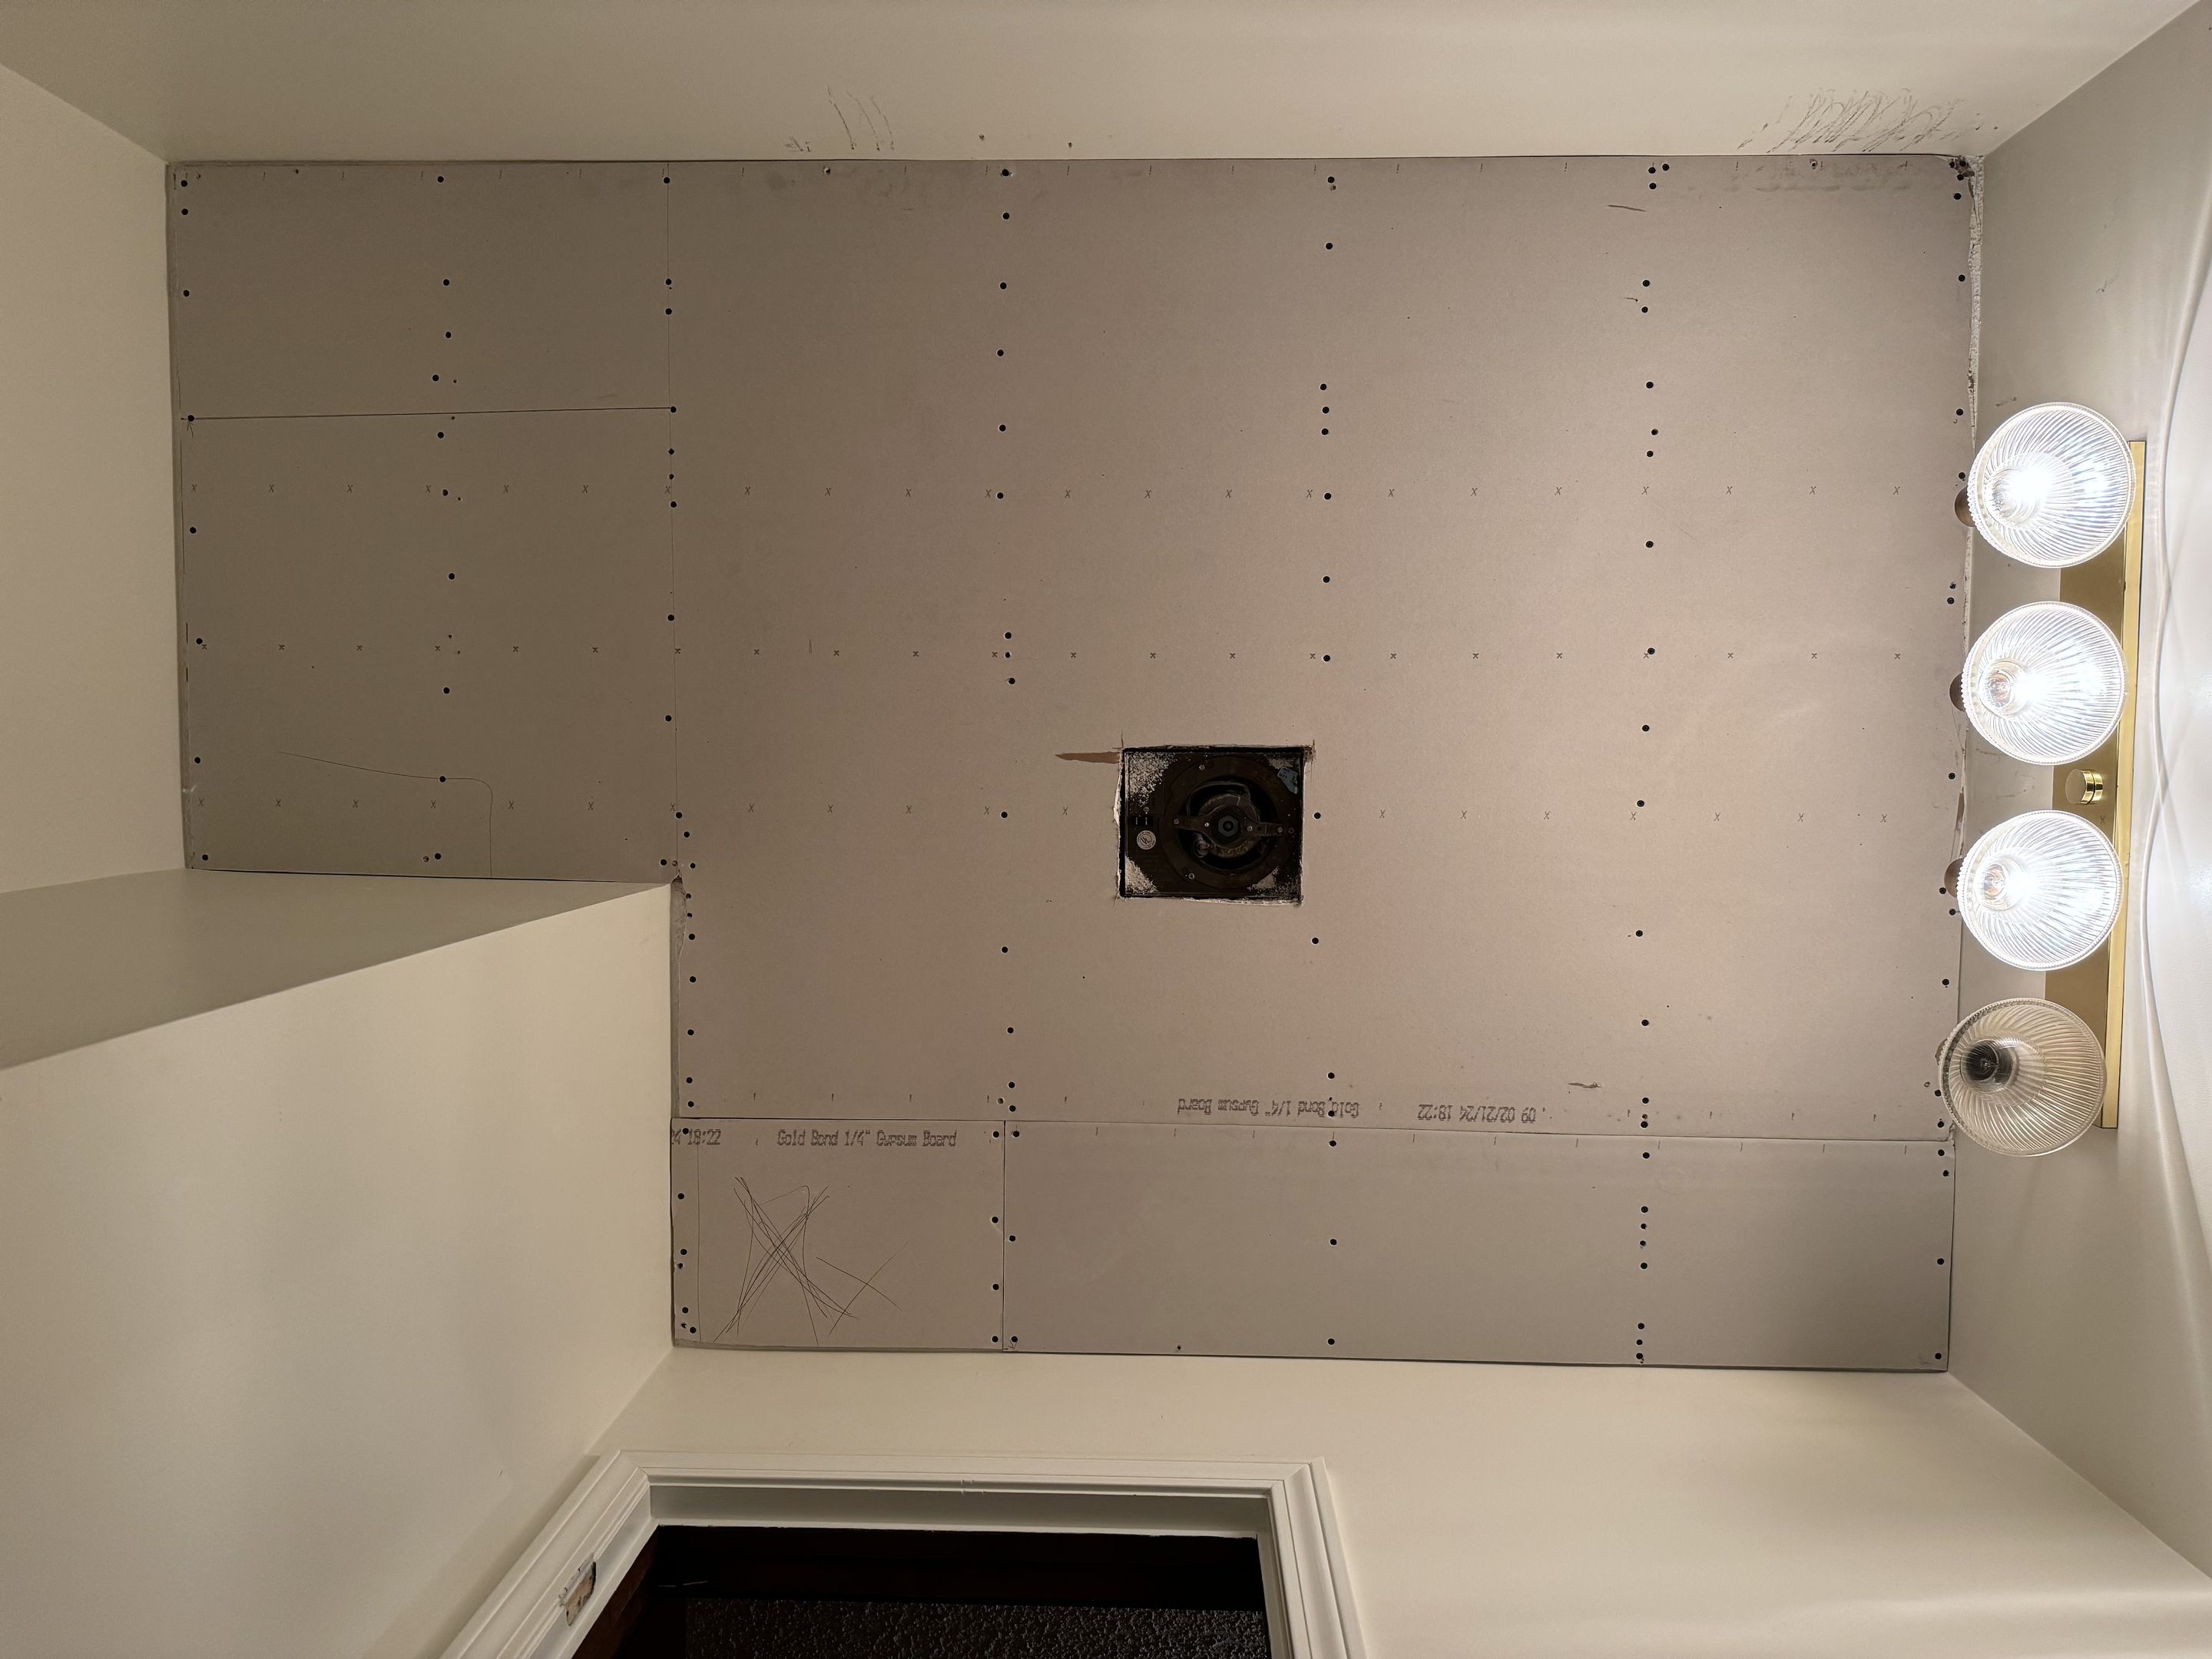
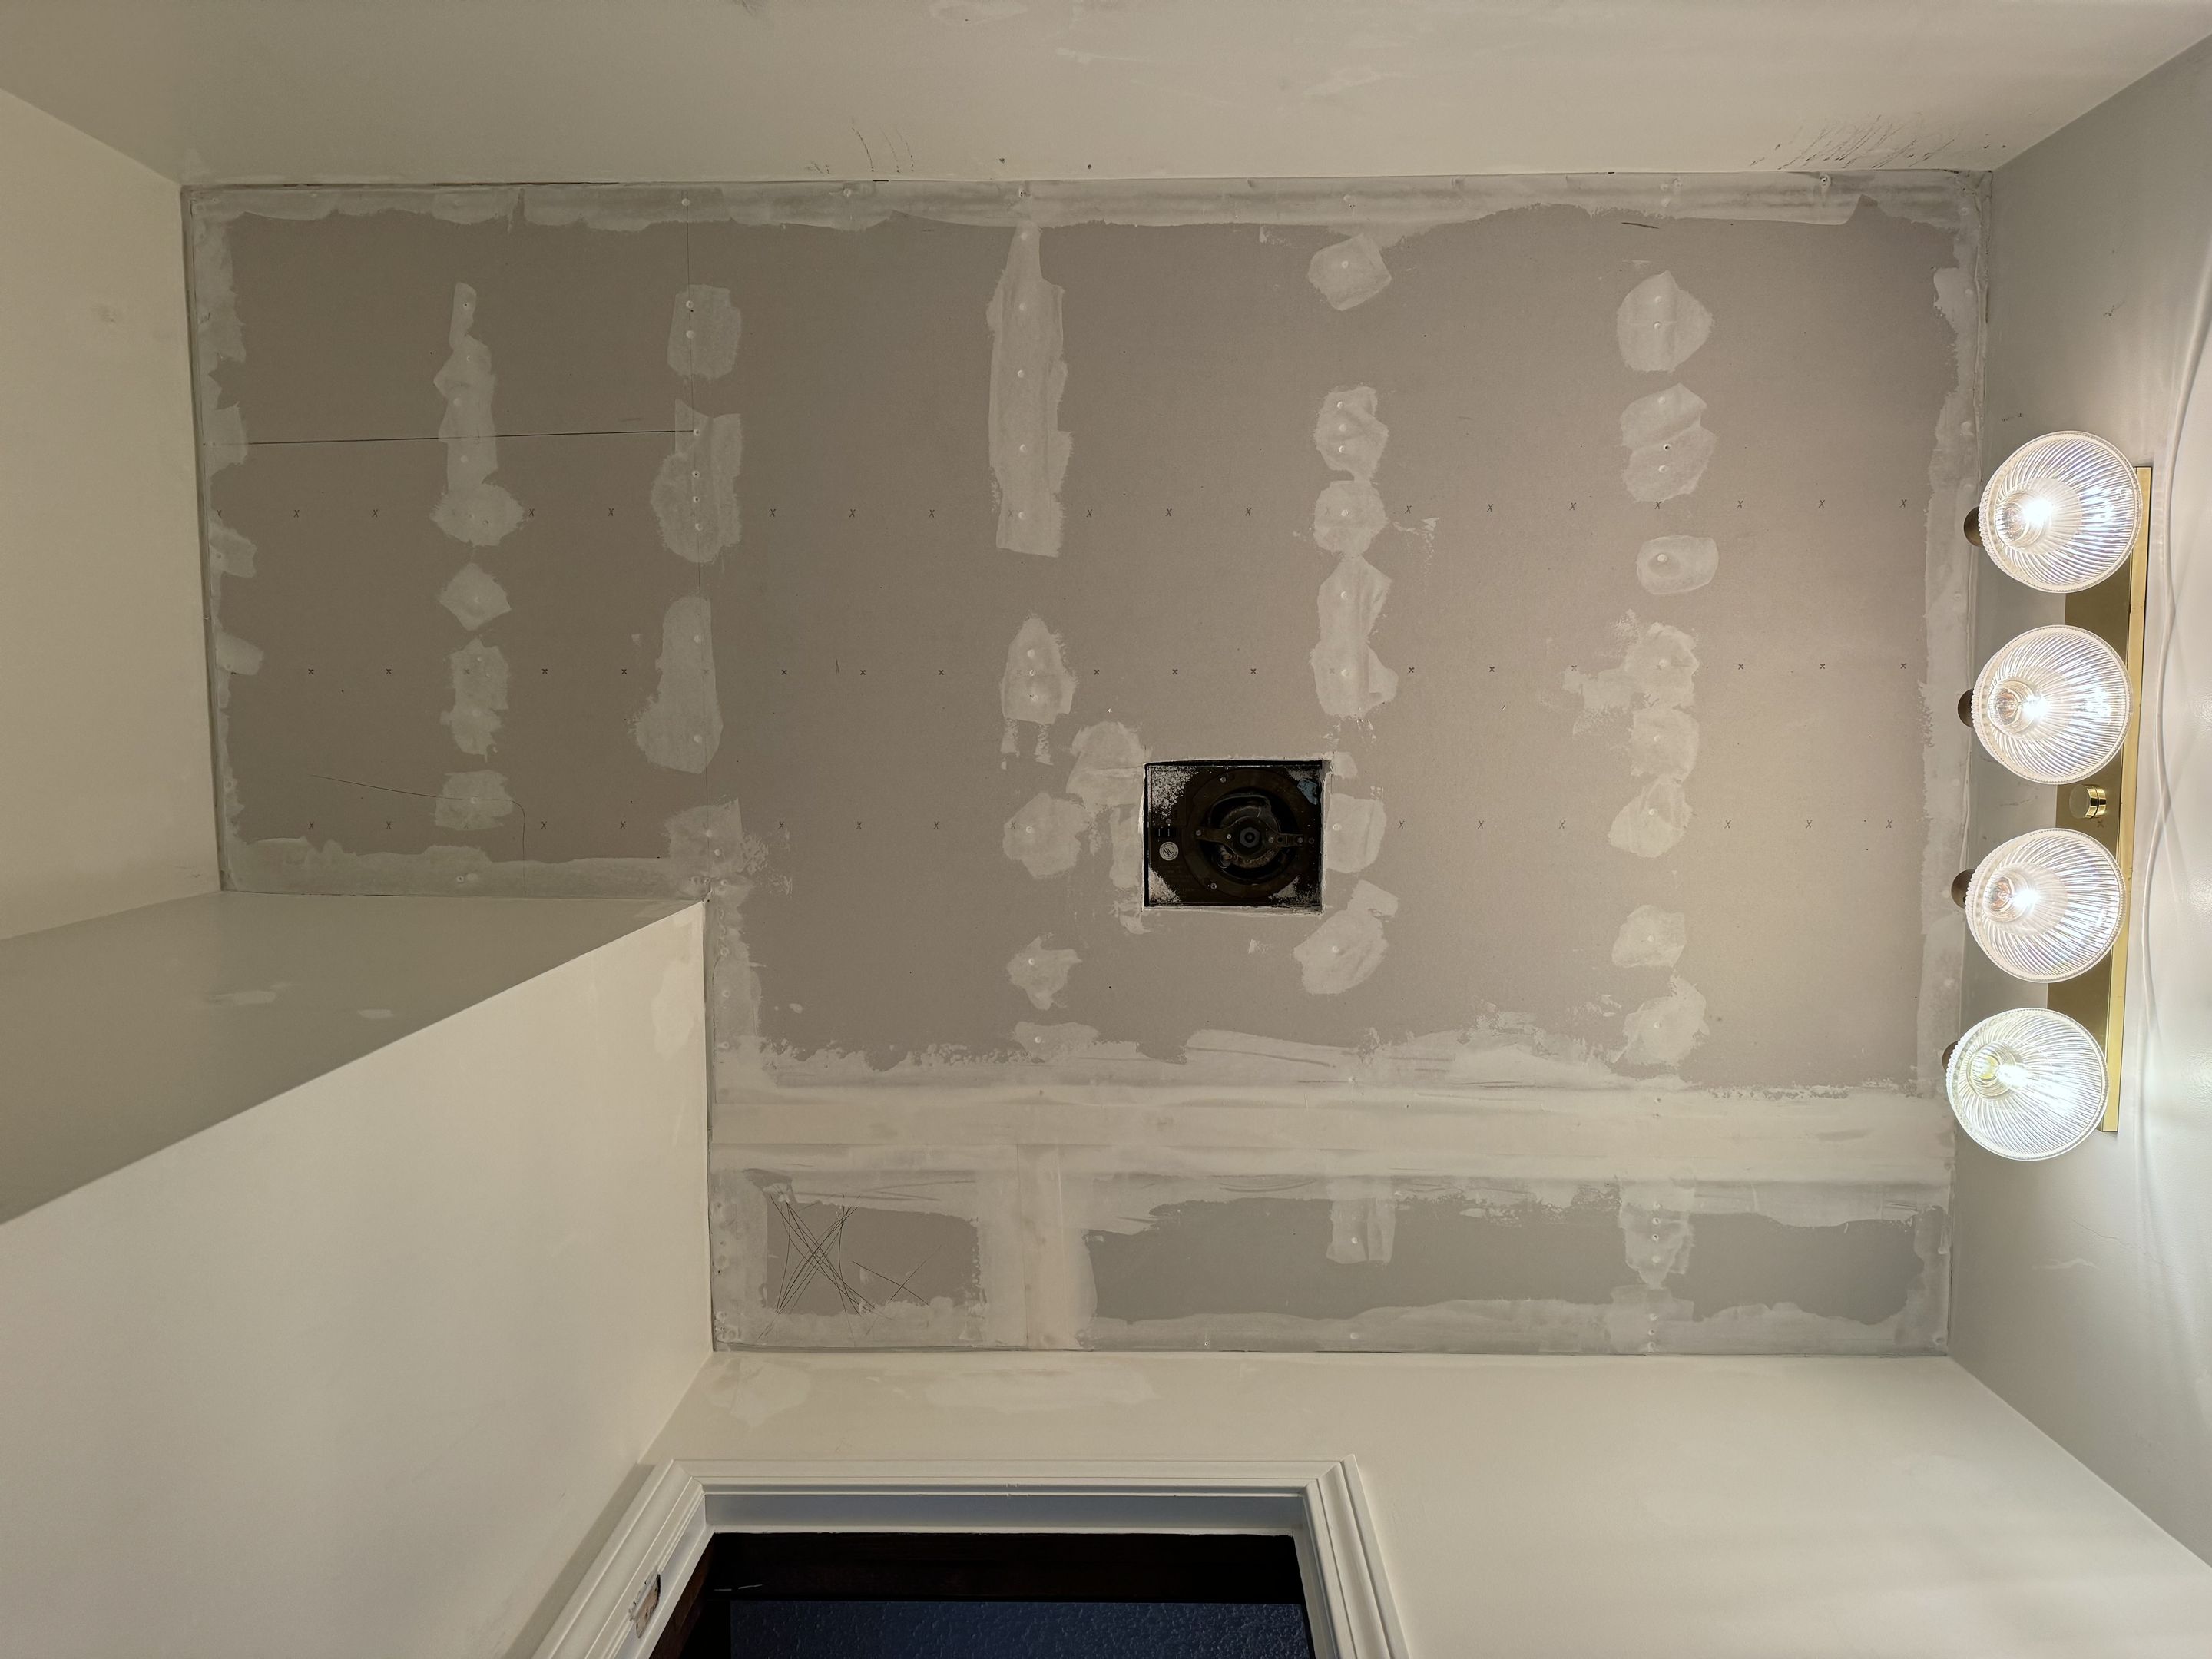
No more popcorn ceiling
I covered the popcorn-textured ceiling with 1/4-inch drywall. It's not the prettiest install, but once it's taped, mudded, sanded, and painted it should look great.
Mudding, taping, sanding, mudding, sanding...
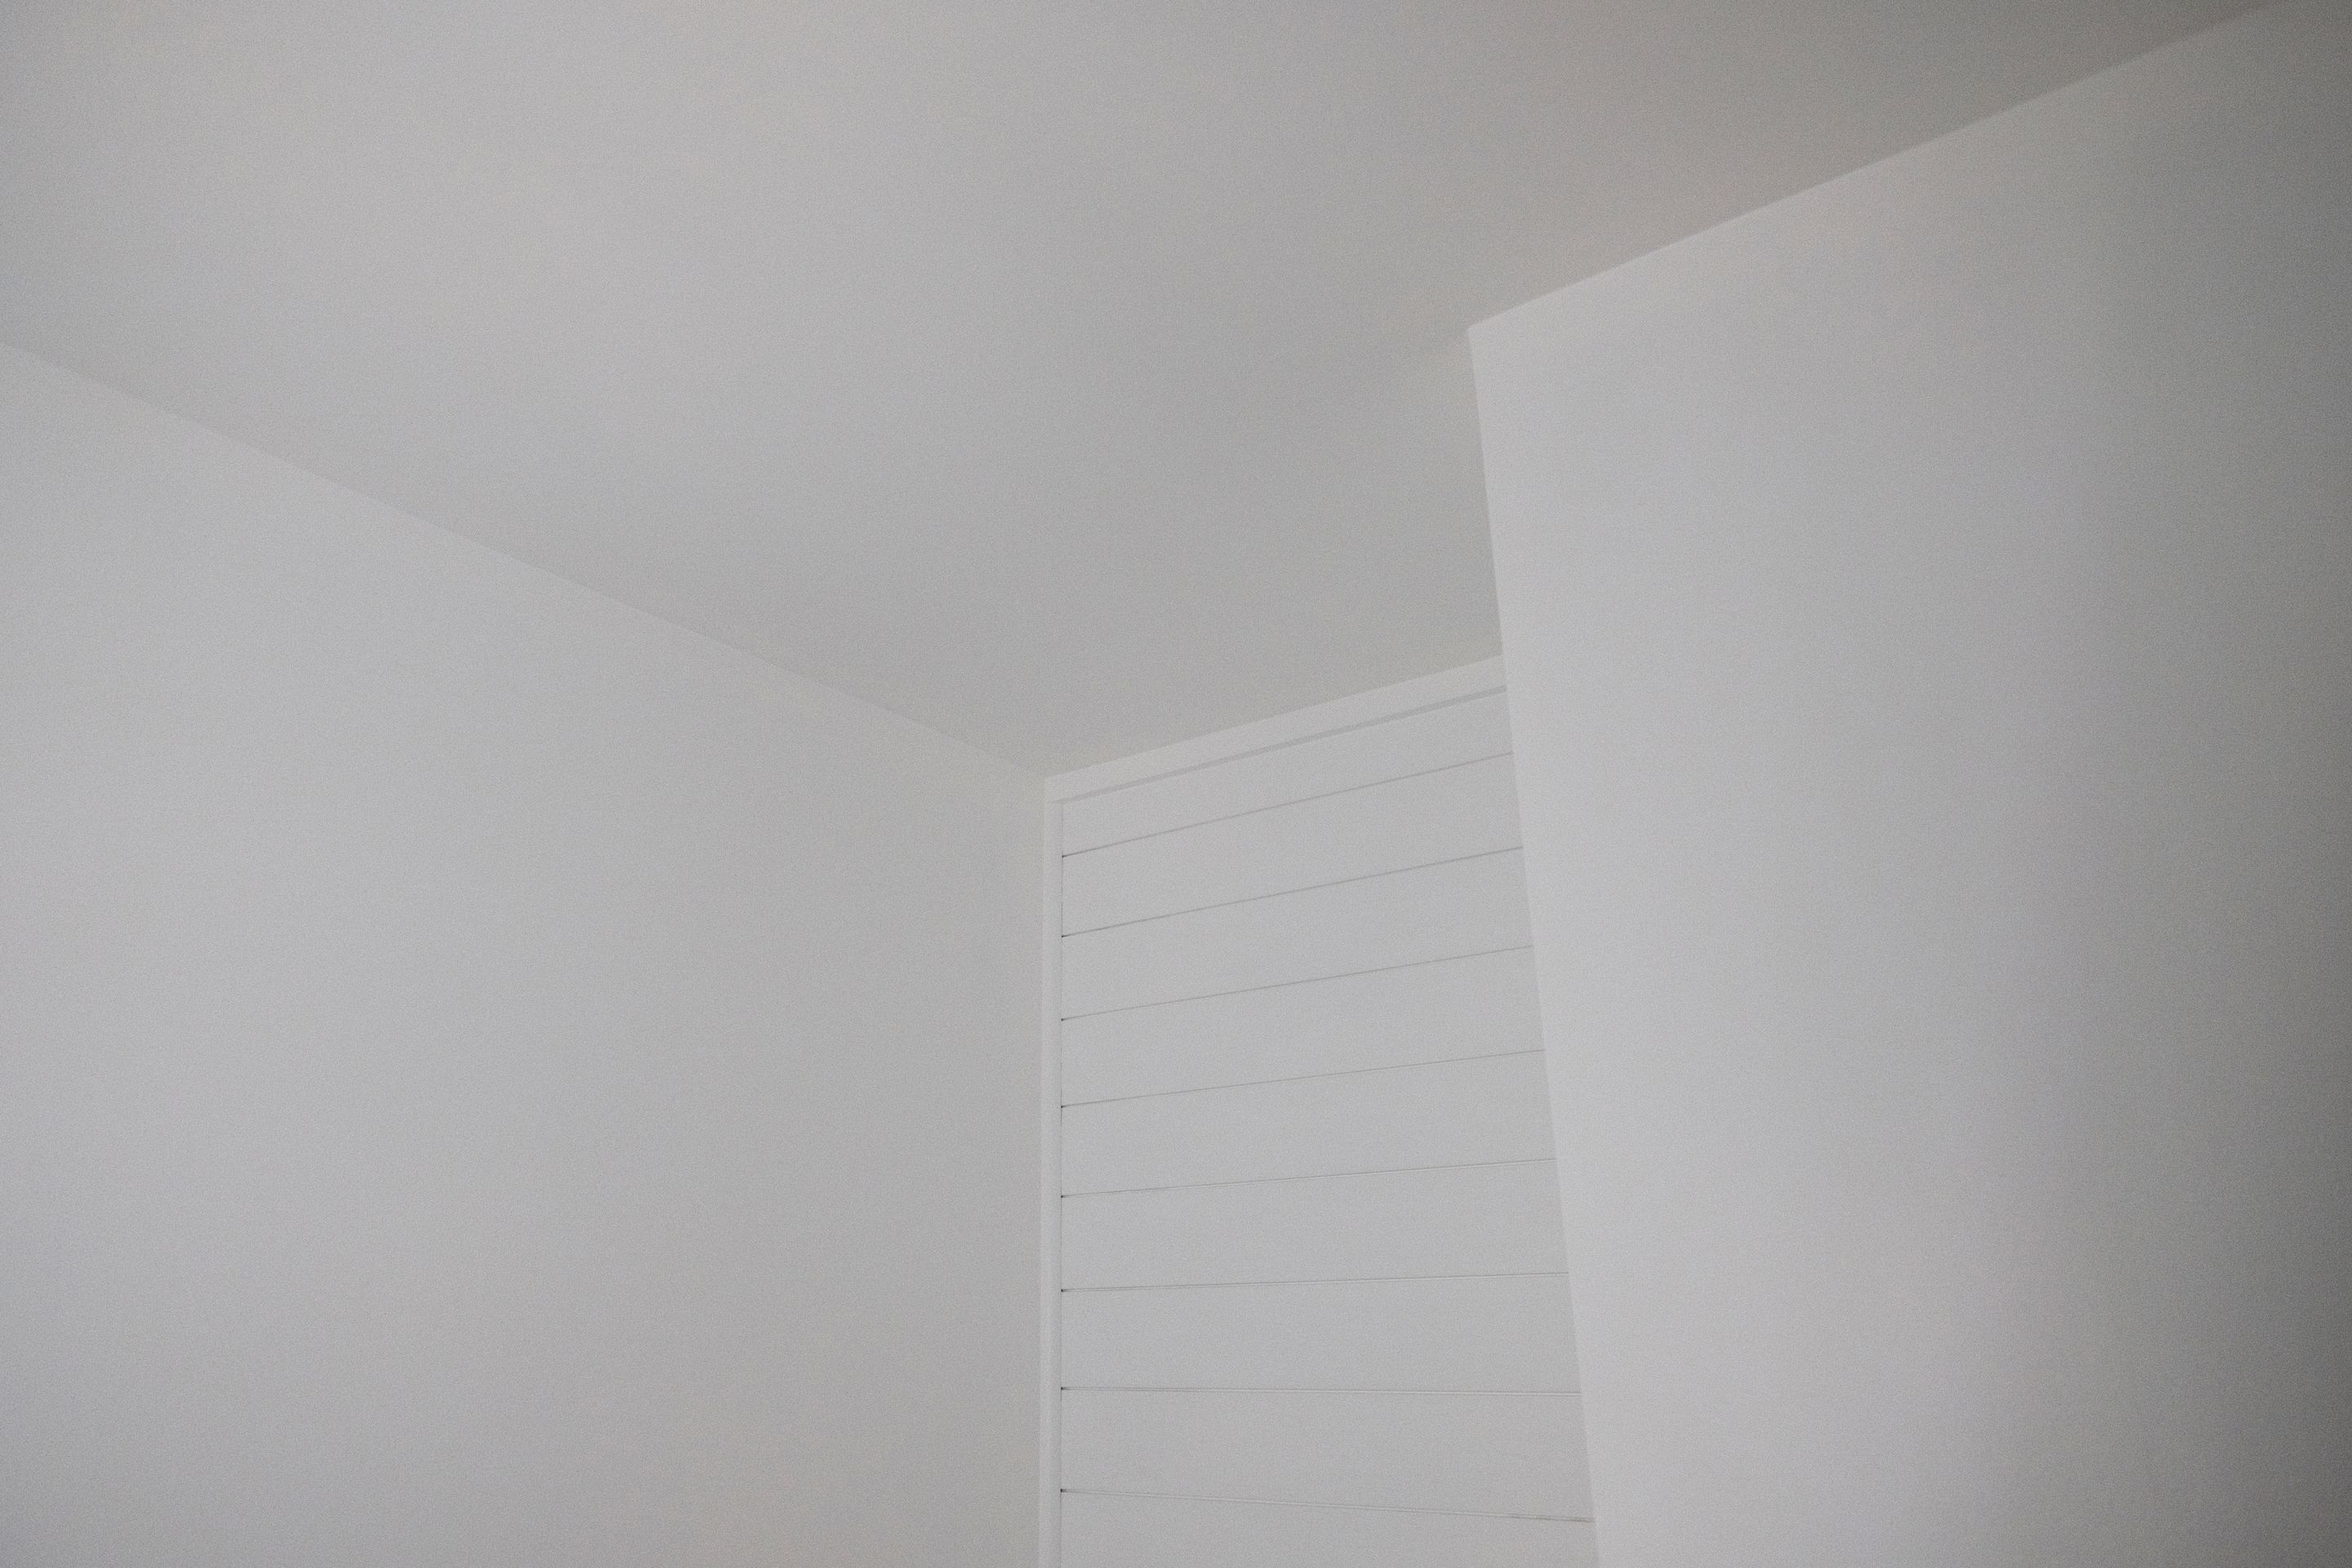
Shiplap wall installation
I installed shiplap boards on the vanity/sink wall yesterday. It only took a few hours but feels like a massive amount of progress. Of course I still have to add trim, fill all of the nail holes, and paint them.
I've also been chipping away at the ceiling finish. Taping the joints and doing multiple layers of joint compound - as well as mudding over damaged portions of the walls - has been time-consuming and tedious. I feel like drywall finishing is an area I am very inefficient with, but it's getting there.
All finish work completed
At long last... I finished mudding, sanding, priming, and painting the ceiling. As I suspected, you just have to trust the process. What a nice clean look compared to the old popcorn texture!
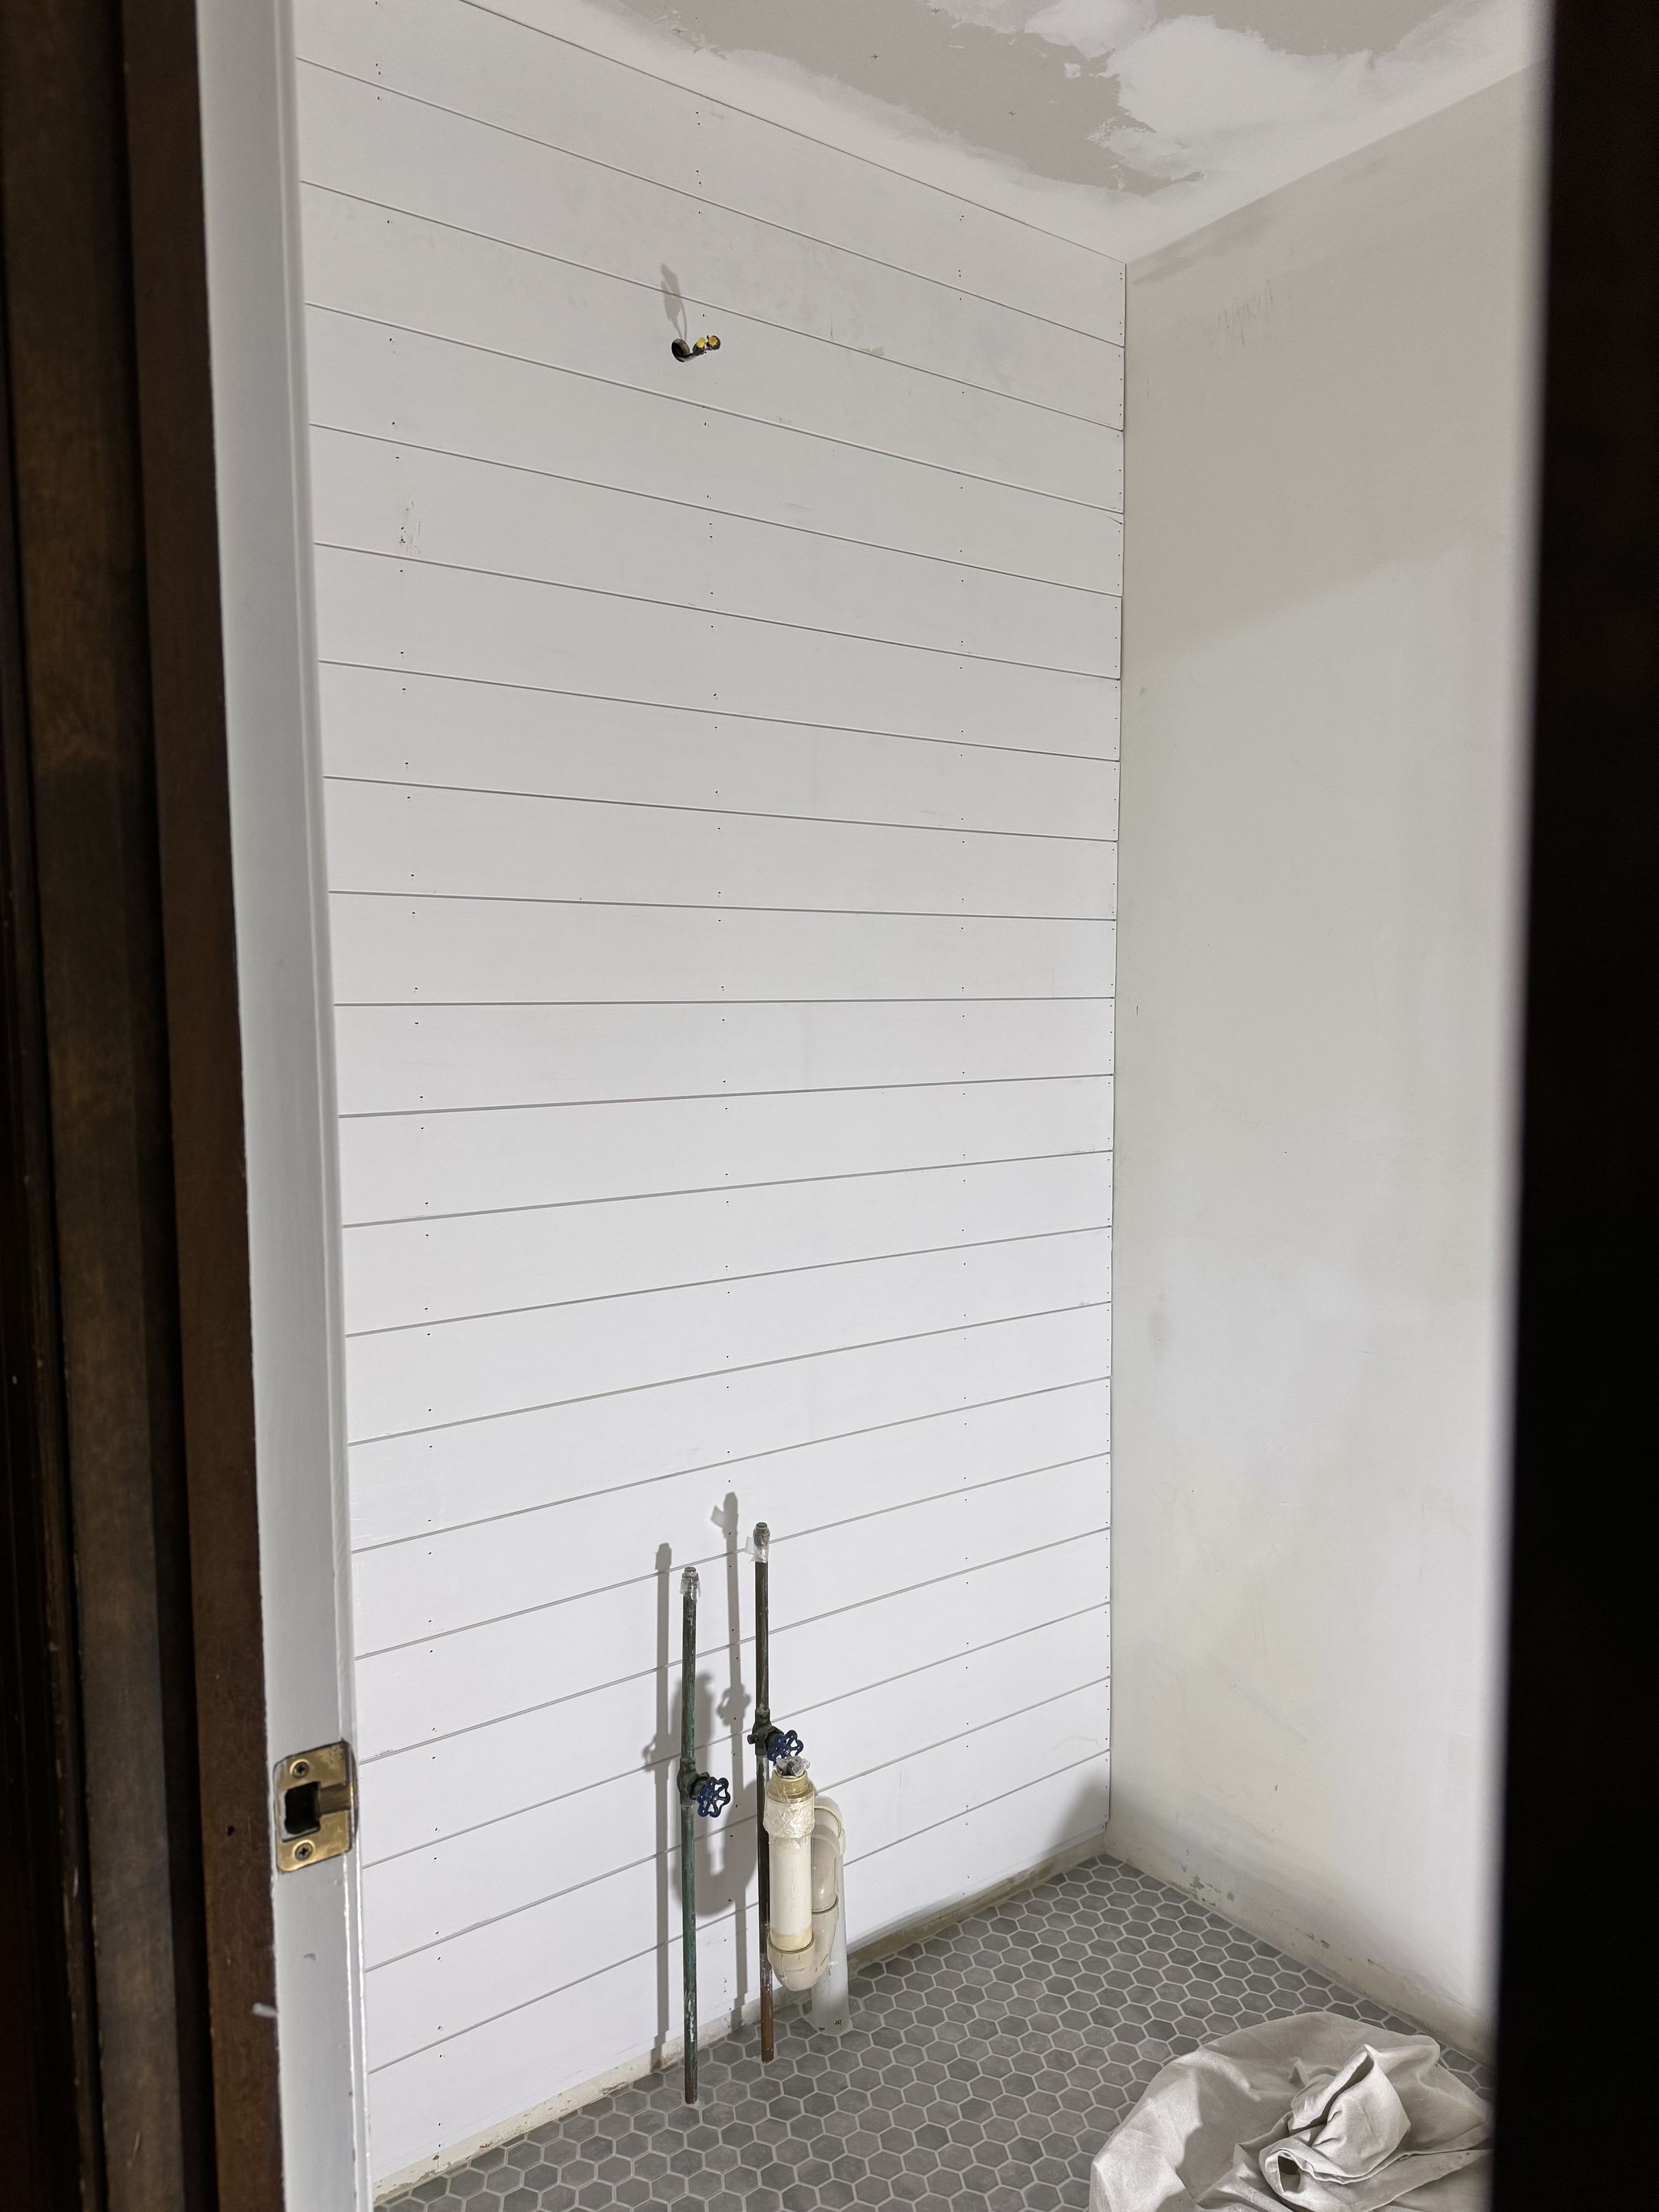
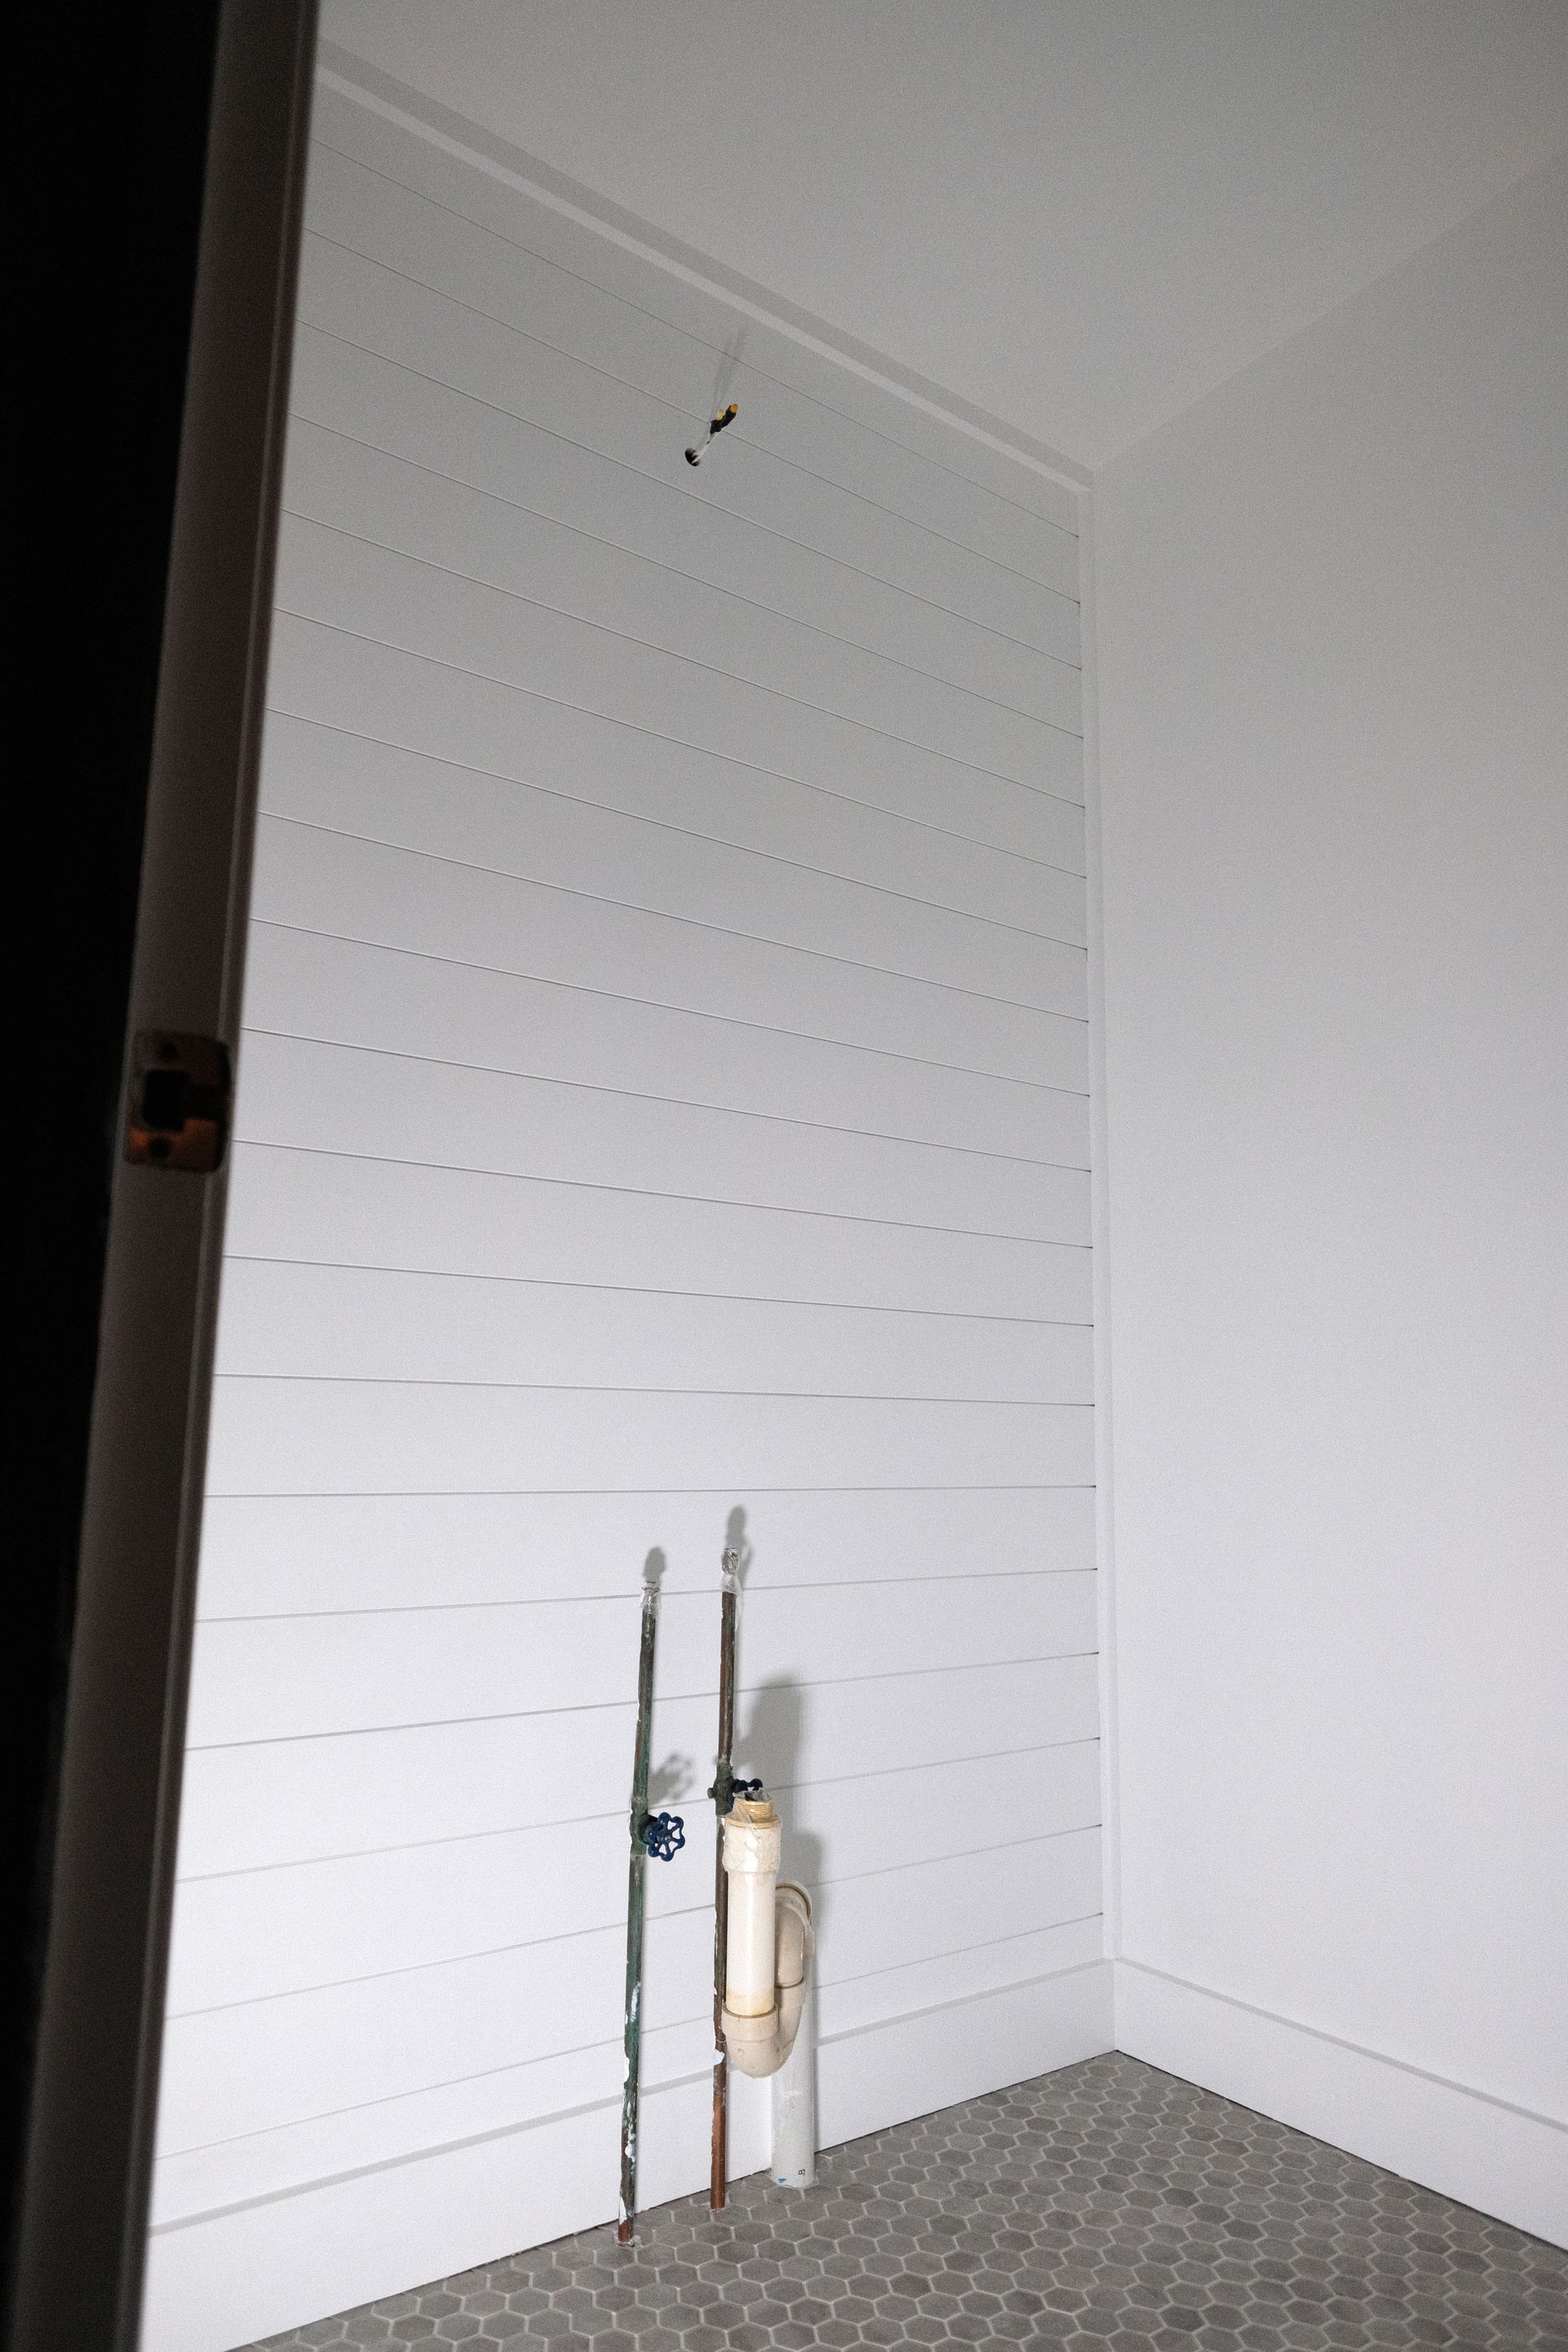
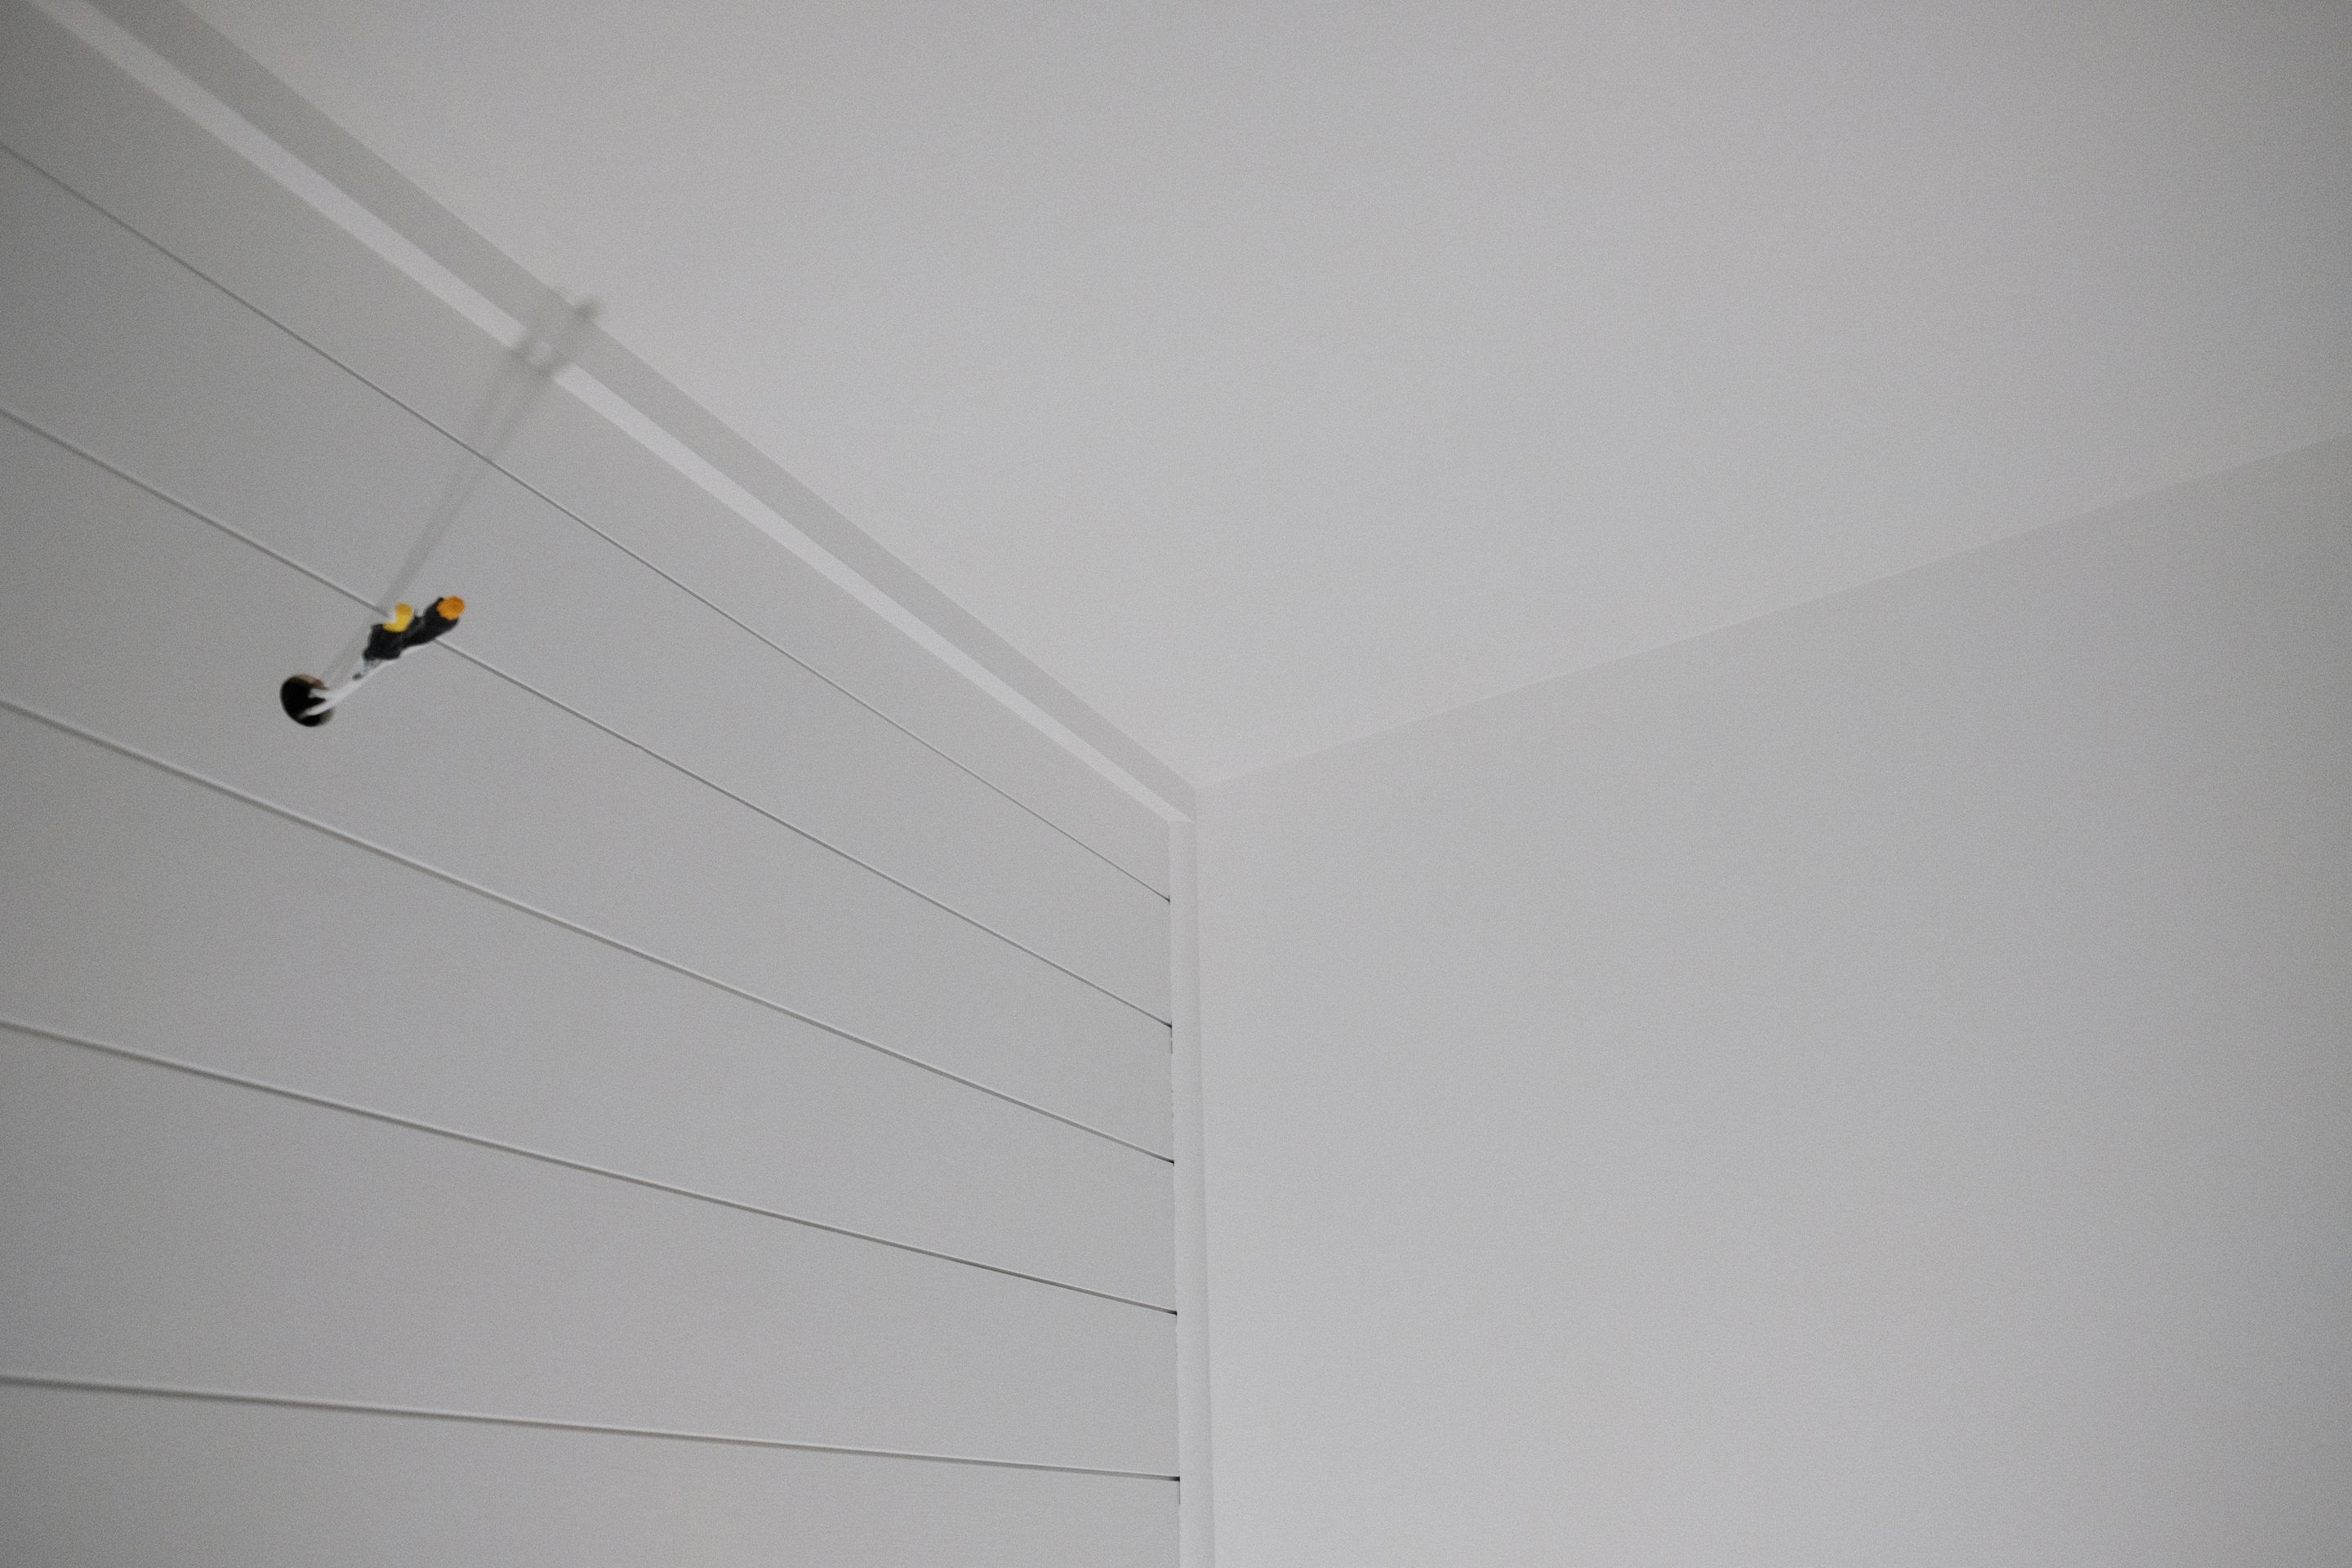
I also finished installing all shiplap, trim, and baseboards. And I finished priming and painting everything. Painting shiplap is a pain in the butt. Getting into all of the grooves takes so much time and causes drips that you have to go back and clean up. But it's done and it was worth it.
Next up: Install the toilet, vanity, light fixture, and mirror!
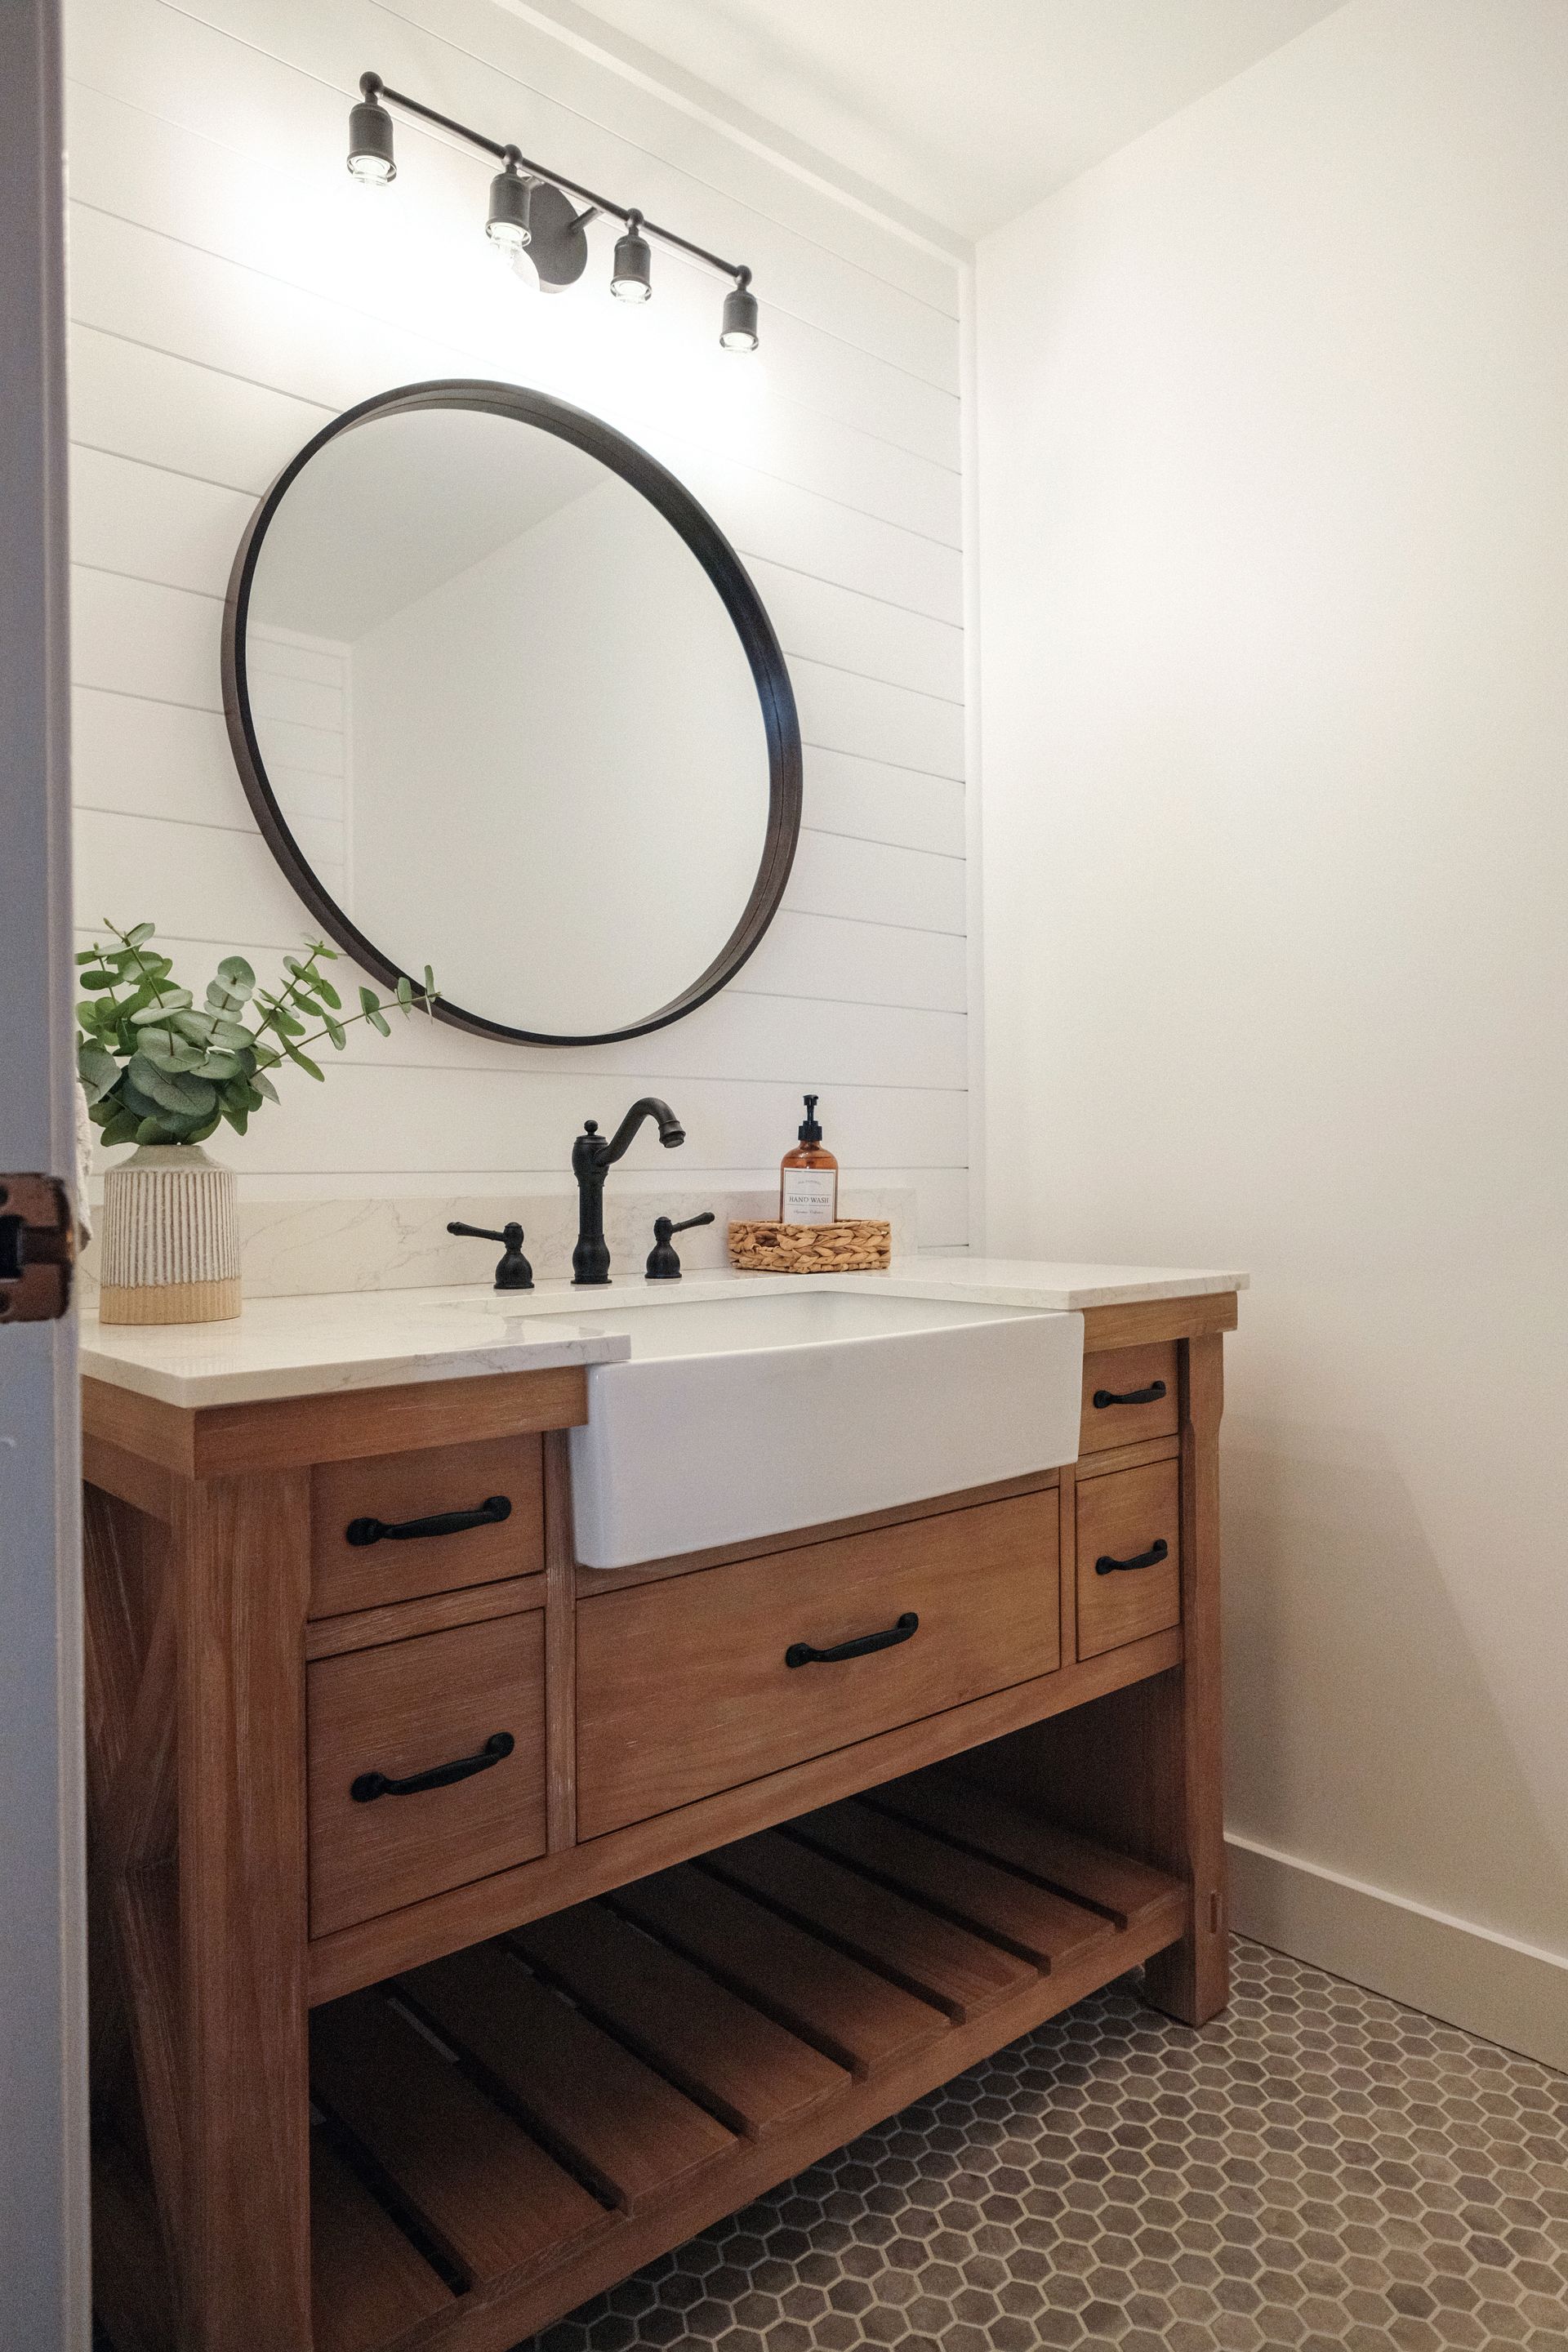
Final installations
Hooking up the toilet was a frustrating experience. I messed up the drain pipe and toilet flange installation once but got it right on the second try. Then I poorly soldered a new toilet supply valve onto the copper pipe - it seemed fine at first, but I discovered water all over the floor at 2am.
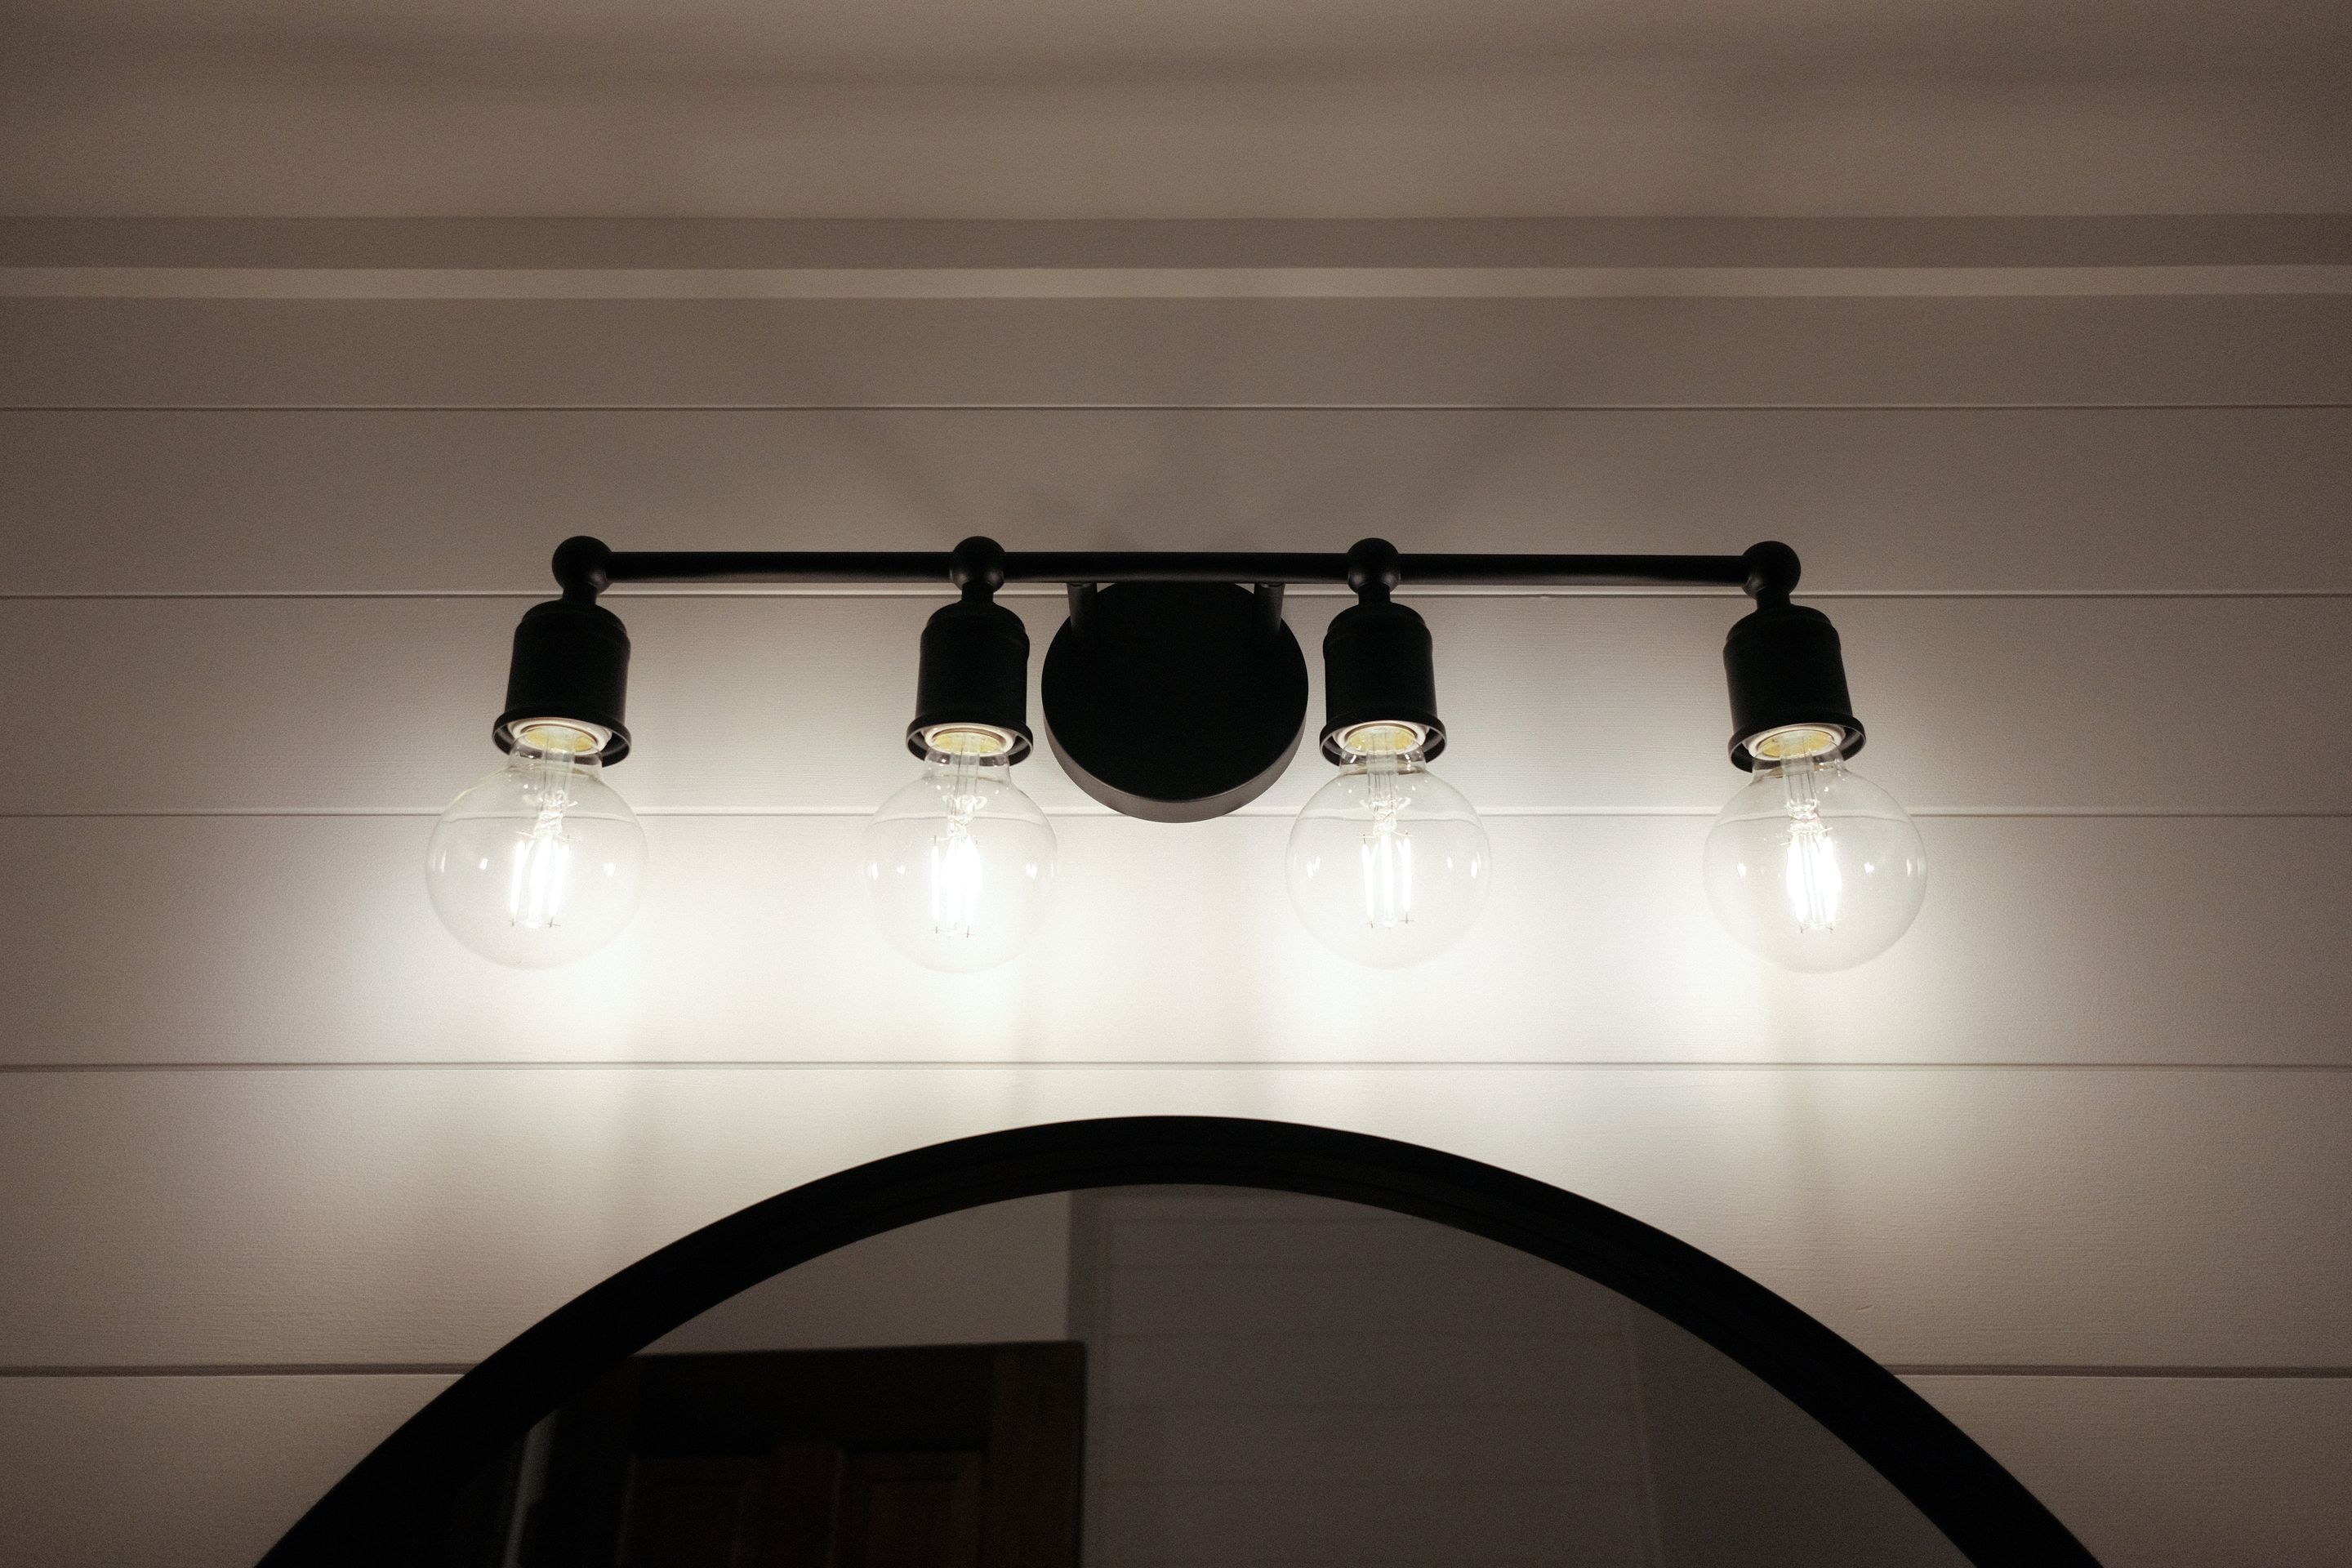
After failing to repair it I ended up calling a plumber. While he was here I also had him prepare the vanity sink pipes and shutoff valves for me. Then I installed the vanity, the light fixture, the mirror, a toilet paper holder, and a towel hook.
And that's it. The project is done and I'm burnt out on home renovation projects for now 😅
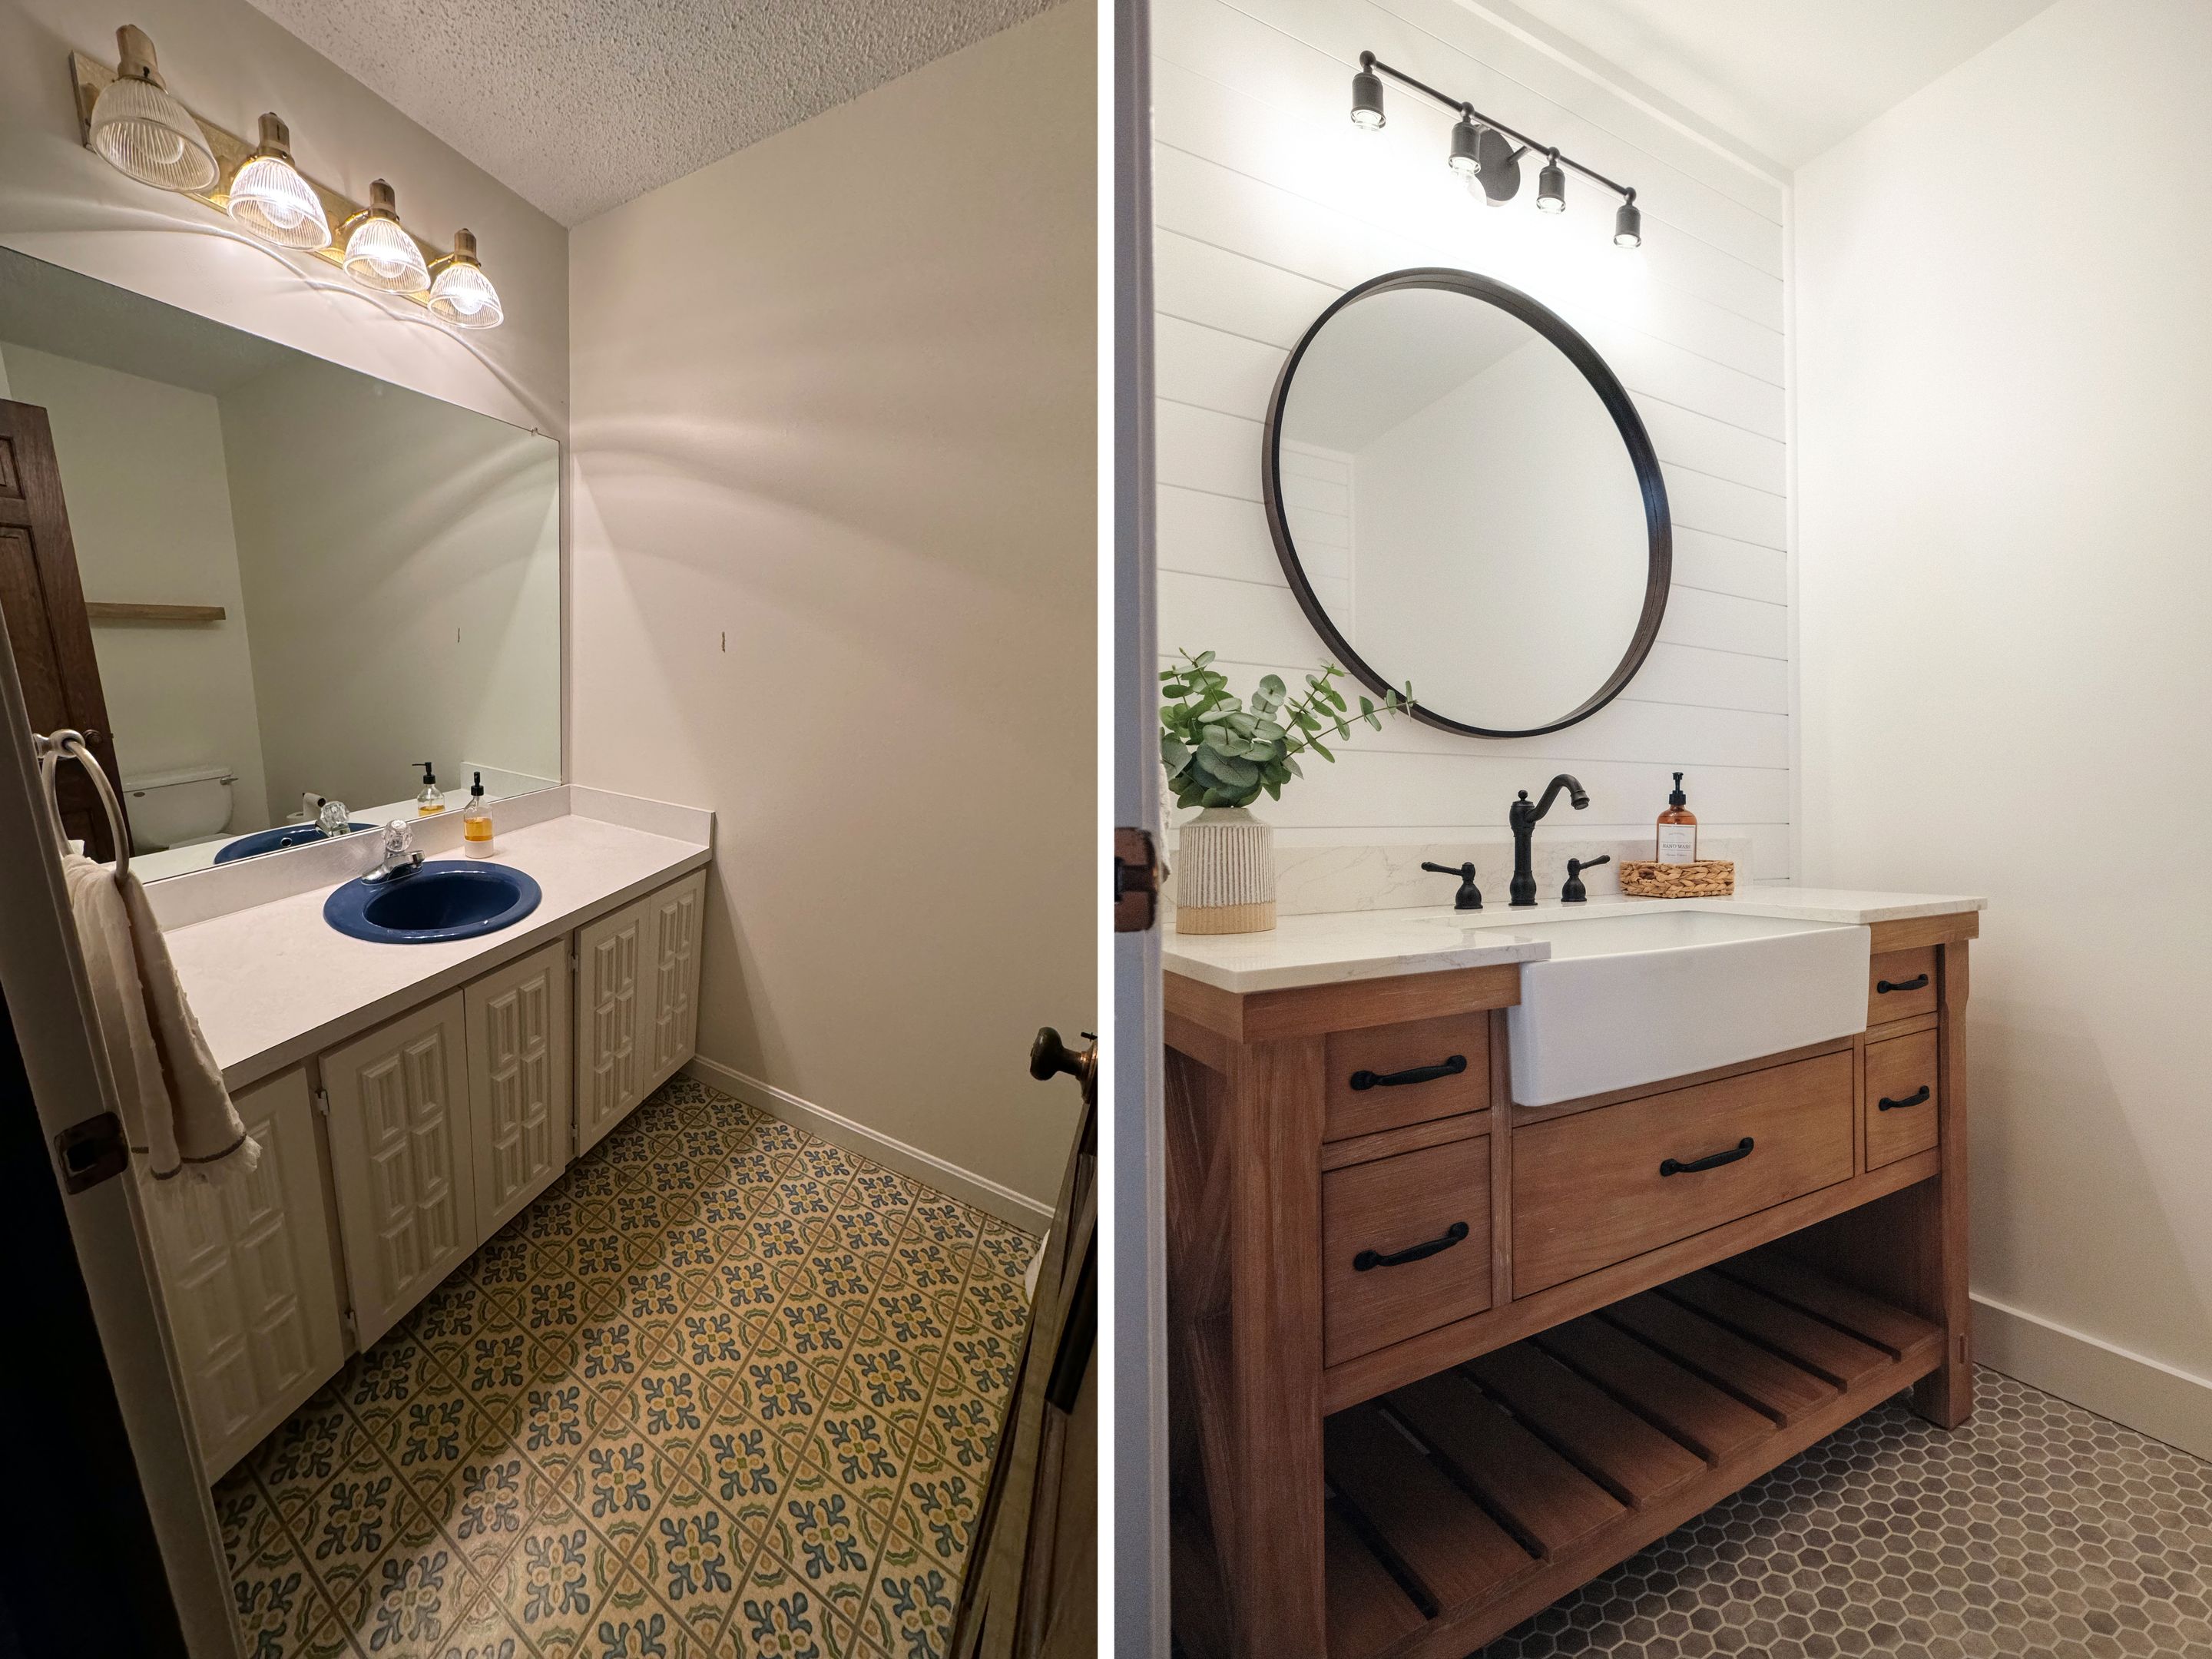
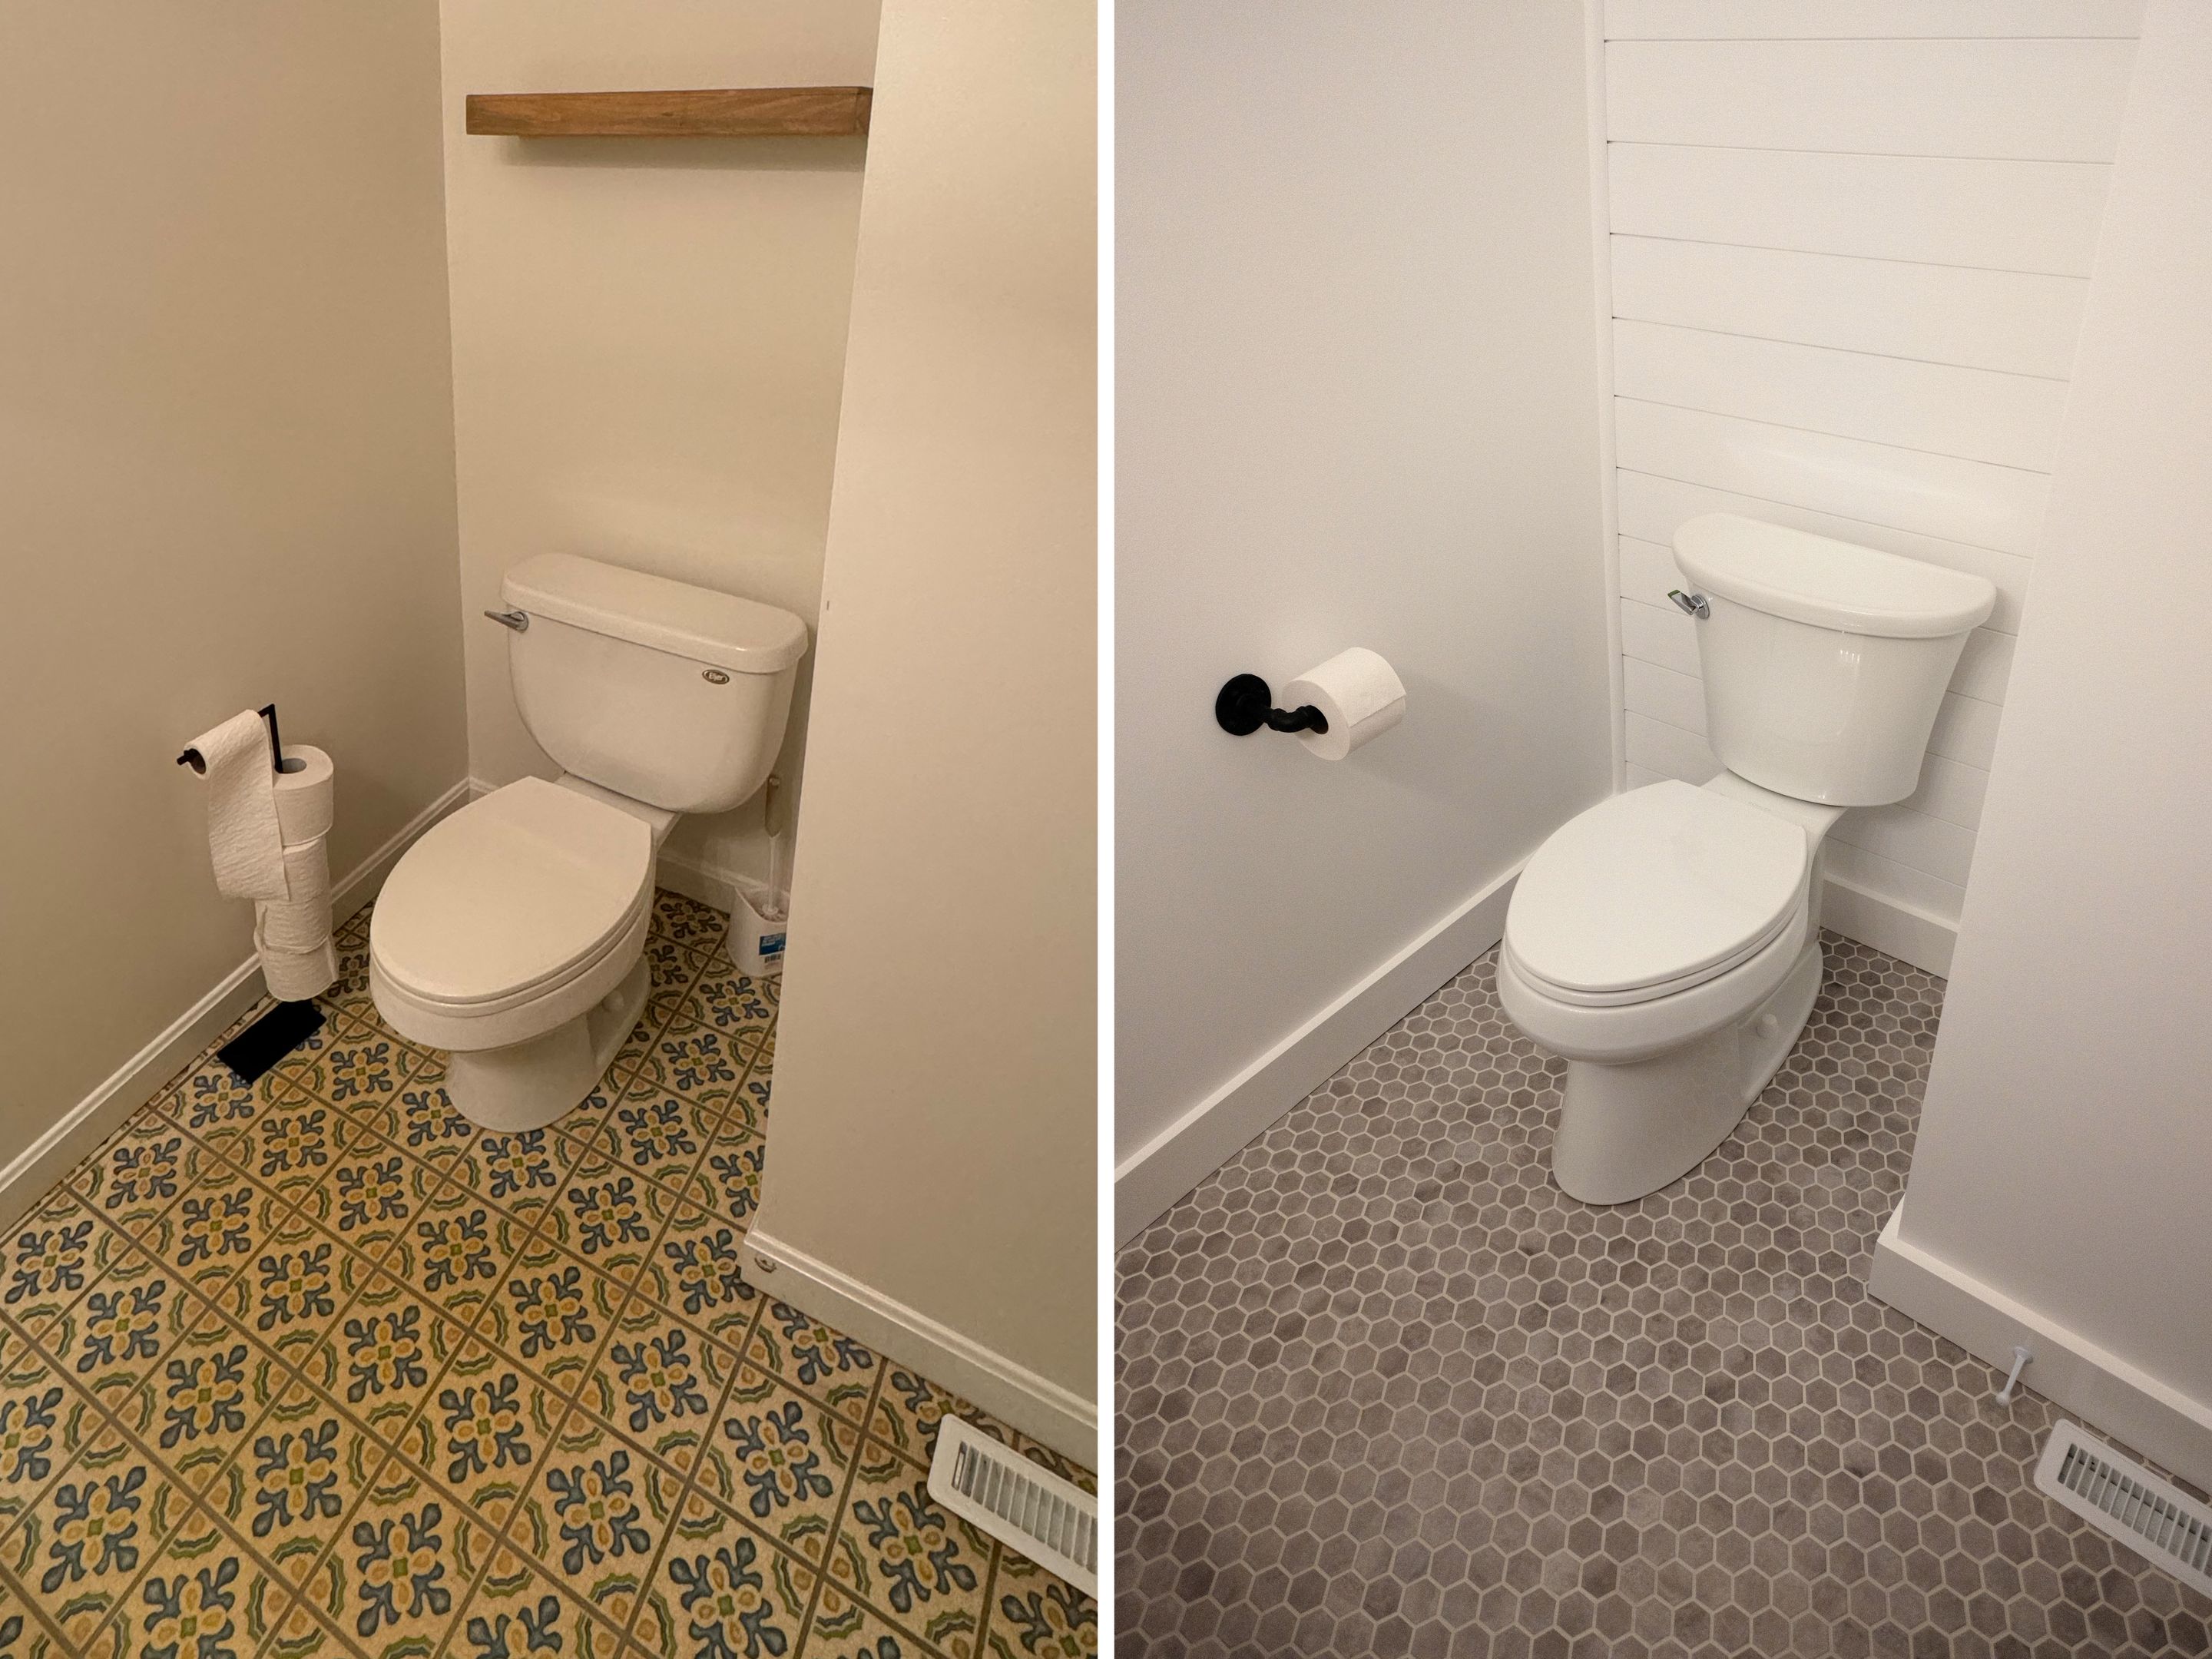
Before and after
This is a fun comparison. What a difference. I'm pretty proud to have done all of this myself except for a few plumbing tasks.